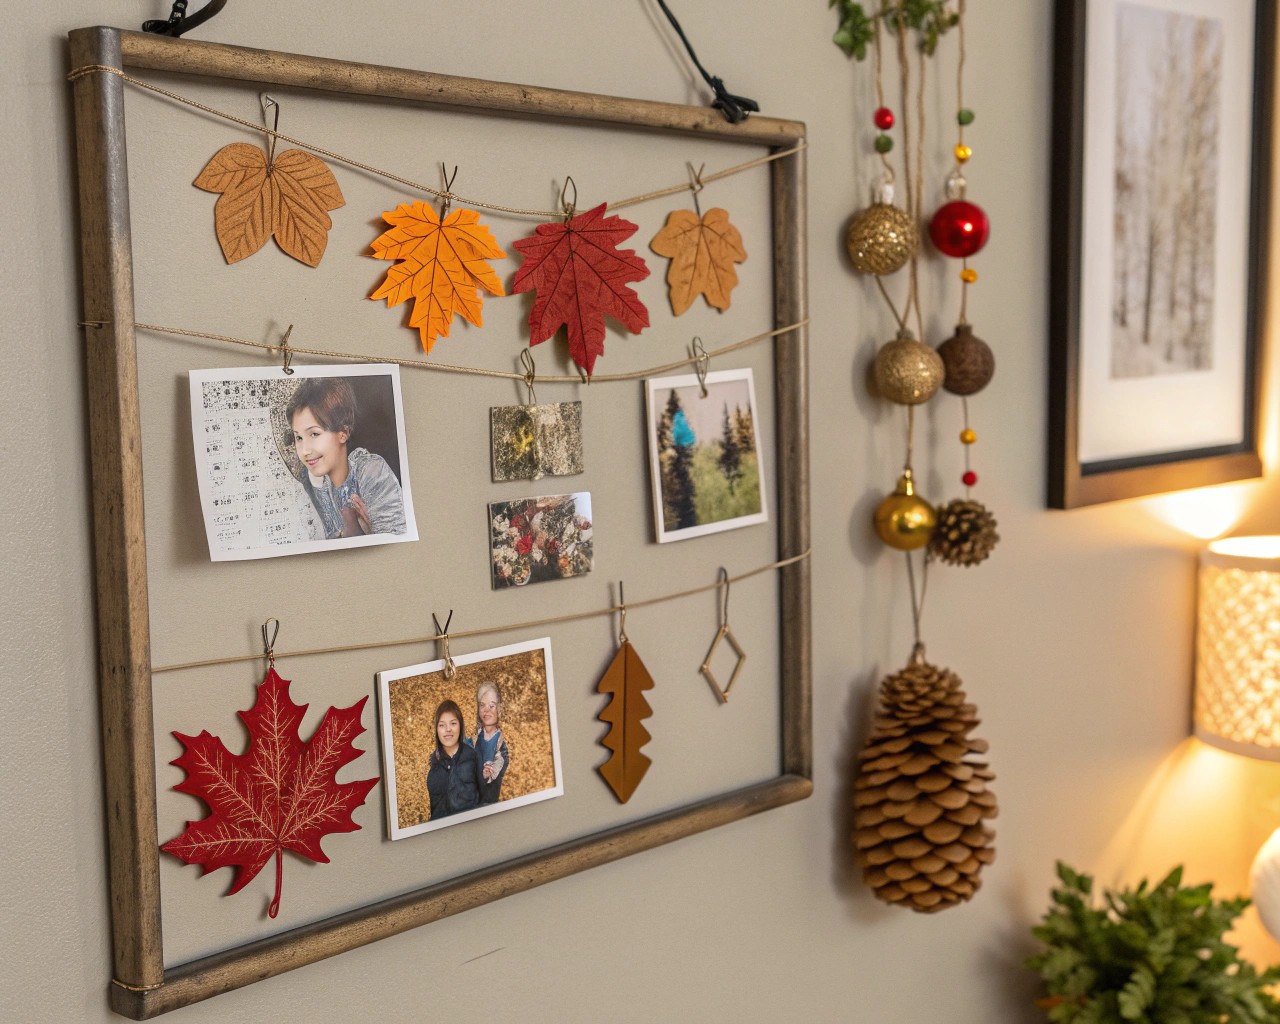
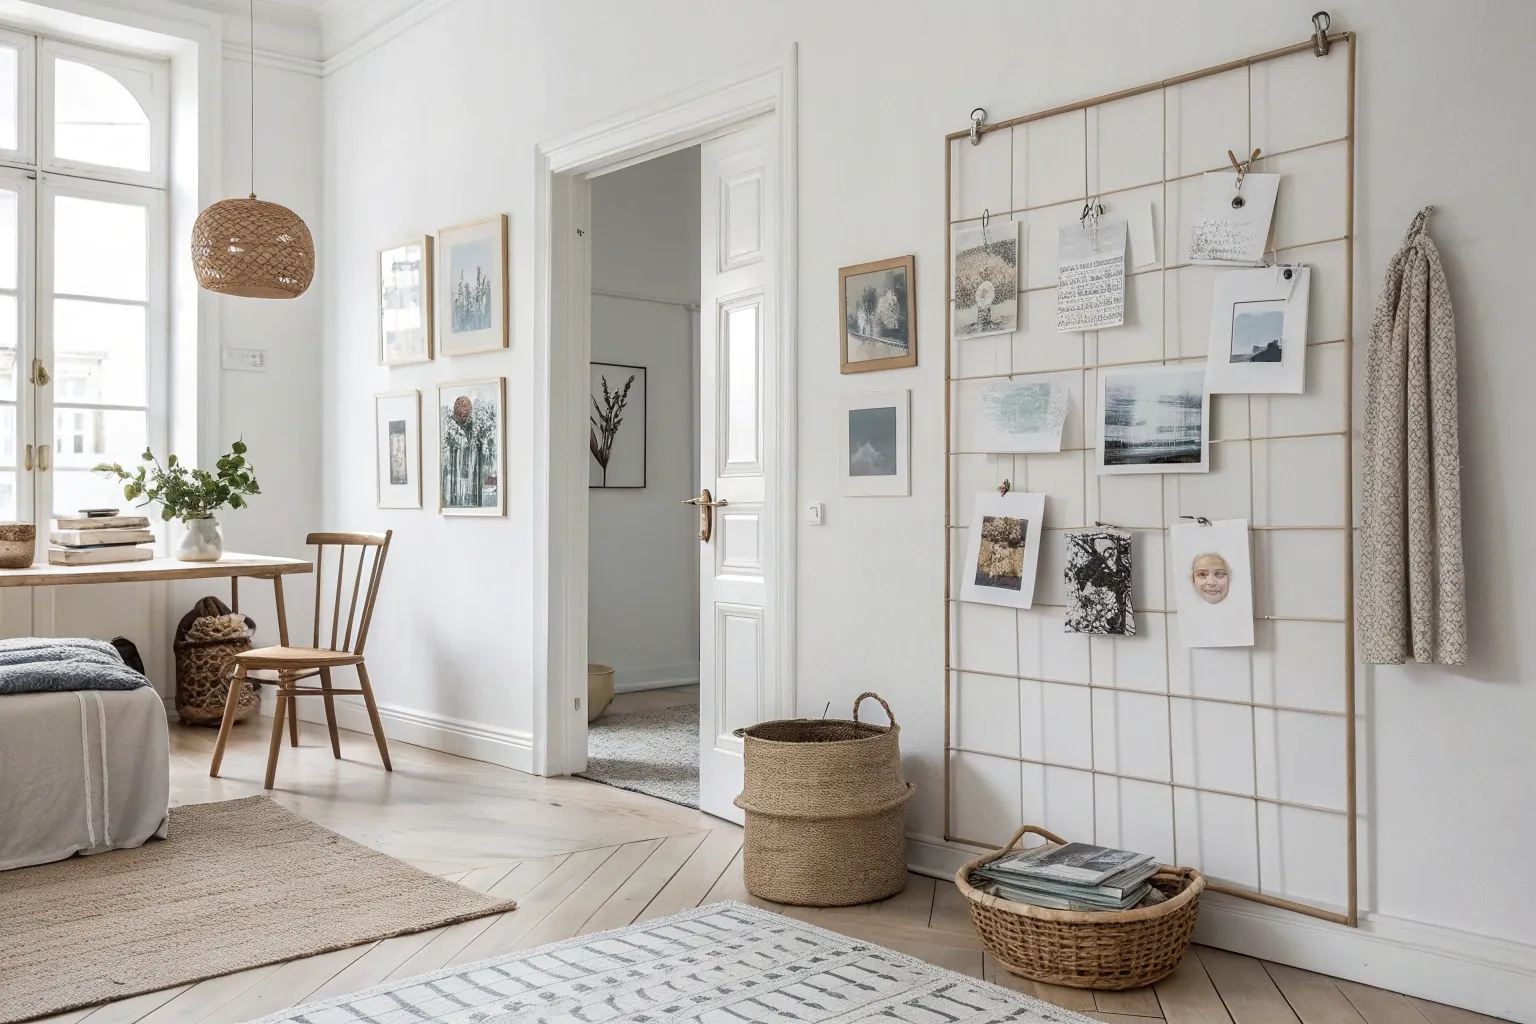
Sometimes the simplest framework is the one that lets creativity expand freely. A modular, clip-on wall frame turns an empty wall into a living canvas—shifting with your projects, memories, and evolving style.
Why Choose a Clip-On Wall Frame
Traditional picture frames or fixed gallery walls create permanence. That permanence is satisfying at first, but it leaves little room for growth. A clip-on wall frame, on the other hand, works as a dynamic architectural support system. Its grid or strip structure transforms your wall into an open, reusable canvas.
Benefits at a glance:
- Expandable: Add or remove panels without drilling again.
- Reconfigurable: Replace items instantly—no tape residue or nail holes.
- Unified Look: Clips, slats, and negative space tie different pieces together visually.
- Cross-Functional: Works equally well for artwork, reminders, organizational tools, or decorative arrangements.
I’ve seen these frames shift roles within the same household—from an inspiration board for an artist, into a family photo wall, to a functional planner system—all on the very same base grid.
Materials and Tools You’ll Need
High-quality results come from careful material choices. Think of the wall frame like a structural scaffold in miniature—it must be sturdy enough to support attachments but subtle enough not to distract from what it holds.
| Item | Purpose | Notes |
|---|---|---|
| Wooden, metal, or composite slats | Structural frame | Wood provides warmth, metal gives a contemporary look. |
| Clips | To secure items | Spring clips, push-in hooks, or sliding clamps. Standardize for coherence. |
| Wall anchors + screws | Frame stability | Important for drywall; use toggle bolts for heavier loads. |
| Measuring tape + level | Alignment | A laser level keeps spacing accurate across long lengths. |
| Saw or pre-cut lengths | Custom sizing | Pre-cut composite slats save time; wood offers flexibility. |
| Sandpaper + finish | Sharp edge removal | Fine-grit provides a clean tactile feel. |
| Optional: paint or stain | Personalization | Finishes unify your frame with your existing decor. |
Planning, Scaling, and Proportion
Design begins before installation. Think in terms of balance, rhythm, and proportion:
- Scale: Determine the maximum visual footprint—should it frame an entire wall or sit as a smaller focal point above furniture?
- Spacing: Standard spacing between horizontal elements—8–12 inches—balances openness with density.
- Symmetry vs. asymmetry: A strict grid feels modern; a freer, branching layout feels casual and playful.
- Load capacity: Estimate the maximum weight per clip. Lightweight prints are simple, but if you plan to hang tools or small shelves, your frame may need reinforced slats.
Example Layout Styles
| Layout | Best Suited For | Notes |
|---|---|---|
| Vertical grid | Narrow wall between windows | Emphasizes height, useful for clustering photos. |
| Horizontal bar | Above desks or couches | Creates a streamlined display shelf effect. |
| Full square grid | Feature wall | Makes wall art modular; every section ready for change. |
| Concept cluster | Creative studios | Asymmetric form encourages experimentation. |
Step-by-Step Installation
1. Map the Framework
- Measure wall dimensions precisely.
- Lightly draw guide marks using a pencil and level.
- Decide where the first anchor points will go. Inaccurate starting points often cause cascading misalignments.
2. Secure the Base
- Drill pilot holes at anchor marks.
- Insert wall anchors designed for your wall type (drywall, plaster, or masonry).
- Attach slats with screws while checking with a level after each section.
- Sand down cut edges and add finish if desired.
3. Attach Clips and Fasteners
- Evenly distribute clips across the slats or grid intersections.
- Test their grip strength with a trial item before filling the wall.
- Optional: Mix clip styles (rotating clips for sketches, pin-style for documents, bracket clips for 3D elements).
4. Curate and Adjust
- Start with a central piece as an anchor point.
- Add surrounding elements, while keeping a ratio of at least 30% negative space for breathing room.
- As your wall becomes active, rotate items in and out—treat it like a working draft of your daily or creative life.
Practical Applications

A clip-on wall frame adapts easily across multiple functions. Here are ways to explore its potential:
- Creative Studio: Pin swatches of fabric, early design sketches, or reference photography.
- Workspace Organizer: Clip project lists, monthly calendars, or to-do notes.
- Kitchen Planner: Display weekly meal plans, grocery lists, or vegetarian recipe cards.
- Children’s Corner: Showcase art projects, encouraging kids to switch pieces at will.
- Seasonal Decor: Rotate natural materials—pressed leaves in autumn, sculptural branches in winter.
- Living Accessories: Attach small planters for greenery or wire baskets for lightweight storage.
In one household project, I suggested dedicating half the board to “finished accomplishments” and half to “current works in progress.” This format gave family members both a sense of achievement and an interactive space to keep daily tasks visible.
Design Tips for Longevity
- Consistency first, then variation: A consistent structural system makes even eclectic displays feel organized.
- Modular flexibility: Build more slats than you initially need—you’ll grow into them.
- Texture balance: Pair paper-based content with occasional dimensional objects (wood samples, fabric swatches, postcards).
- Lighting matters: Overhead or track lighting makes the display sharper and shifts its character between day and night.
- Refresh rhythm: Re-arrange at least once per season to keep the frame alive as a dynamic feature.
Final Inspiration
A clip-on wall frame is less about decoration and more about building a living system of display. You’re not committing to one finished arrangement—you’re investing in an adaptable skeleton that welcomes change. Over time, its shifting content tells an evolving story of creativity, family milestones, and personal growth.
When I stand back after installing one, I think of it less as “finished work” and more as “framework in progress.” That’s the beauty: the frame itself is permanent, but the ideas it carries are temporary, renewable, and always uniquely yours.

