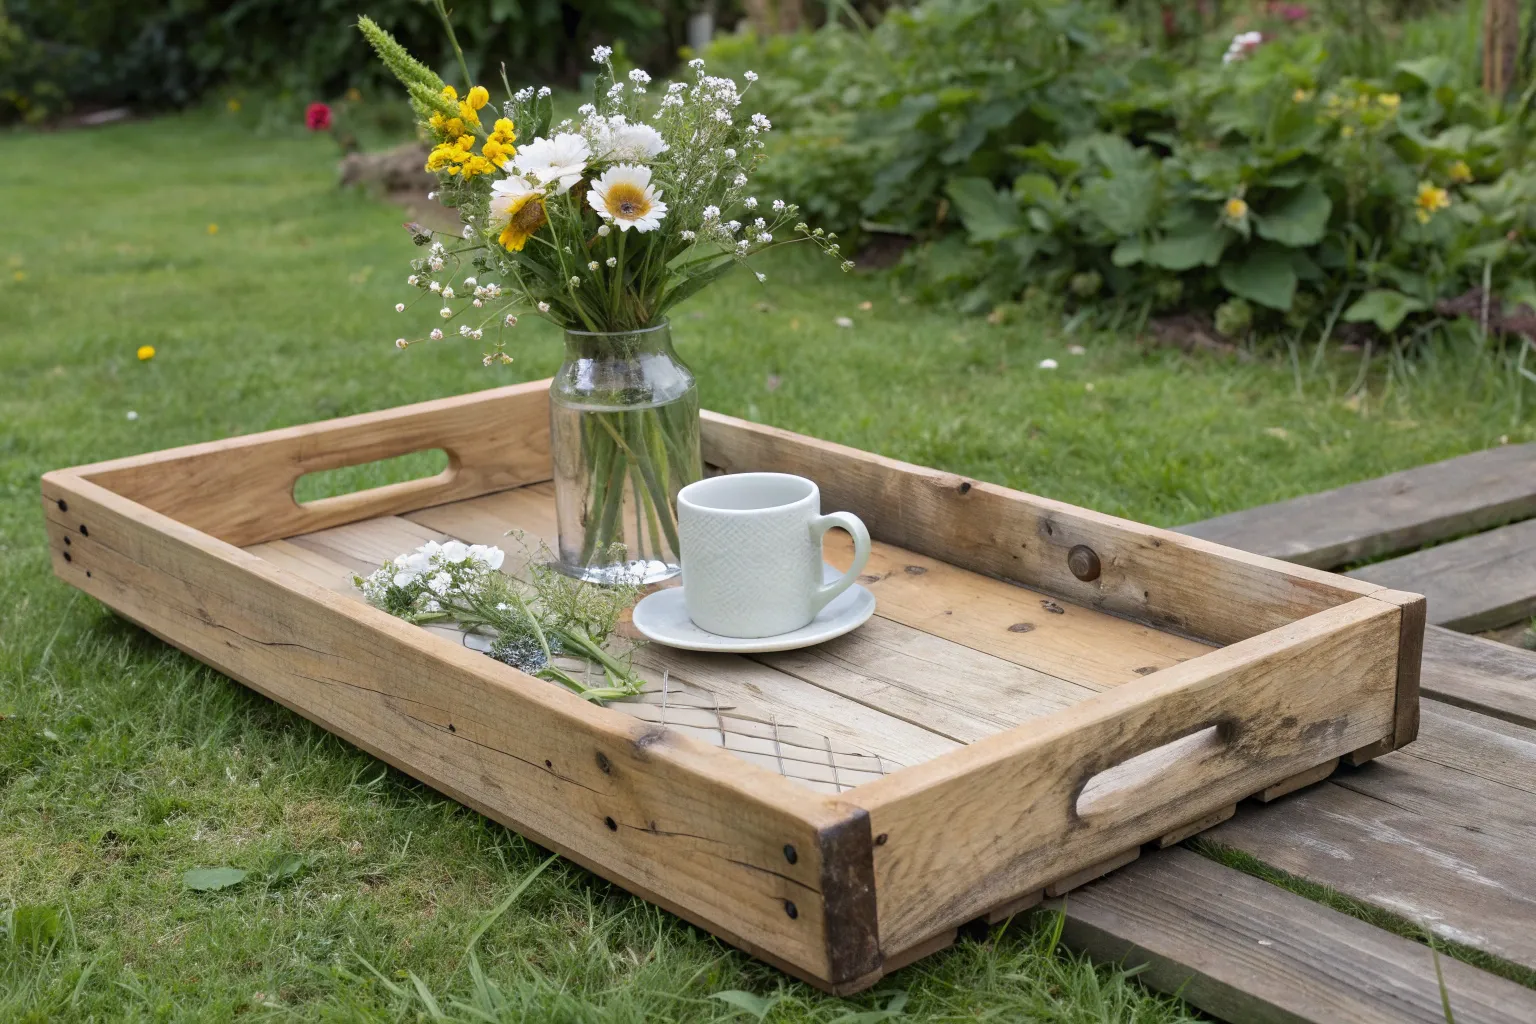
There’s quiet joy in reimagining an object that’s been cast aside. An old tray can become the foundation of a garden table that’s both functional and beautiful—perfectly tailored to your outdoor space.
Why a Tray Makes the Perfect Tabletop
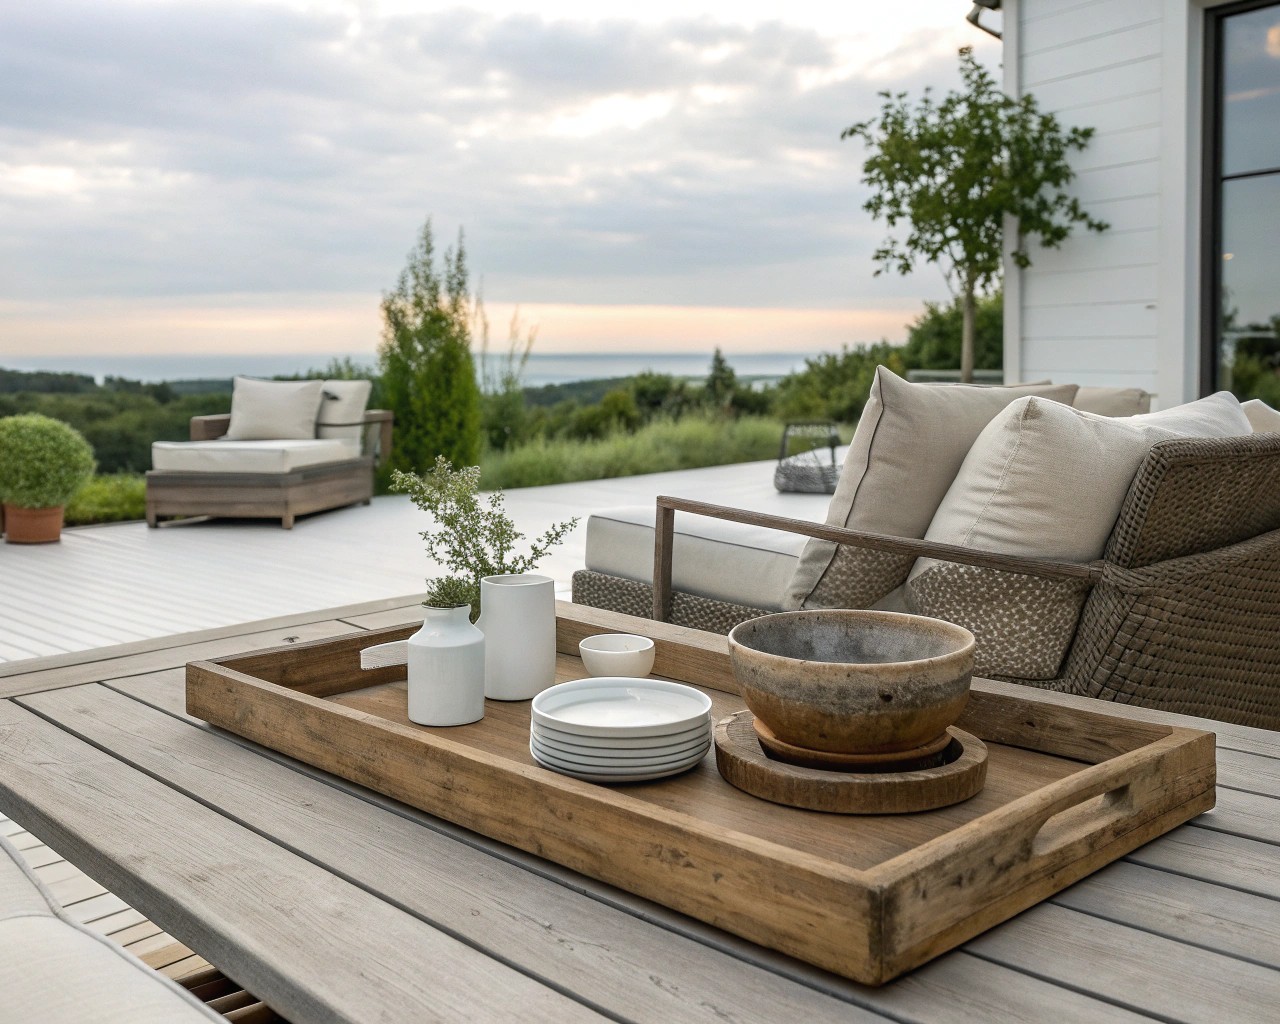
A serving tray may not look like much at first glance, but its design is already halfway to a functional table. With its raised edges, it keeps objects from slipping, which is useful when you’re outdoors dealing with uneven ground or a light breeze. Trays often come in sturdy materials—wood, steel, rattan, even heavy plastic—that can hold up to garden use with a little reinforcing. With the right base, what was once just a household accessory can anchor a patio corner or become your go-to helper during gardening days.
Choosing the Right Tray for the Job
Not every tray will work equally well. Selecting the right one is the first step toward success.
| Feature | What to Look For | Avoid |
|---|---|---|
| Material | Solid wood, powder-coated metal, heavy resin/plastic | Laminated MDF, thin bamboo, flimsy wicker |
| Size | 16–24 inches wide for a side table; up to 30 inches for bigger projects | Anything undersized or too shallow |
| Condition | Sound structure, minor cosmetic flaws are fine | Cracked, badly warped, loose joints |
| Surface | Mostly smooth, flat base | Deep carvings or heavily rounded bases |
Tip: If you find a tray that isn’t perfect but has potential (slightly scratched or dull), remember that sanding, sealing, or painting can restore it.
Gathering Your Tools and Materials
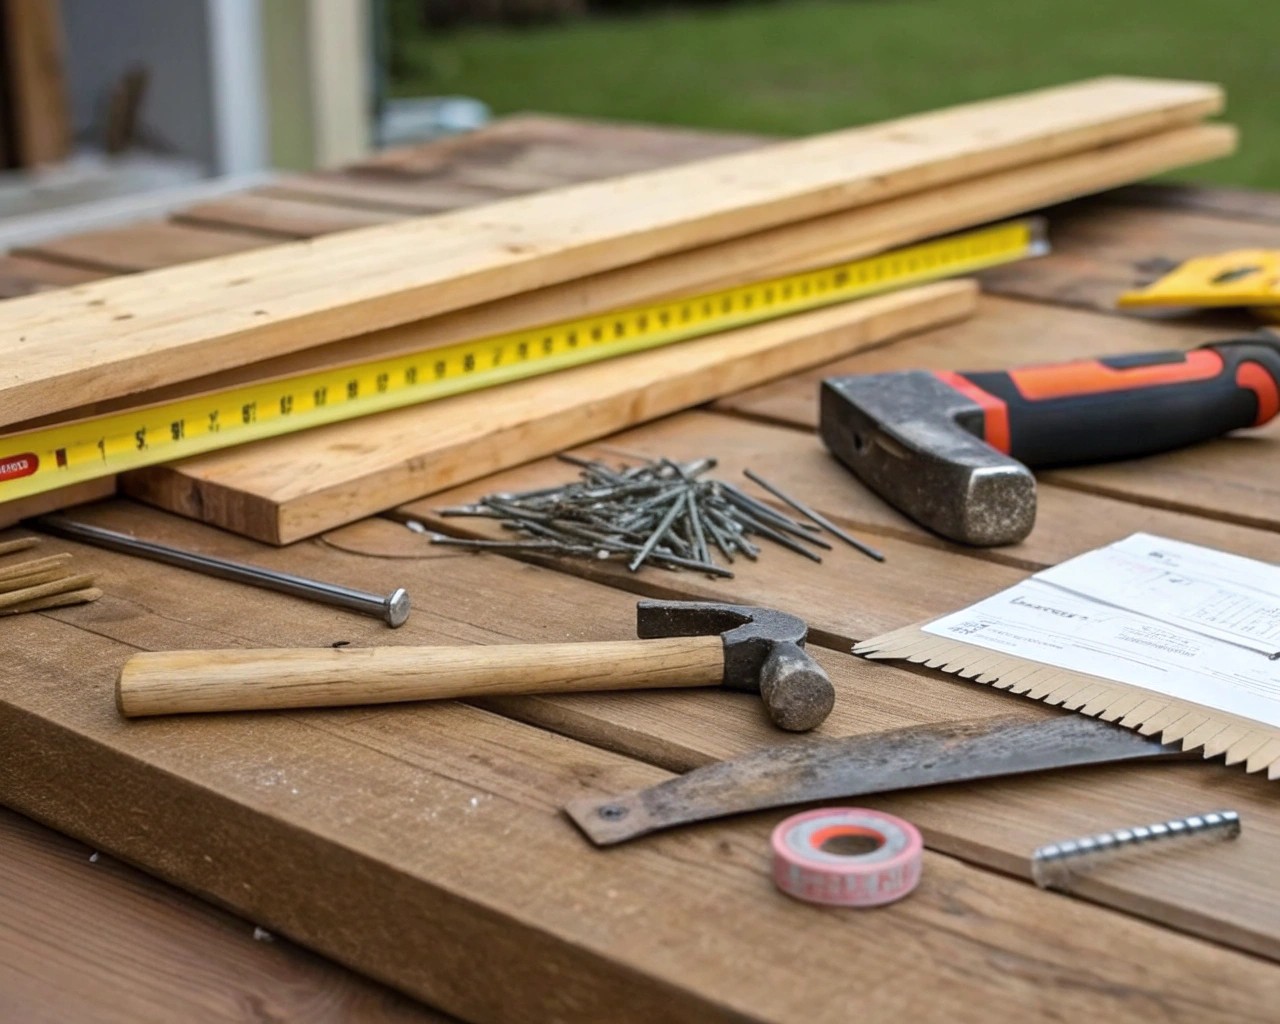
You don’t need an entire workshop—just a focused set of tools:
- Old tray (solid and balanced)
- Potential bases: wooden crate, metal legs, small stool, unused chair base
- Sandpaper: medium (80–120 grit) and fine (220 grit)
- Paint or wood stain (outdoor grade)
- Waterproof sealer or polyurethane coating
- Measuring tape and level
- Drill, screwdriver, screws (rust-resistant for outdoors)
- Heavy-duty adhesive (for non-drill solutions)
- Optional: mosaic tiles, adhesive liners, epoxy resin for waterproofing
Building Your Garden Table – Step by Step
Step 1: Clean and Inspect
Wash the tray thoroughly with soap and water, especially if it’s been in storage. Let it dry fully. Inspect for damage—loose joints can be glued and clamped.
Step 2: Sand and Prep
Sand the surface lightly to create grip for paint or sealant. Wooden trays especially benefit from sanding with fine grit before finishing, giving paint or stain an even surface.
Step 3: Seal or Stain
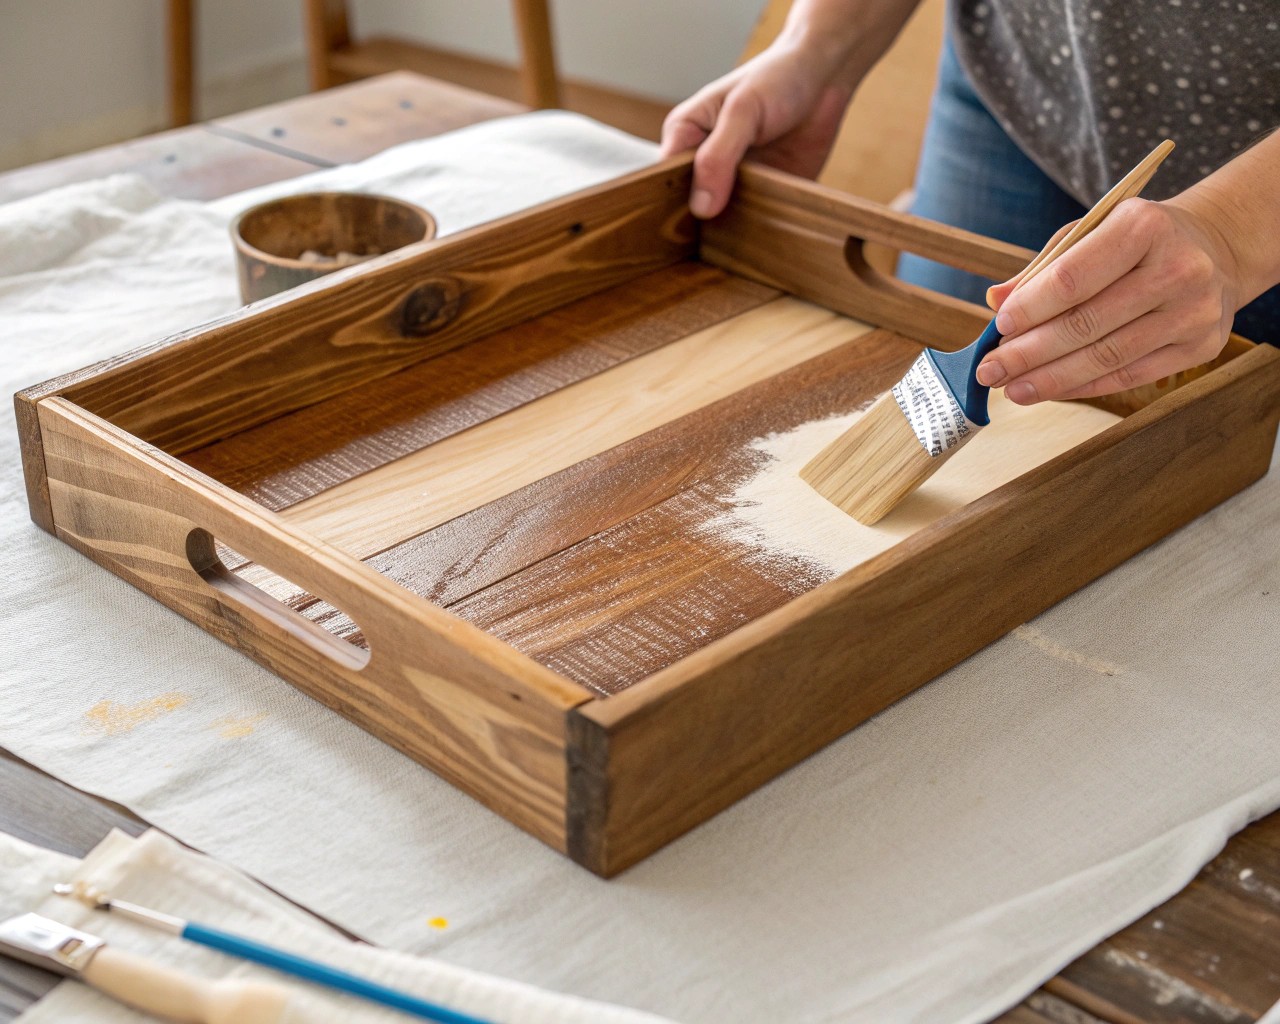
Decide whether you want natural wood grain, a painted finish, or a colorful pop. Apply two thin coats of outdoor paint, stain, or sealant, allowing proper drying time between layers. For metal trays, a rust-protective primer can extend the table’s lifespan.
Step 4: Choose the Base
Here’s where creativity truly shines:
| Base Option | Style Achieved | Difficulty Level |
|---|---|---|
| Wooden crate (flipped) | Rustic, farmhouse-inspired | Easy |
| Small stool | Functional, casual, portable | Easy |
| Salvaged chair base | Eclectic, vintage character | Moderate |
| Pre-made metal legs | Sleek, modern outdoor lounge feel | Moderate |
| Branches or logs | Natural, organic, “blends into garden” | Challenging |
Step 5: Assembly
Mark the center of each base support before attaching the tray. Pre-drill pilot holes when screwing into wood to avoid splitting. For hollow metal bases, use bolts and washers. If the tray material is delicate, adhesive may be safer—apply evenly, clamp or weight the tray, and allow a full curing time.
Step 6: Test Stability
Before using the table, place a few items (water glasses, potted plants) on top and gently push to check sturdiness. Outdoor furniture is often exposed to uneven surfaces, so stability matters as much as design.
Step 7: Add Decorative Details
This is optional but rewarding:
- Line the tray with decorative waterproof paper or tiles.
- Pour a thin layer of resin epoxy inside the tray for a glossy, durable surface.
- Add stenciled patterns on wood before sealing.
- Wrap twine or rope around the edges for a coastal vibe.
Inspiring Design Directions
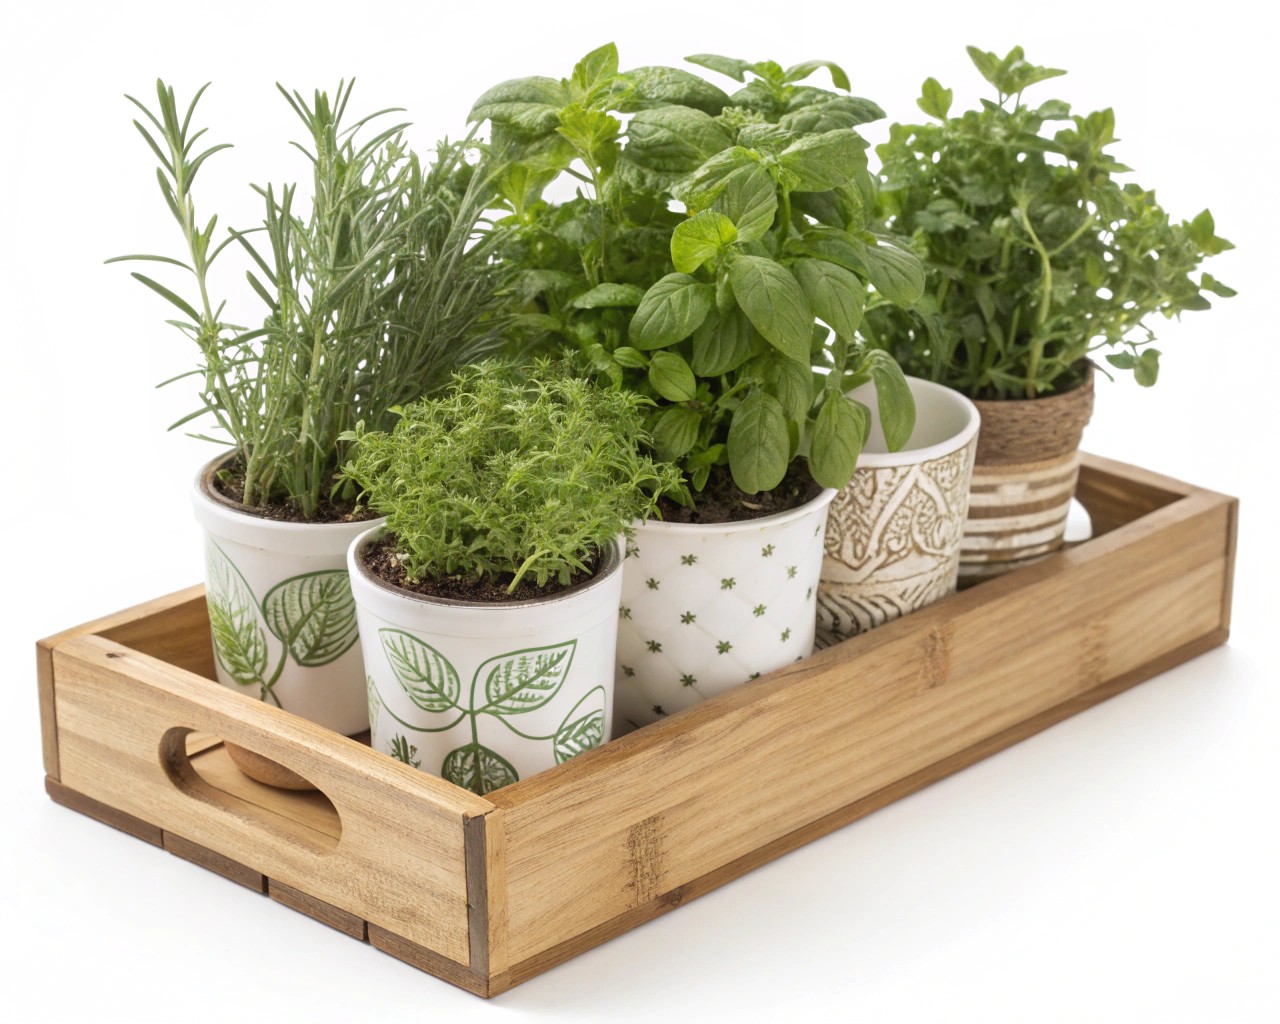
- Rustic Herb Station: Attach a wooden tray to a crate, then line the tray with small herb pots. Perfect to keep on a deck or patio for daily cooking use.
- Evening Drinks Table: Use a brightly painted tray with clean, slender legs. Ideal height is 20–22 inches for use next to seating.
- Mobile Potting Stand: Attach caster wheels to a crate base before adding the tray; this makes it easy to roll from shed to garden.
- Indoor-Outdoor Crossover: Pick a vintage metal tray, polish it, and fix it to mid-century style legs for a stylish accent table that works inside and outside.
Practical Considerations for Long-Term Use
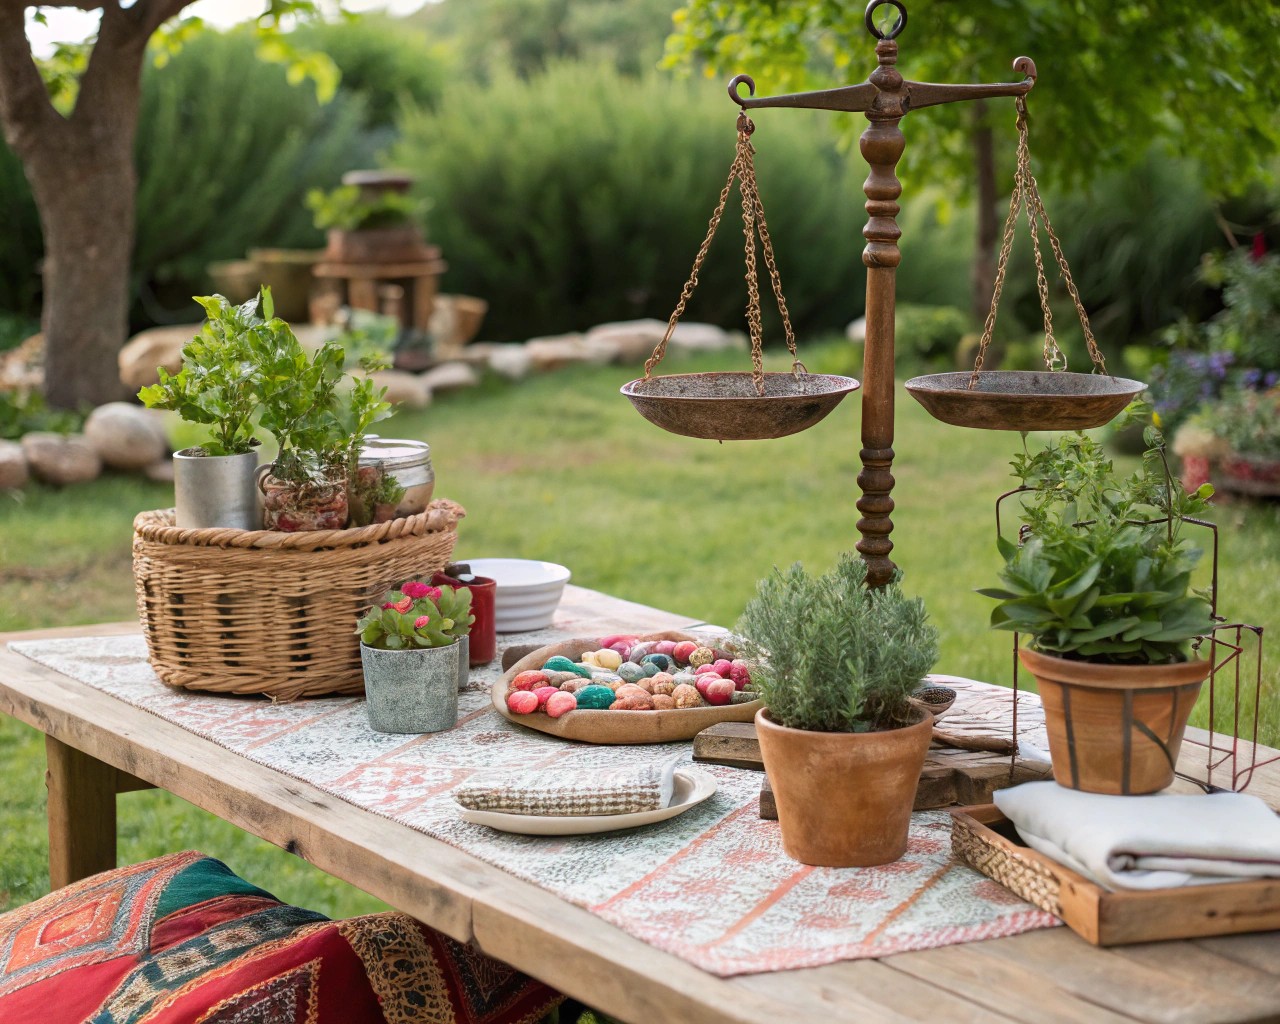
- Weatherproofing: Even after sealing, keep your tray table somewhat sheltered (covered porch, awning) to extend its life.
- Weight Limits: Most repurposed trays won’t support more than 15–20 pounds comfortably. Avoid sitting on it or stacking oversized pots.
- Height Ergonomics: Measure seating around it before attachment—it should align with chair armrests to be comfortable.
- Maintenance: Reapply sealant annually, and check screws or adhesives for loosening due to shifts in temperature and humidity.
Closing Thought
Upcycling a tray into a garden table is about more than cost savings—it’s about seeing possibility where others see clutter. I’ve built versions from rustic crates and from sleek metal legs; no two ever look alike, and each becomes a favorite piece in its own right. With a little vision and a handful of tools, your old tray won’t just find new purpose—it will completely redefine your garden space.

