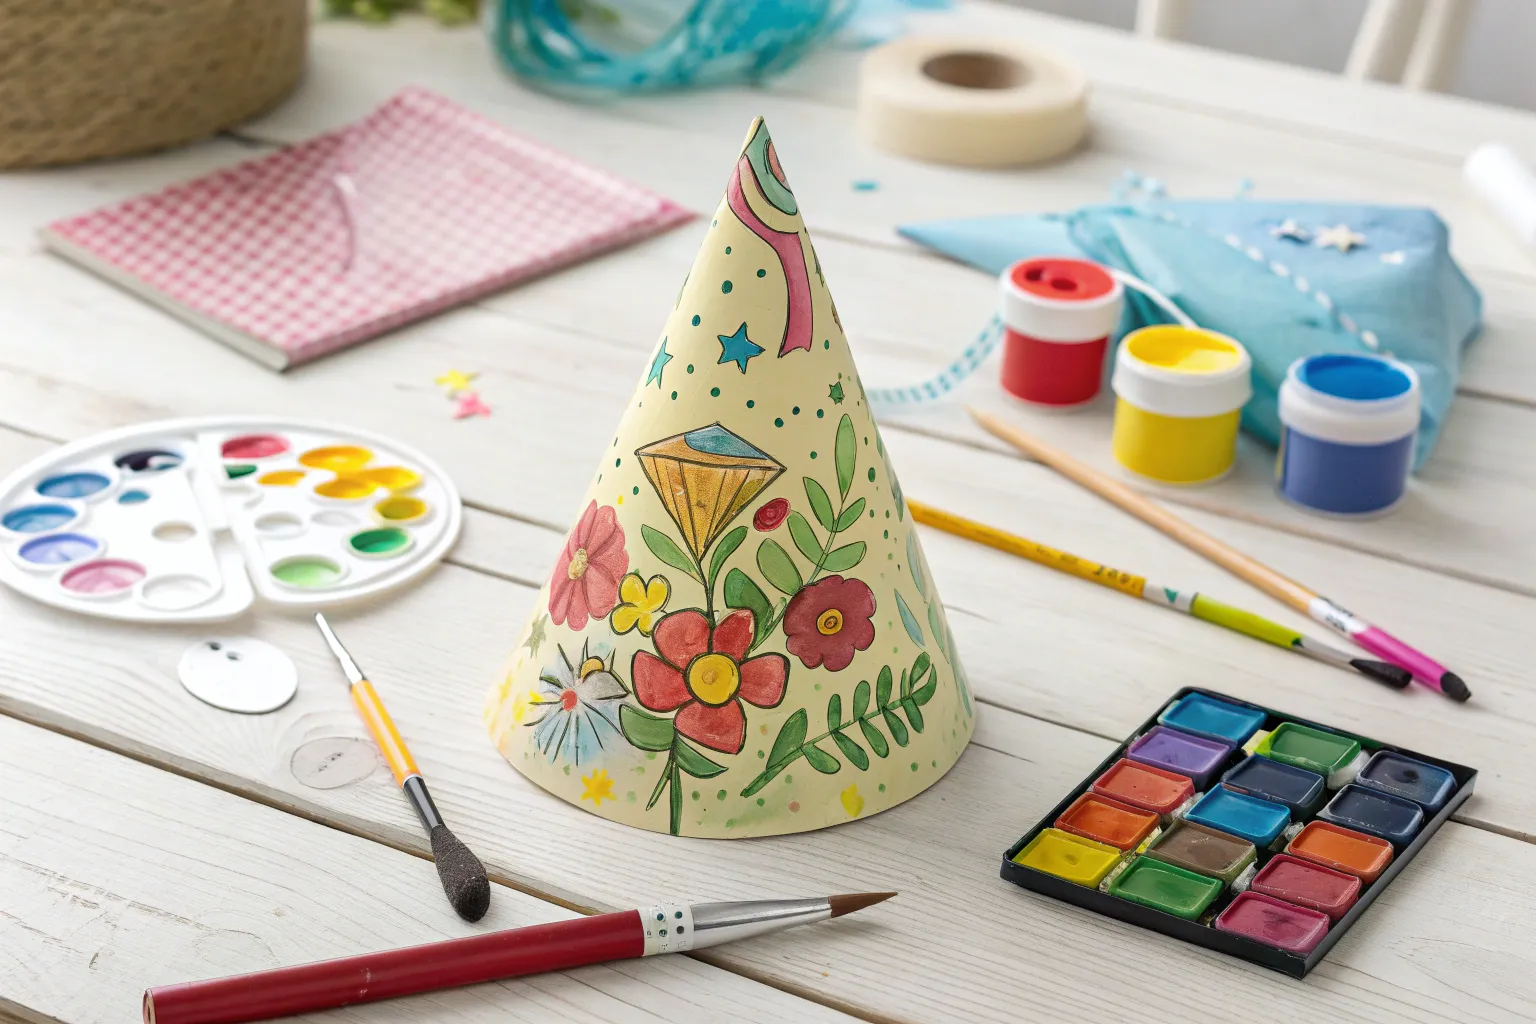
A simple paper cone can be transformed into festive art through color, design, and detail. Handpainted party hats are playful, versatile, and endlessly customizable, making them perfect as décor, accessories, or small gifts.
Why Handpainted Party Hats Stand Out
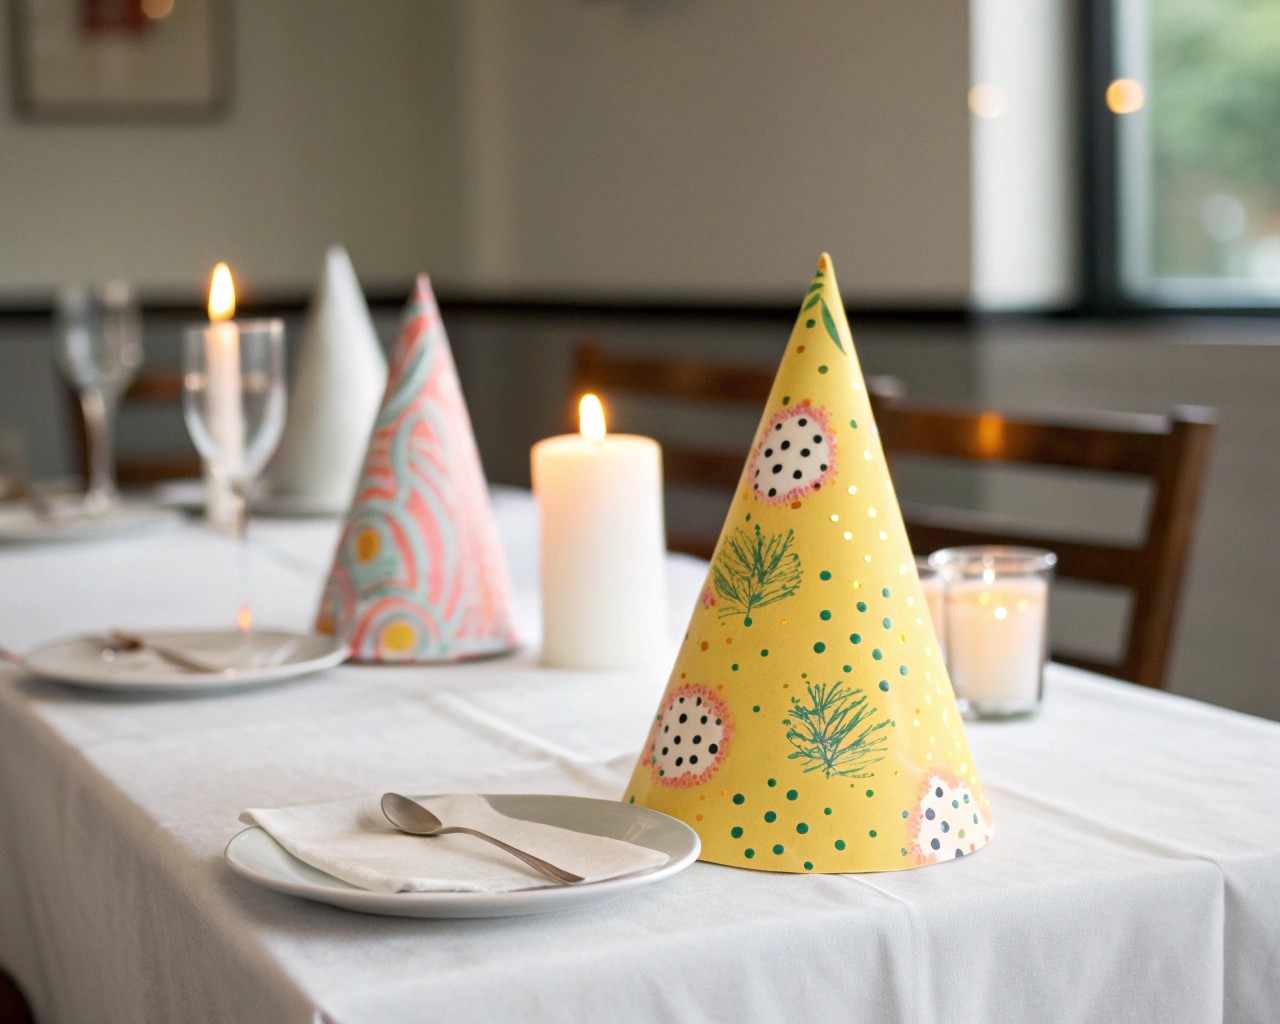
Store-bought hats are convenient, but they rarely feel personal. Painted by hand, each hat carries a sense of artistry, intention, and delight. Their charm lies in their adaptability.
- For Tables: Hats arranged in clusters create vertical height, much like floral centerpieces, but with a lighter, whimsical effect.
- For Gifts: A small cone perched atop a package adds dimension and instantly signals joy.
- For Fun: Whether worn or displayed, they always spark conversation and laughter.
What I love most is that each hat becomes a small canvas. Even with the same base cone, every painted finish tells a new story.
Materials and Tools
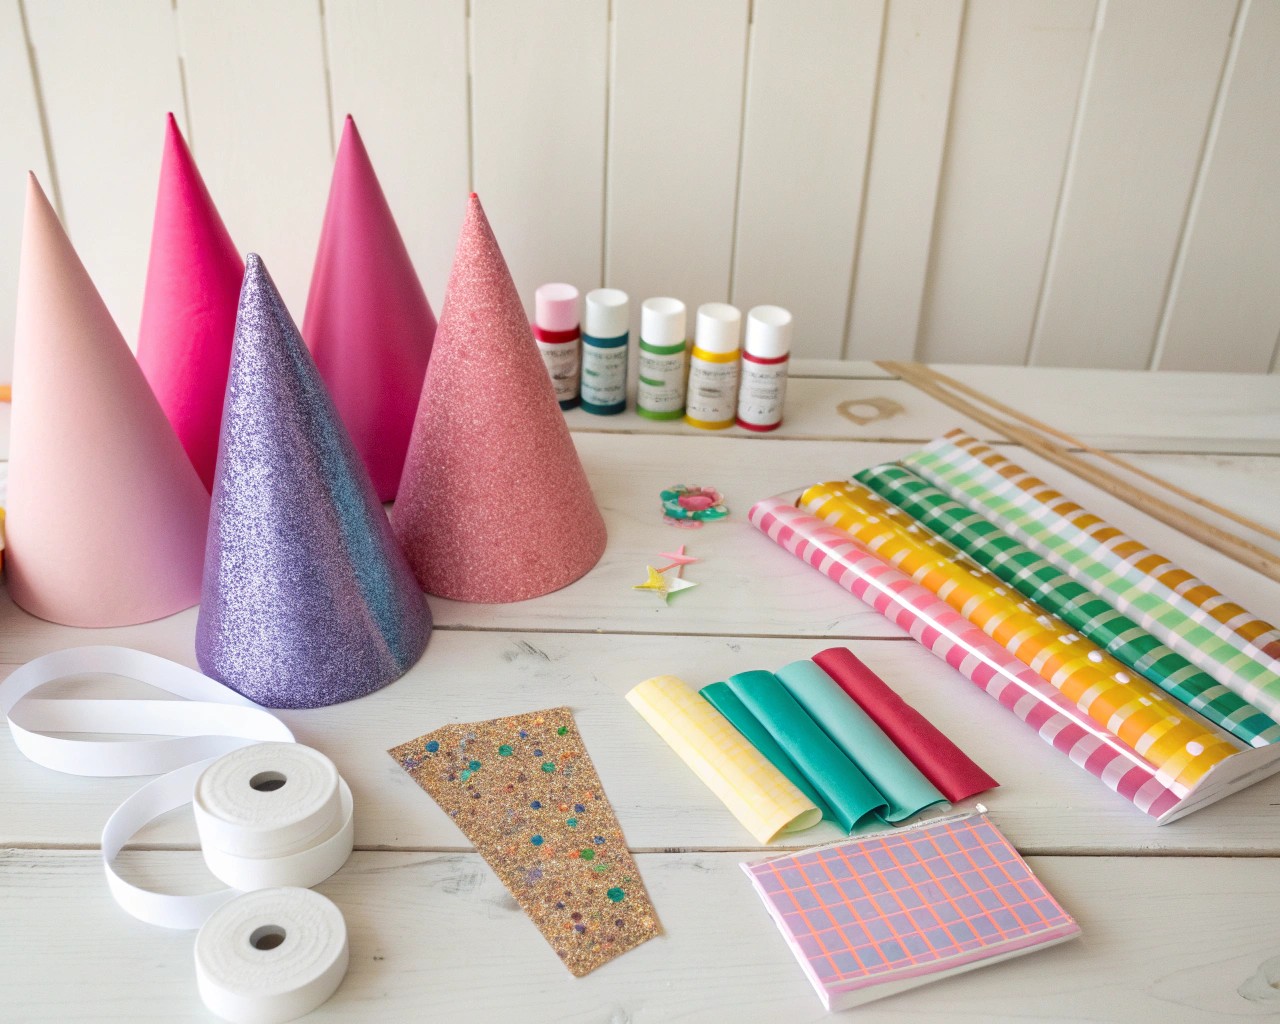
Paper and paint are enough to begin, but a handful of thoughtful supplies expand your creative range.
| Material or Tool | Purpose | Notes |
|---|---|---|
| Heavyweight craft paper / cardstock | Hat body | 65–90 lb weight strikes the balance of flexibility and durability |
| Acrylic paints | Bold, opaque designs | Quick-drying and resilient |
| Watercolors or diluted acrylics | Subtle washes and gradients | Ideal for layered designs |
| Brushes, sponges, or foam tips | Texture and variation | Different tools = different strokes |
| Metallic markers or gel pens | Fine accents, lettering | Especially useful for writing names |
| Glue gun or strong adhesive | Forming and reinforcing the cone | Stronger than basic tape |
| Elastic cord, ribbons, or fabric strips | Securing hats or decorative flourish | Match the aesthetic |
| Scissors, ruler, compass, tape | Measuring, cutting, shaping | Ensures consistency among sets |
Optional embellishments: crepe paper fringes, tassels, lace trims, or tiny pom-poms can be added for texture if you want the hats to lean more festive.
Step-by-Step Guide: The Classic Cone Hat
1. Create the Structural Base
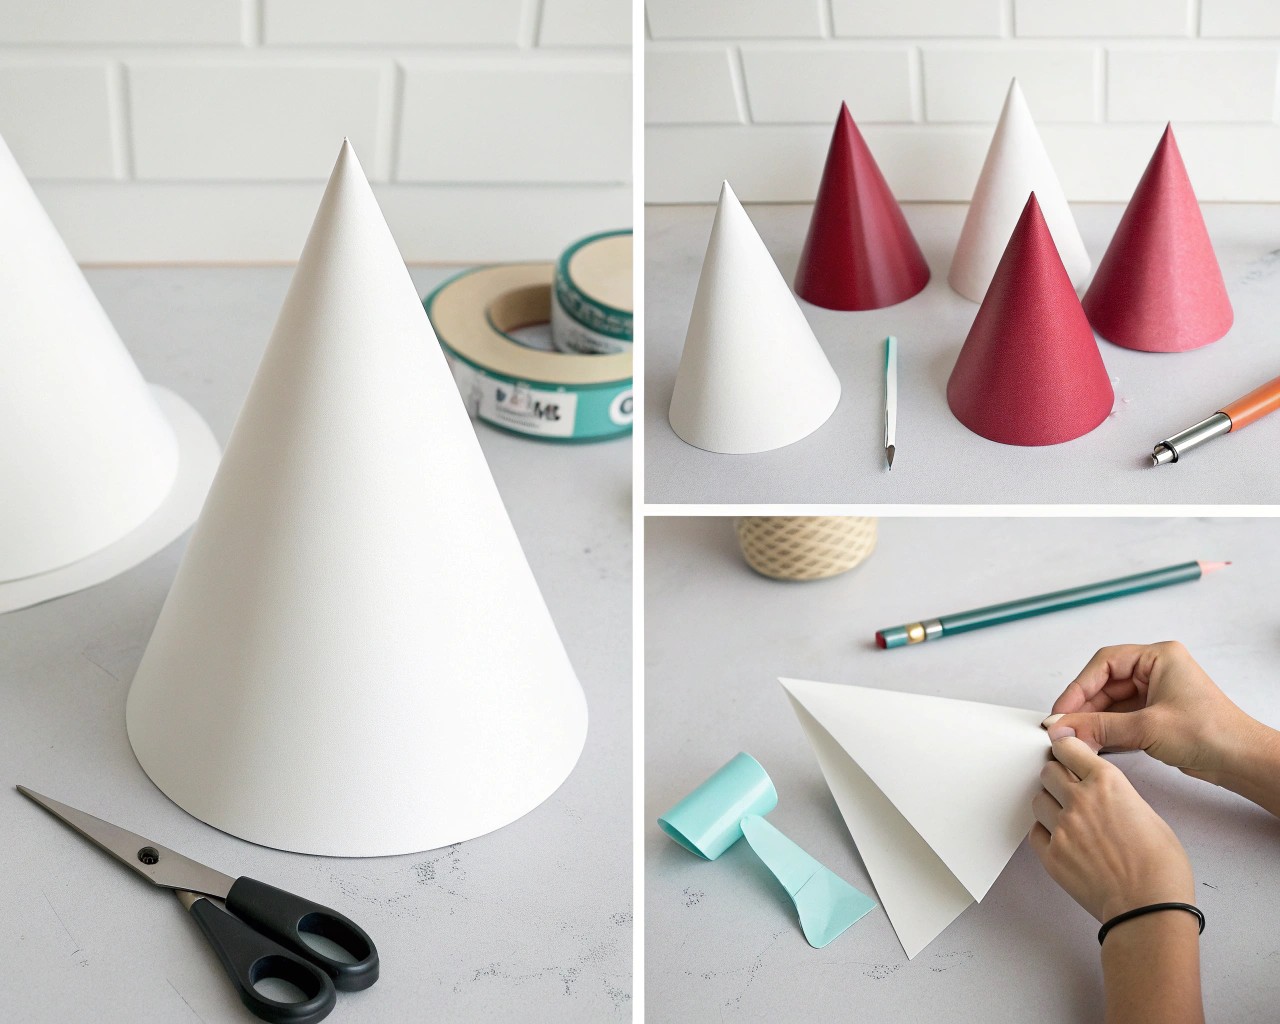
- Cut a circle between 8–10 inches in diameter. Smaller circles yield miniature hats (3–5 inches), larger ones feel dramatic.
- Use a ruler to mark the center, then cut a straight radius line outward.
- Overlap the cut edges until the cone reaches your preferred height and diameter. Glue and hold in place until fully secure.
2. Apply a Base Coat
- Before designing, apply a solid base (white, pastel, or neutral). This primes the paper and minimizes warping from subsequent layers.
- Allow at least 20 minutes to dry completely.
3. Paint the Surface
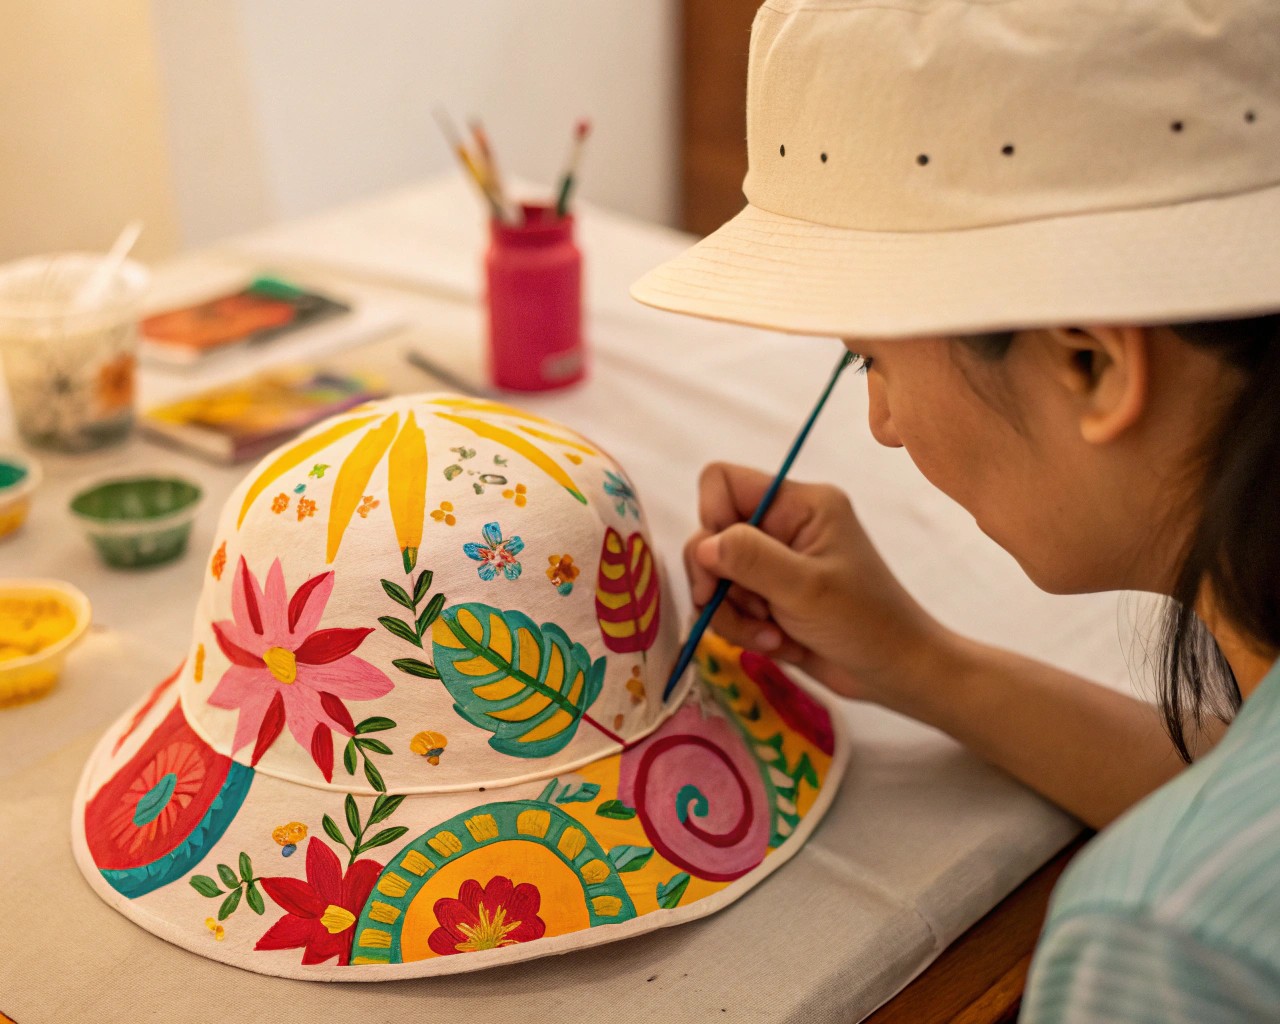
- Begin with broad strokes, washes, or repeating patterns (stripes, waves, color blocks).
- Layer smaller details: dots, stars, lines, or illustrations.
- Use sponges or dry-brush techniques for softer transitions or textured backgrounds.
4. Add Details and Accents
- Outline edges with metallic paint or marker for a finished look.
- For names or initials, use a fine brush and keep strokes deliberate and steady.
- A pom-pom or ribbon tuft at the tip instantly conveys “party.”
5. Finish for Purpose
- If the hat is wearable, punch two small holes across from one another near the base, thread elastic cord or ribbon, and tie secure knots.
- If the hat is decorative, reinforce the base rim with tape inside so it sits upright more easily on flat surfaces.
Creative Design Themes
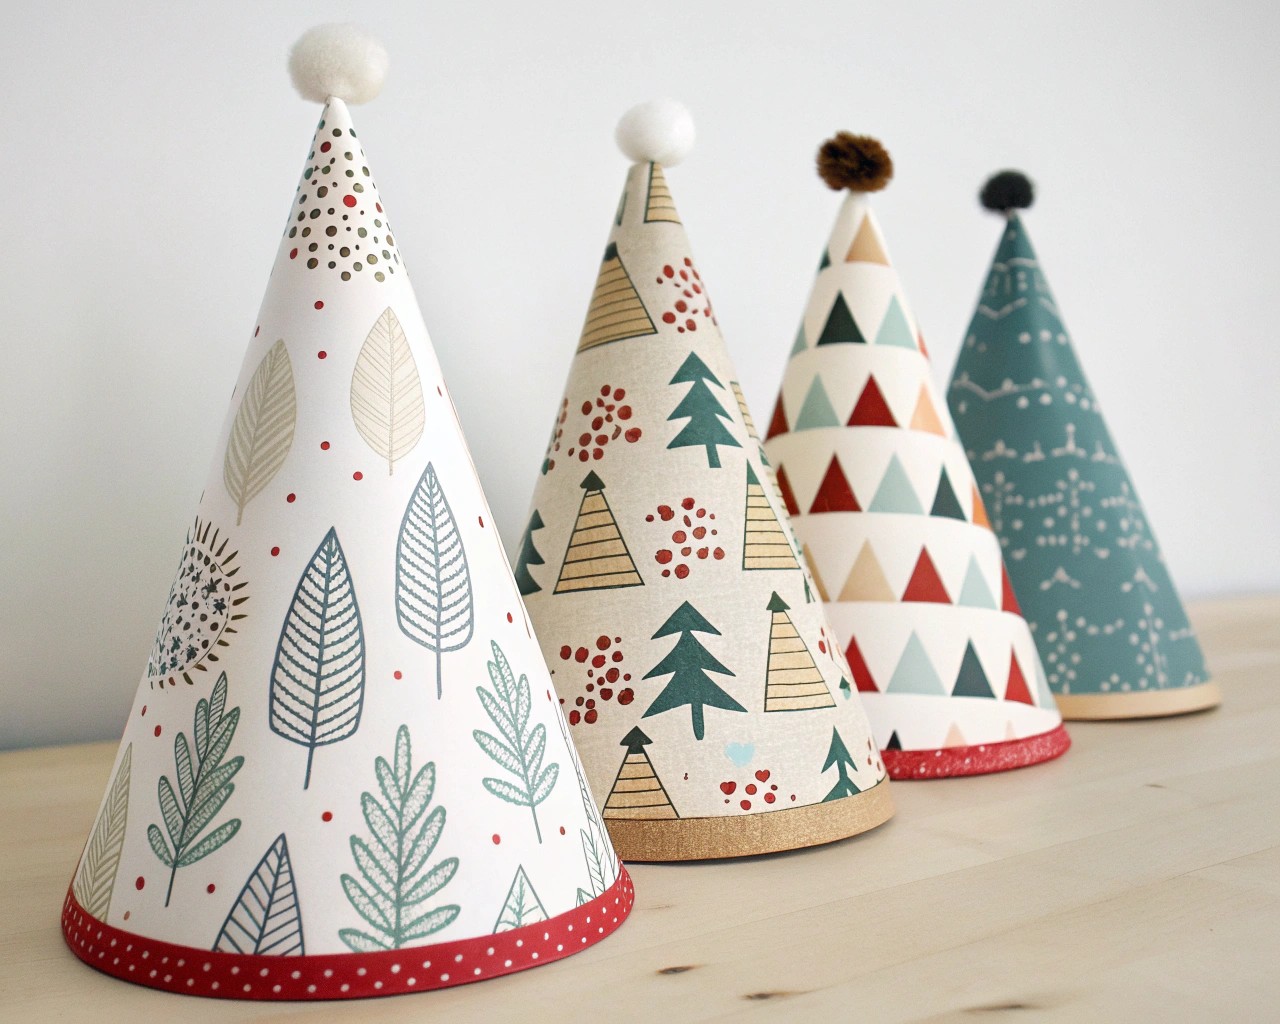
| Inspiration Style | Palette | Painting Techniques | Where It Works Best |
|---|---|---|---|
| Confetti Burst | Red, yellow, blue, bold white | Randomly placed dots, dash marks, splatters | Children’s birthdays, playful gatherings |
| Botanical Garden | Greens, blush pinks, cream | Fine line leaves, watercolor blossoms | Spring events, baby showers, garden parties |
| Modern Minimal | Black, gray, sand beige | Angular stripes, abstract line art | Stylish dinner settings, artful décor |
| Celestial Night | Deep navy, violet, silver | Sponged galaxy blend, star clusters | Evening birthdays, stargazing events |
| Festive Winter | White, icy blue, metallic accents | Snowflakes, geometric patterns | Holiday tables, gift toppers |
I’ve found that committing to a single theme across all hats gives tables a more curated, professional appearance, while mixing themes creates an eclectic, artistic energy.
Beyond the Standard Hat
Handpainted hats easily cross over from wearables to décor objects:
- Tabletop Sculptures
Arrange a cluster of hats in varied heights at the center of the table. Place them on mirrored plates for added light reflection. - Gift Accents
Instead of ribbons and bows, top wrapped boxes with a tiny cone hat for a 3D finish. - Ornamental Décor
Scale down to 2–3 inch hats, punch a fine hole at the tip, and add a thread loop. These can hang on branches, light fixtures, or holiday trees. - Place Card Holders
Paint names directly onto hats to mark seating arrangements. Slight tilt placement at each place setting invites smiles without cluttering the table.
Tips for a Polished Outcome
- Paint in Layers: Thin coats maintain paper integrity and keep surfaces smooth. Dry fully between applications.
- Work in Sets: Batch-making three to five hats ensures cohesion and saves setup time.
- Mind Scale: Larger hats dominate a table, while mini hats act as subtle accents. Choose sizes relative to your space.
- Seal if Needed: Spray a matte sealer for durability, especially if hats will be handled, stored, or given as keepsakes.
- Play With Edges: Trim with scalloped scissors, wrap rims in fringe, or dip edges in paint for nuanced finishes.
Closing Thought
Handpainting party hats is less about perfection than about playful artistry. They’re decorative sculptures in miniature form—utterly adaptable, delightfully imperfect, and often the most joyful surprise on a table or in a gift. Whether you paint one as a keepsake or twenty as a centerpiece set, the energy they bring feels celebratory in itself.

