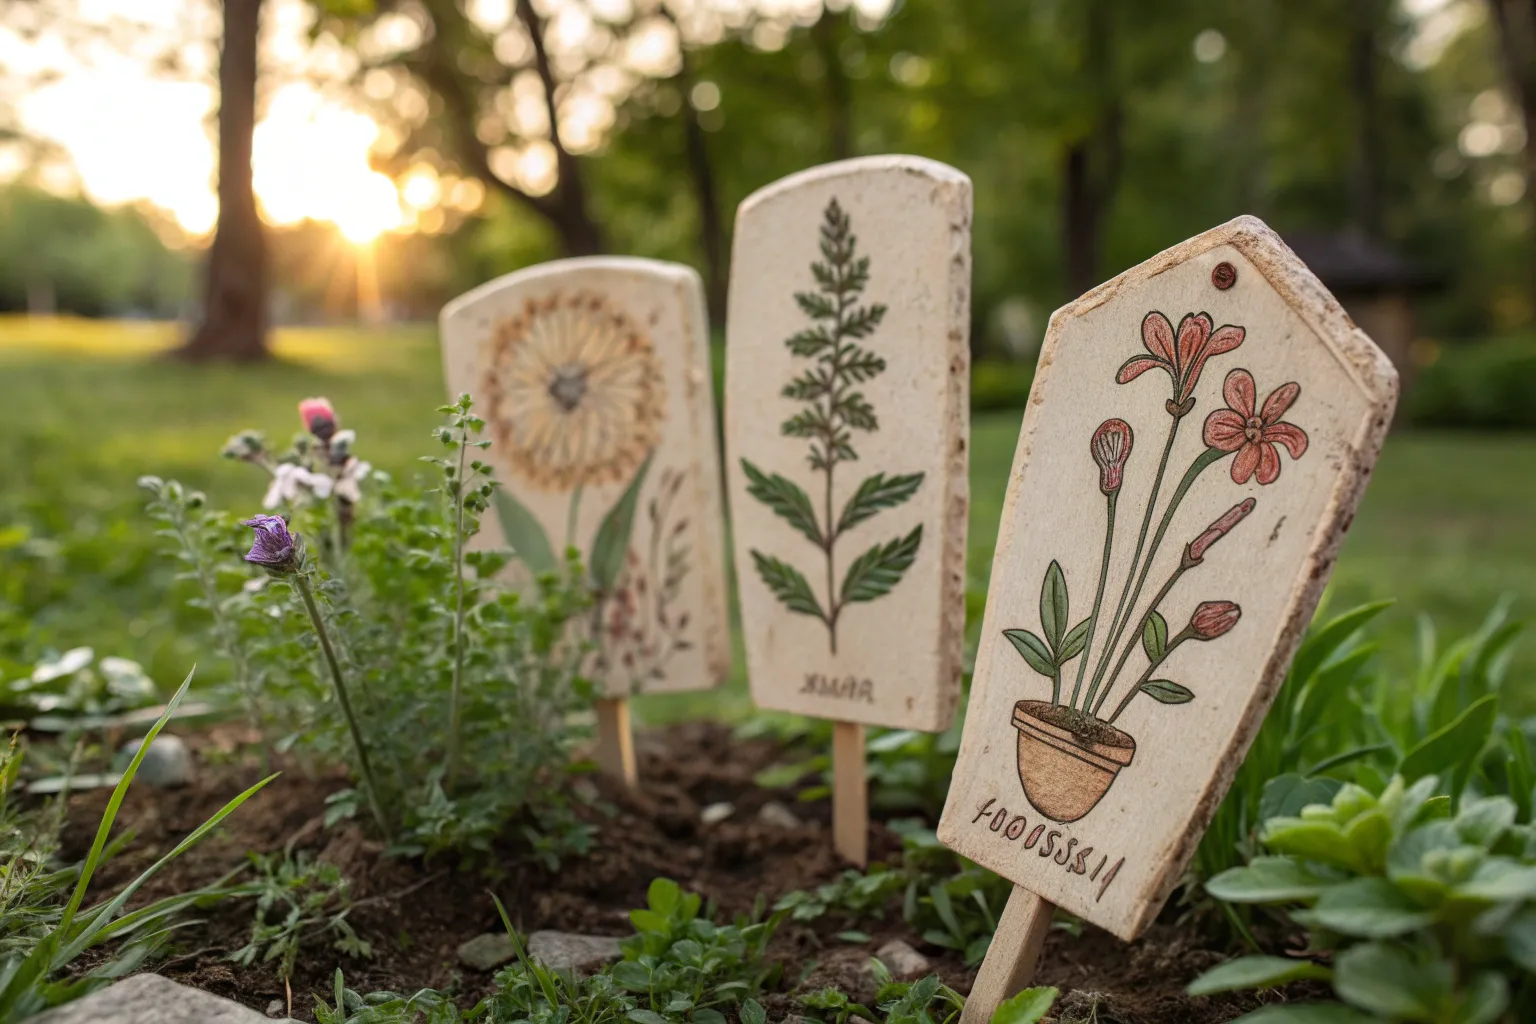
There’s something calming about setting a garden in order with labels that feel as natural and intentional as the plants themselves. Soft clay is an ideal material—flexible when shaped, strong when cured, and endlessly customizable for a handmade touch.
Why Soft Clay Makes Exceptional Plant Labels
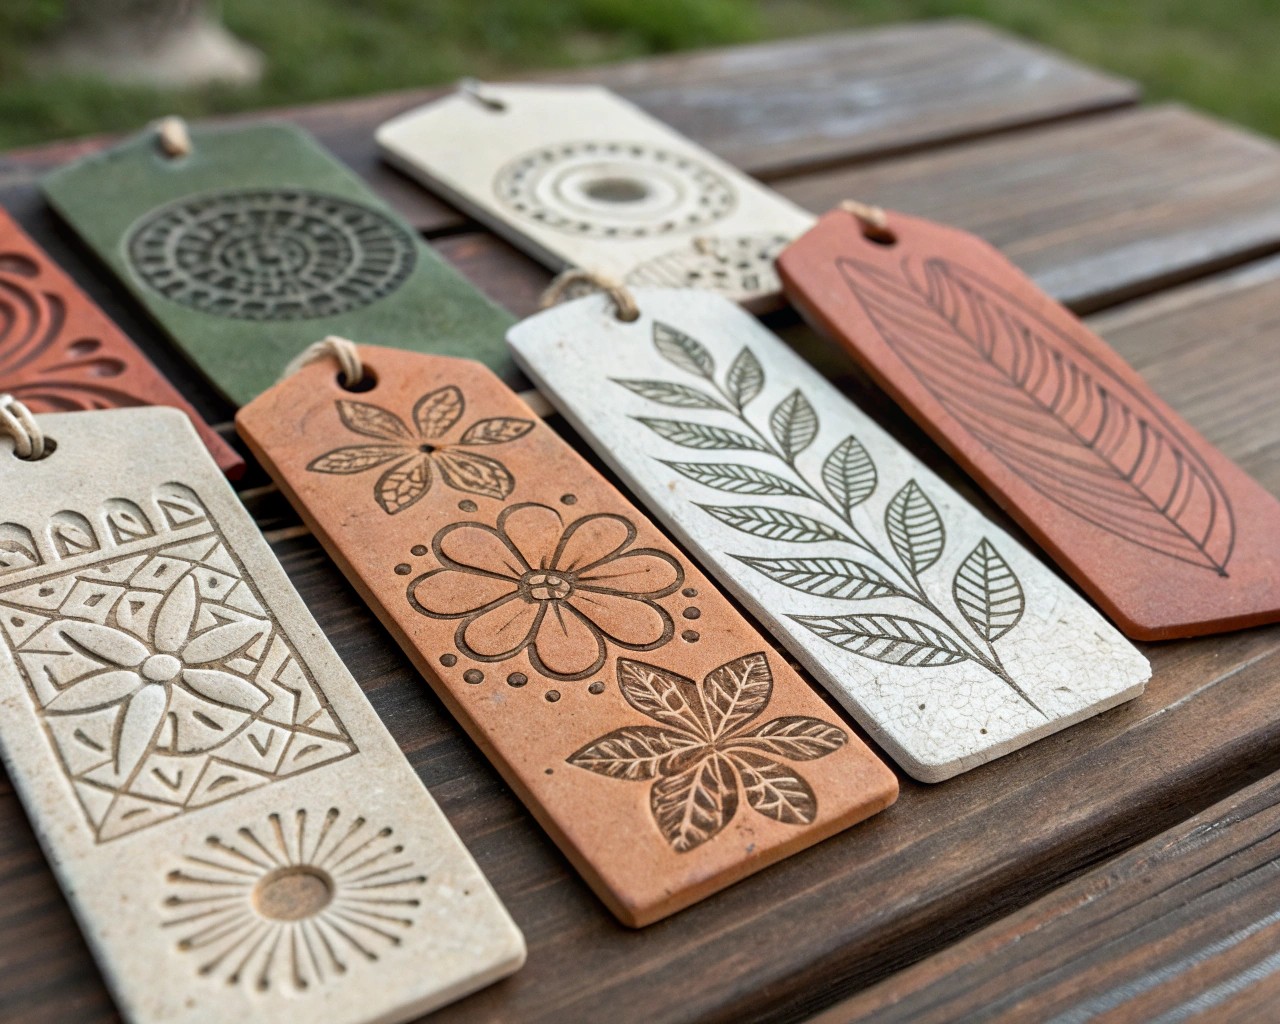
When creating garden markers, durability and clarity are usually the top concerns. Soft clay, however, offers more than simple utility—it transforms a label into a small crafted object.
- Longevity: Once dried or baked, clay is dimensionally stable and resistant to moisture compared with paper or untreated wood.
- Sustainability: Clay contains no synthetic plastics and integrates harmoniously into an outdoor setting.
- Artisan Quality: Each impression, curve, or uneven edge records the maker’s hand, giving even a utilitarian stake a sense of artistry.
In designing labels for both home gardens and client installations, I’ve noticed that visitors frequently comment on the labels themselves. They become story pieces, small tactile objects people enjoy handling.
Materials and Tools You’ll Need
Gathering the right materials in advance ensures a smoother, more enjoyable making process.
Materials
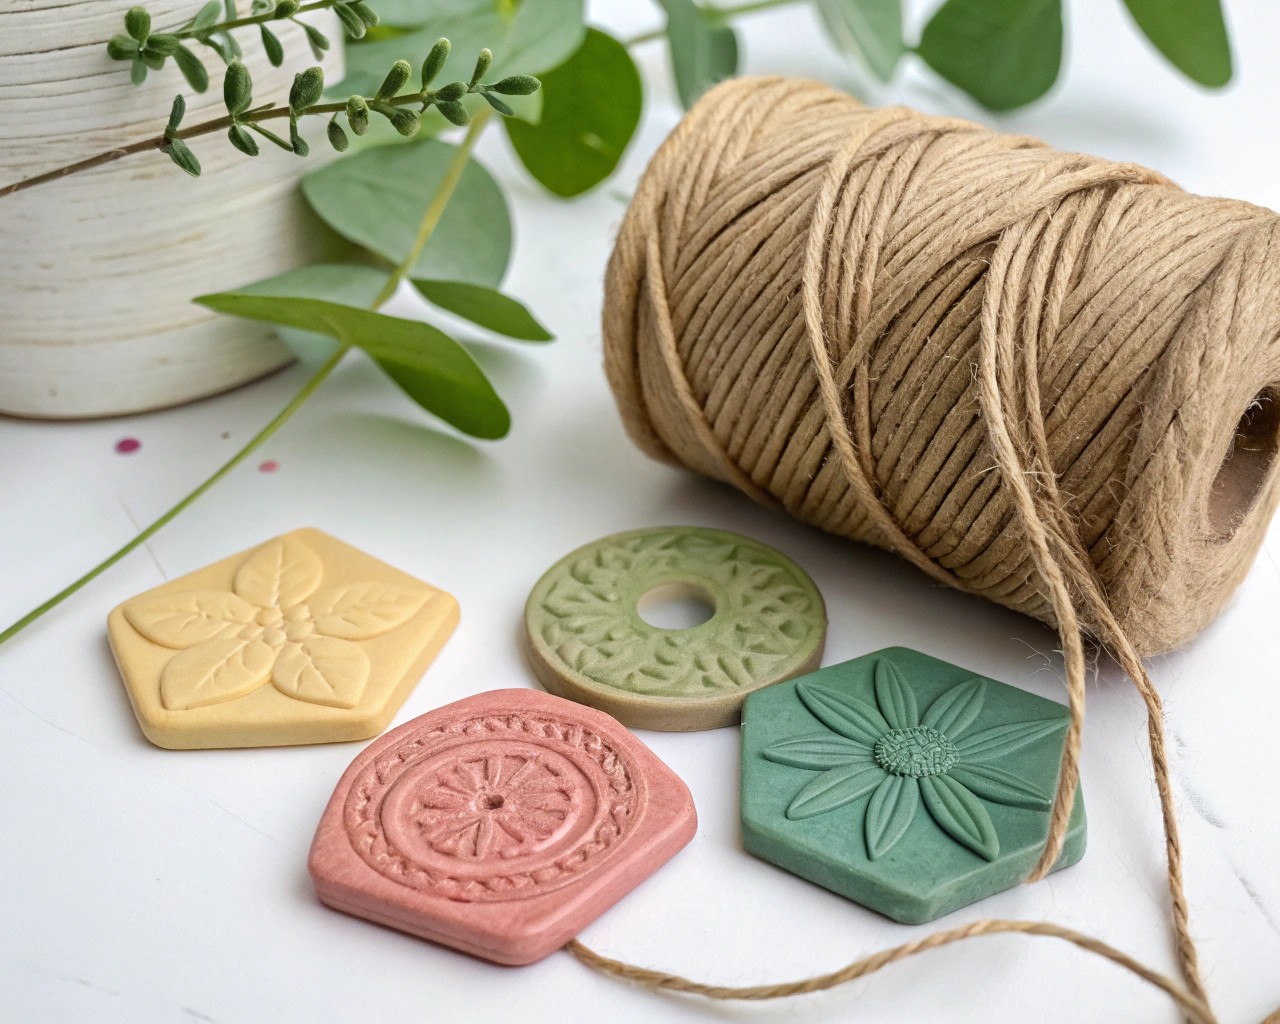
- Soft clay: Choose air-dry for convenience or polymer clay for greater durability and weather resistance.
- Water bowl: To smooth edges and prevent cracks as you work.
- Finishing options: Food-safe varnish, diluted pigments, or weather-resistant paints.
- Twine or thin wire: If creating hanging labels instead of stake-style.
Basic Tools
- Rolling pin or smooth glass bottle
- Knife, craft blade, or clay cutter
- Toothpick, skewer, or stylus for holes and engraving
- Alphabet stamps or carving tools for lettering
- Baking sheet/parchment paper (if baking polymer clay)
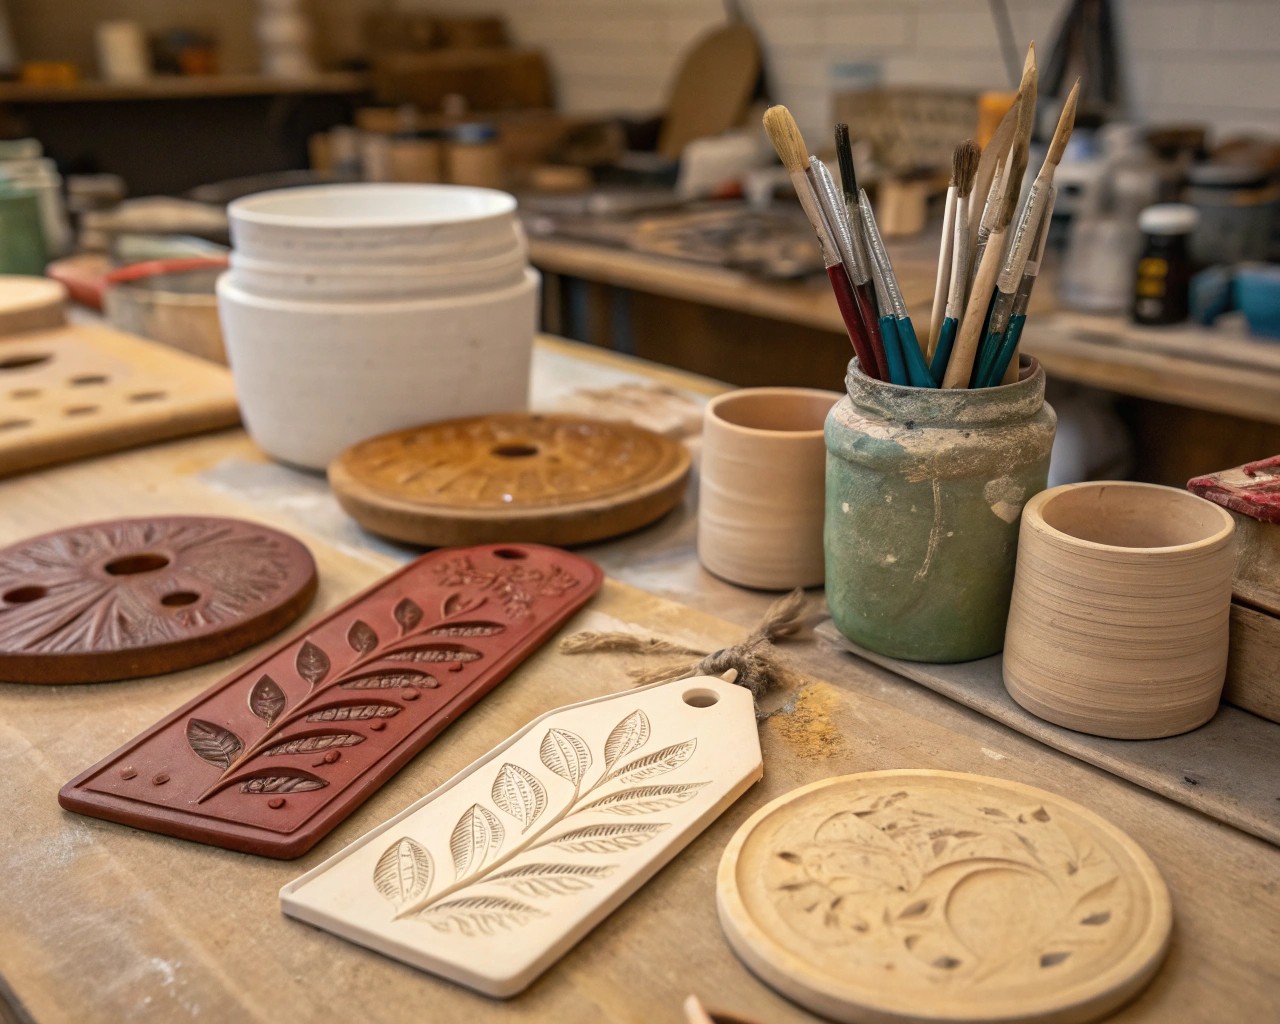
An organized workspace—clay at the center, tools neatly grouped to one side—goes a long way in maintaining rhythm while shaping multiple labels.
Step-by-Step Guide to Creating Soft Clay Plant Labels
Step 1: Prepare the Clay
Knead the clay until soft and pliable. Warming it slightly in your hands activates its plasticity and reduces the risk of cracking later. For larger batches, break it into smaller portions and condition each separately for even results.
Step 2: Roll and Cut Shapes
- Thickness: Aim for around 6–7 mm (¼ inch); this balance prevents both brittleness and bulkiness.
-
Shape Suggestions:
-
Rectangular strips for classic stake markers.
- Rounded tablets with holes for tie-on tags.
- Leaf or petal silhouettes for decorative garden borders.
Maintaining consistency in size helps labels look cohesive when grouped in the garden. However, leaving edges a little irregular adds character.
Step 3: Create Lettering and Texture
This is the creative core of the process, where functionality meets artistry.
- Stamping: Press alphabet stamps evenly but not too deep to ensure clarity.
- Incising: Hand-engrave plant names with a pointed tool for a more handmade script.
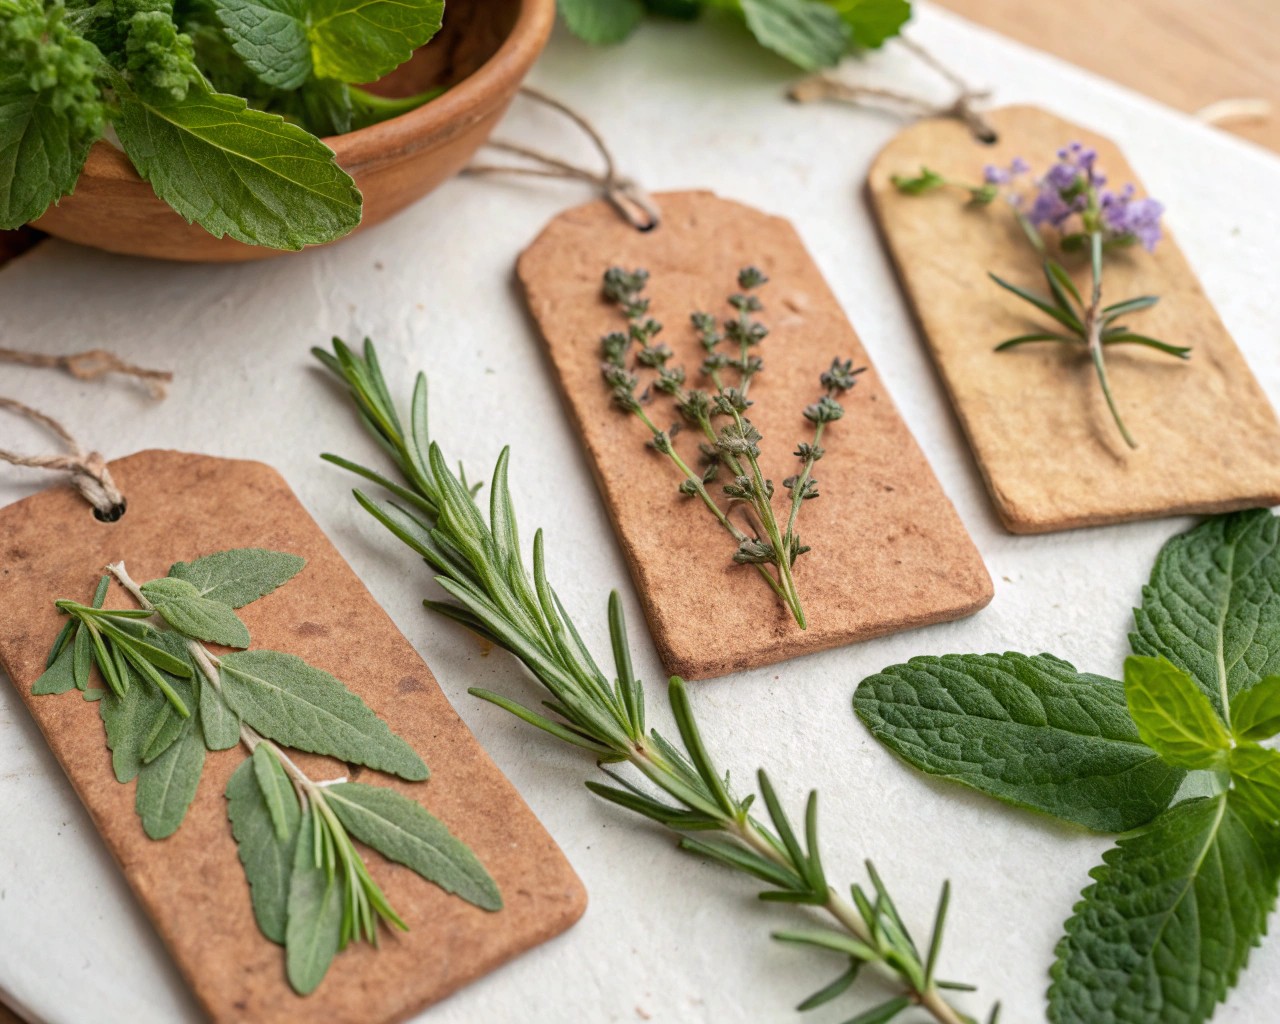
- Surface embossing: Press herbs (rosemary, thyme sprigs, or fern leaves) into clay for botanical textures. Once the impression forms, gently peel the plant material away to reveal delicate detail.
I like balancing practical text with one small decorative impression—it creates harmony without overwhelming the label.
Step 4: Drying or Baking
- Air-Dry Clay: Place each label on parchment, rotating every few hours to ensure both sides release moisture evenly. Allow 24–48 hours depending on thickness and humidity.
- Polymer Clay: Bake on a parchment-lined tray at low heat. Monitor closely, as over-baking causes warping or discoloration.
Tip: Insert finished labels into a bowl of dry sand before curing to maintain straight, even edges without bowing.
Step 5: Finishing Touches
- Sanding: Lightly smooth edges with fine-grit sandpaper if desired.
- Sealing: A matte water-based sealer prevents soil staining and weather damage.
- Accents: Rub diluted paint or pigment into engraved lines, then wipe away surface residue to highlight lettering.
If the plant’s name is long, consider shorter abbreviations paired with a decorative symbol for easy recognition.
Design Inspiration: Styles for Every Garden
| Style | Key Features | Effect | Ideal Setting |
|---|---|---|---|
| Minimalist | Clean rectangular shapes, simple stamped names | Modern, straightforward | Indoor pots, countertop herb planters |
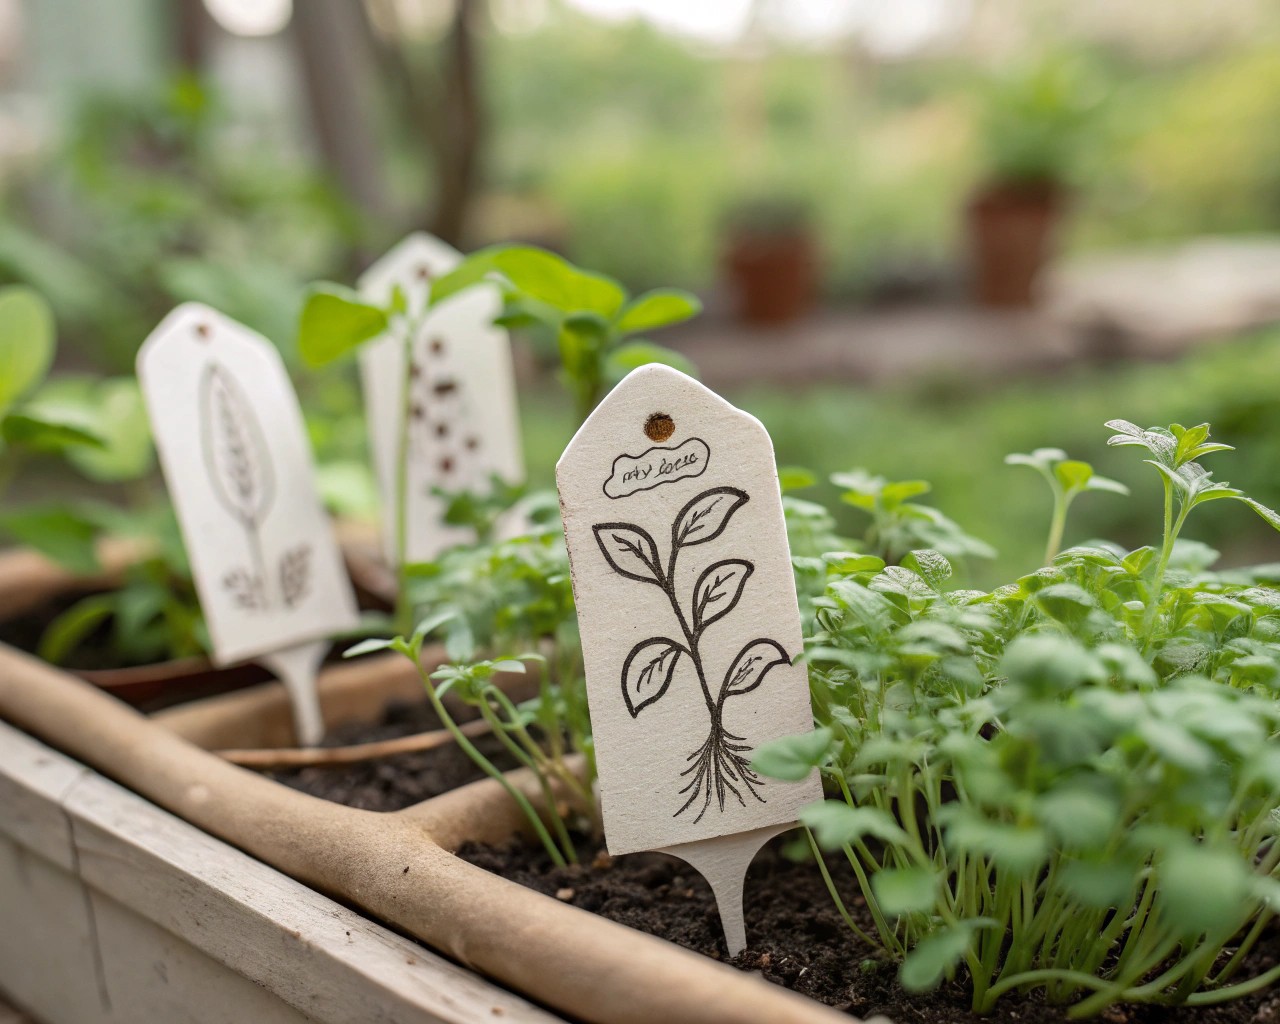
| Organic Rustic | Uneven edges, natural clay tones, pressed leaf patterns | Earthy, authentic | Raised garden beds, outdoor vegetable patches |
| Whimsical | Softly rounded, painted in cheerful pastel washes | Playful, lighthearted | Children’s gardens, community planters |
| Keepsake | Handwritten engraving, sometimes with initials/dates | Sentimental, personal | Gifts, wedding or event favors |
One memorable project involved creating labels for a gift herb garden. I pressed sprigs of thyme into each clay marker, brushed them with a diluted green pigment, and engraved the names in a casual script. The result looked like each plant was paired with its own fossil imprint—a subtle detail that drew admiration without overshadowing the greenery.
Practical Considerations for Everyday Use
- Soil Depth: For stake-style labels, ensure at least 2 inches of clay remains above ground to prevent moisture wicking up from soil.
- Legibility: Darken engravings for outdoor settings where sunlight glare may make plain clay difficult to read.
- Weather: In regions with frost, bring delicate labels indoors during winter or apply an outdoor varnish to reduce cracking.
- Batching: Create several blanks at once—leave them unmarked until planting season changes, then customize as needed.
Why These Labels Endure Beyond Utility
A handmade marker transforms gardening into more than just plant care; it becomes an act of personal expression. The labels themselves embody time and thoughtfulness—a message of attention to detail that synthetic tags can never replicate.
Once placed in soil, these clay markers become quiet companions to the plants they name—durable, tactile, and intentional. Over time, small chips, softened edges, and surface patina only add to their authenticity, much like a well-used garden tool.

