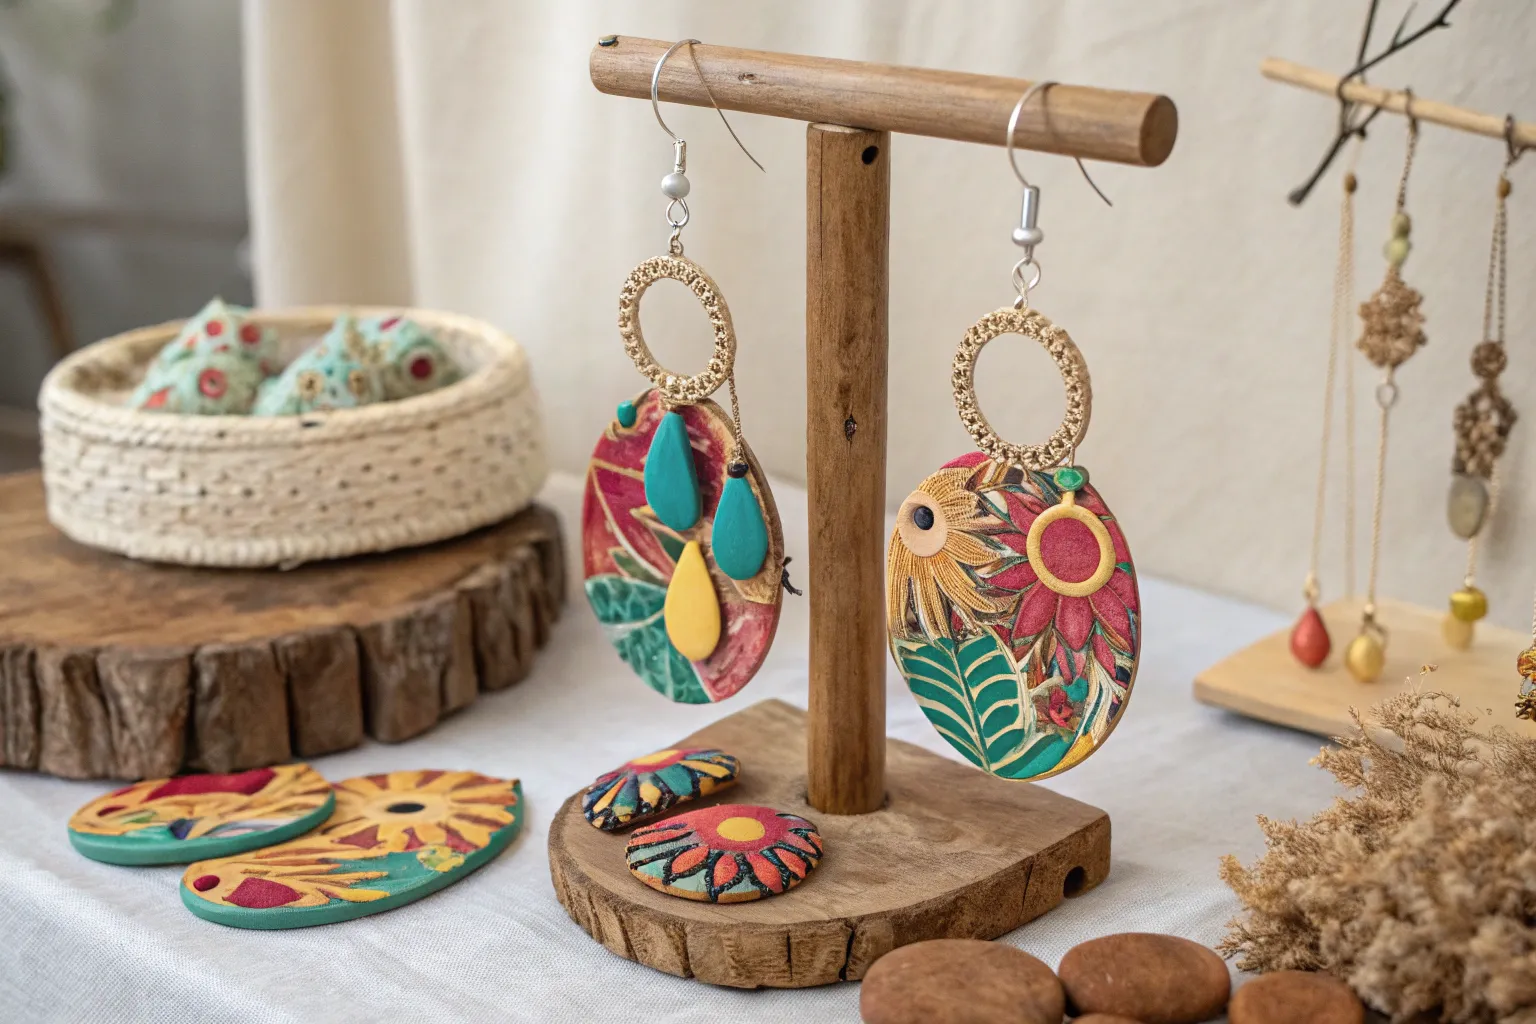
Soft clay earrings invite you to experiment with form, color, and texture in a way few other materials do. The oversized scale makes them both dramatic and surprisingly lightweight—perfect for anyone who craves statement pieces that are still comfortable to wear.
Why Soft Clay Is Ideal for Jewelry Making
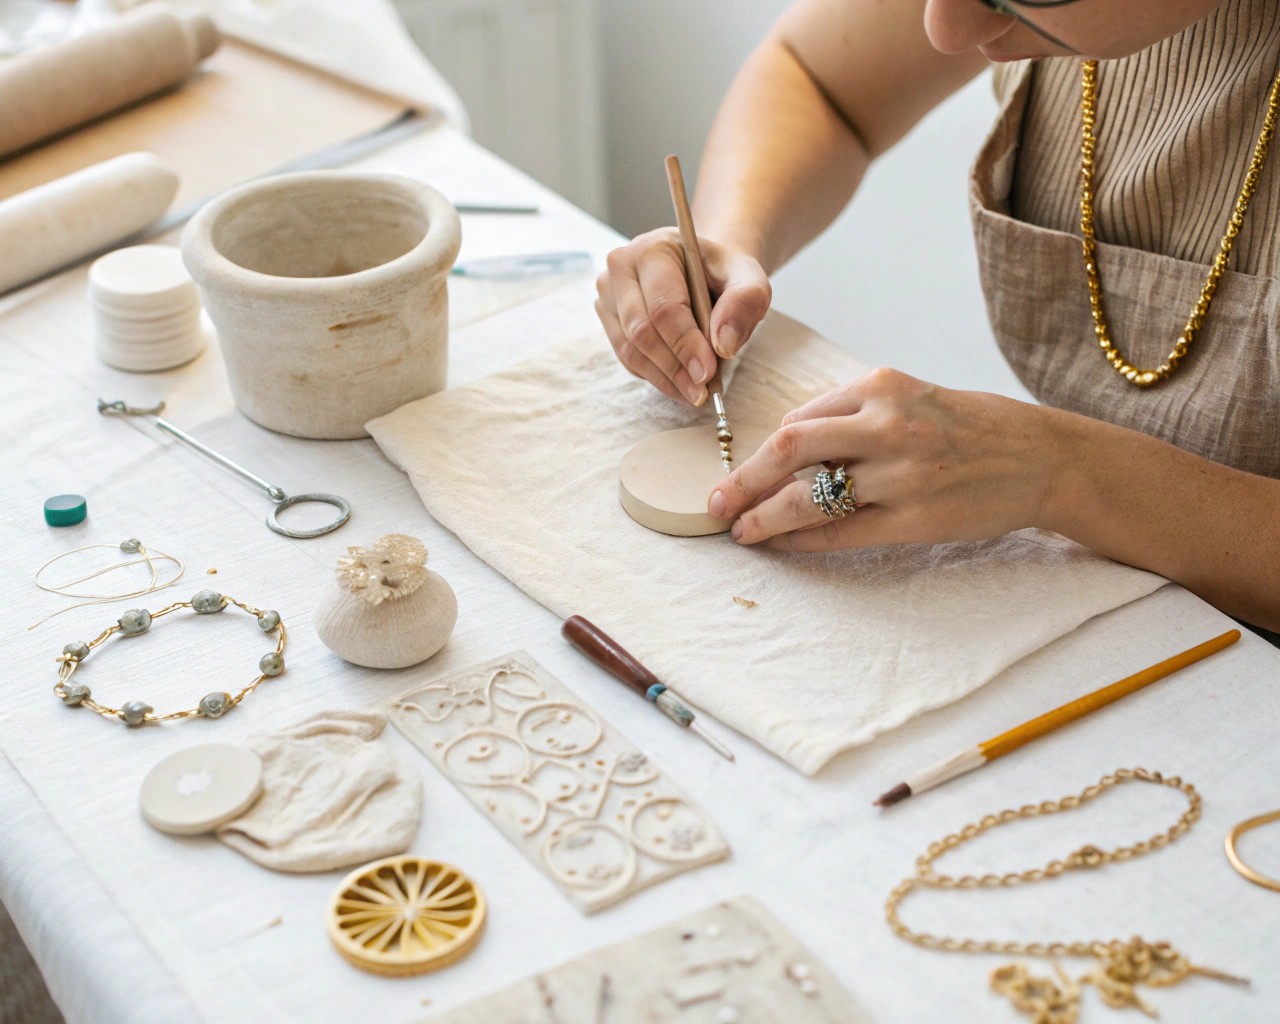
When creating earrings that are large and sculptural, weight matters. This is where soft clay (polymer or air-dry) shines.
- Lightweight Strength: Clay remains comfortable on the ear even when scaled up. A piece that appears bold and chunky can weigh less than a coin.
- Plasticity During Work: Polymer chains within the clay allow remarkable flexibility before curing, similar to modeling dough, which means beginners can mold and shape with ease.
- Durability Post-Cure: Once hardened, the clay resists bending or snapping under normal wear.
- Decorative Freedom: Pigments, mica powders, surface impressions, and layered appliqué are all possible.
I often describe clay as “miniature sculpture material”—capable of refined detail or broad, minimalist silhouettes.
Complete Materials & Tools List
| Core Materials | Jewelry Findings | Tools | Finishing Aids |
|---|---|---|---|
| Polymer or air-dry clay | Earring posts, hooks, or hoops | Acrylic rolling pin or glass jar | Fine-grit sandpaper |
| Jump rings (different sizes) | Backings or stoppers | Sharp craft blade or utility knife | Sealer (matte, gloss, or satin) |
| Optional pigmentation (chalks, mica, acrylics) | Head pins (for dangle elements) | Needle or pin for piercing | E6000 or other jewelry adhesive |
| Parchment or silicone baking sheet | Spacer beads (optional) | Jewelry pliers | Cotton cloth for buffing |
Design Exploration: Where to Begin
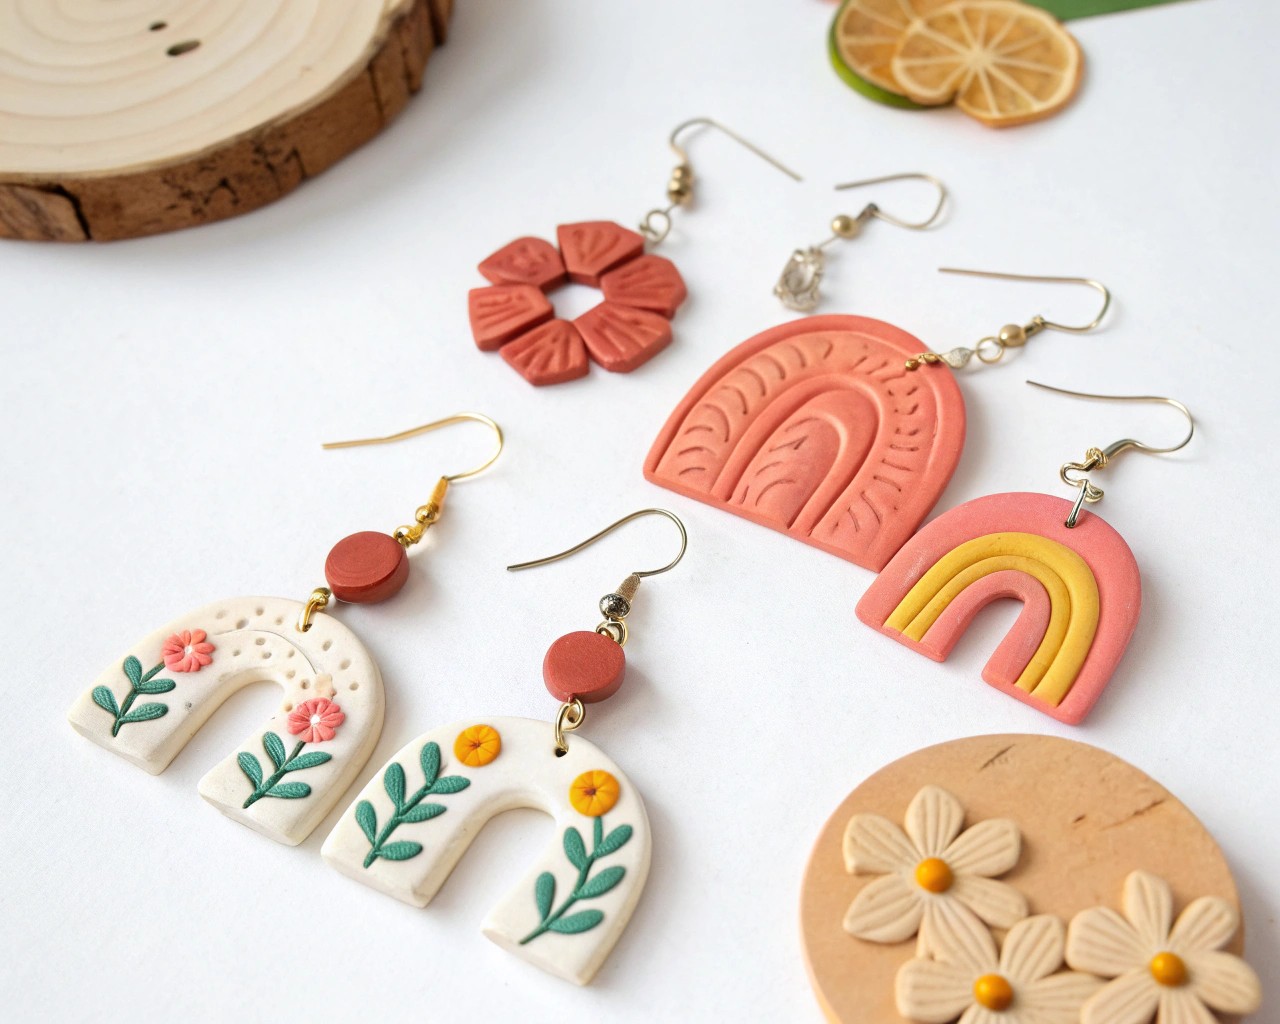
Before touching clay, decide on your design language. Oversized earrings can range from sculptural to minimalist. A design plan helps avoid waste and ensures balance between both earrings.
Inspirational Approaches:
- Geometric Modernism – Triangles balanced on arcs, concentric circles, stacked squares. Pair well with monochrome clay colors.
- Organic & Flowing – Petal-like forms, abstract waves, cloud silhouettes—ideal for soft, whimsical looks.
- Art Deco Influence – Fan shapes, layered arcs in metallic or matte tones.
- Negative Space Designs – Large outer form with strategic cutouts, making the earring airy while retaining volume.
- Mixed-Texture Layers – Combine smooth color planes with embossed surfaces (linen press, stripe carving, dot impressions).
Tip: Sketch on paper first. I generally create mirrored outlines, ensuring both earrings feel like a pair despite slight handmade variation.
Step-by-Step Tutorial: Oversized Clay Earrings
Step 1: Condition and Soften
Take a small portion of clay and work it thoroughly between your fingers. Roll, press, and fold it until smooth and malleable. This prevents cracking and ensures even curing.
Step 2: Roll and Flatten
On a smooth surface, use an acrylic roller to flatten. Aim for a uniform thickness:
- 2 mm for delicate flat shapes
- 3–4 mm for more sculptural, layered designs
Step 3: Form the Shapes
- Cut clean lines with your craft blade for geometric looks.
- For organic silhouettes, shape freehand or use stencils.
- To create paired earrings, cut both shapes from the same slab for consistency.
Step 4: Create Holes & Connections
Before curing, use a needle or pin to pierce clean holes where jump rings or hooks will attach. Position carefully—too close to the edge risks breakage.
Step 5: Cure or Dry
- Polymer clay: Bake on parchment at 265–275°F per packaging instructions, usually 15–30 minutes depending on thickness.
- Air-dry clay: Lay flat for at least 24–48 hours, turning halfway to avoid warping.
Step 6: Sand & Refine
Once hardened:
- Use fine-grit sandpaper to smooth edges.
- For a satiny finish, buff with a soft cloth.
- Add a protective coat if desired (matte for subtlety, gloss for shine).
Step 7: Assemble with Findings
Using jewelry pliers:
- Connect shapes with jump rings.
- Attach posts, hooks, or hoops.
- Reinforce with jewelry-grade adhesive if needed.
Advanced Techniques to Experiment With
- Marbling: Roll two or three clay colors together, then slice and re-stack for a marble effect that mimics stone.
- Surface Foiling: Press a sheet of metallic foil lightly into the clay before curing for luminous highlights.
- Embossing: Use a textured fabric, stamp, or even leaves to imprint design into the surface.
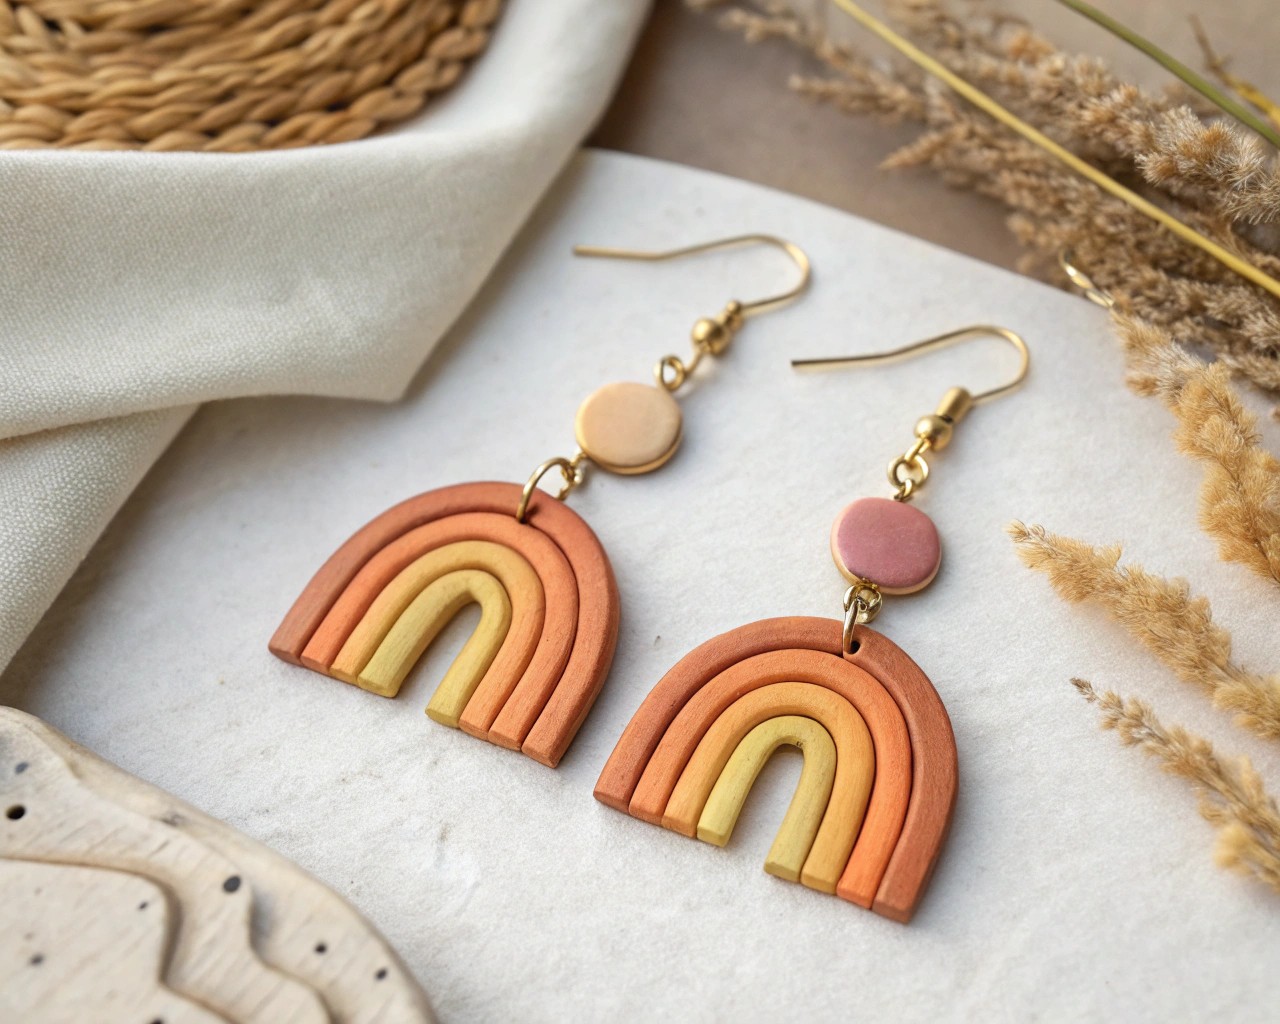
- Ombre Pigmentation: Dust pastel chalks or mica powders across the surface gradient-style.
- Three-Dimensional Relief: Apply raised clay strips or dots to create sculptural detail before curing.
Scale and Comfort – Finding the Sweet Spot
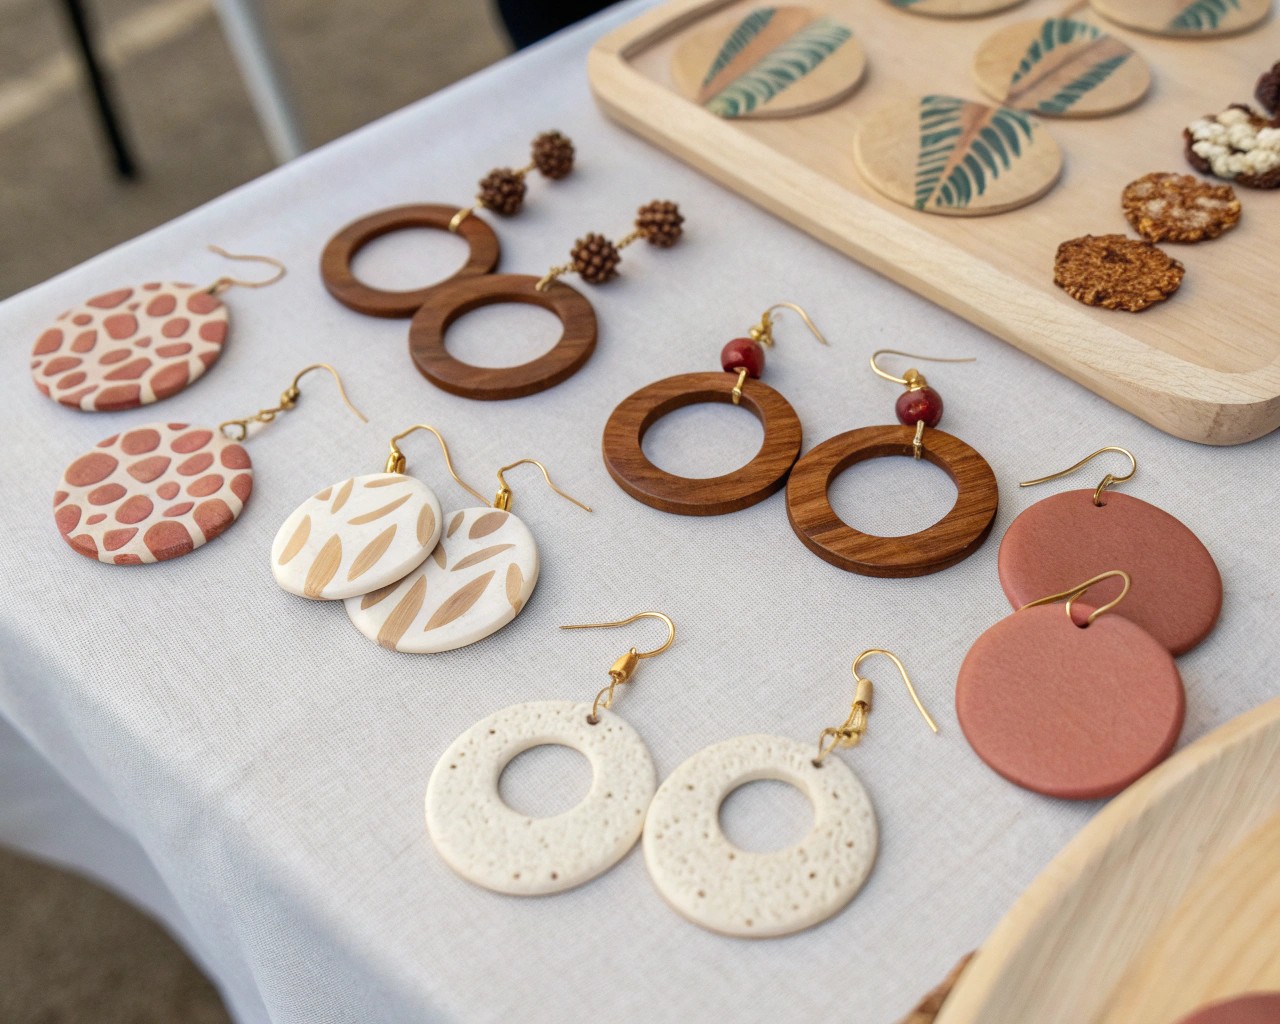
Because statement earrings are meant to be worn for hours, weight distribution matters. Think of balance not only visually but physically:
- Avoid overly thick top connectors where earlobes support the weight.
- Use multiple smaller components instead of one large slab (e.g., stacked discs connected with rings).
- Hollow out the back of thicker designs before curing to reduce mass.
I often test unfinished clay pieces by holding them against my ear—if they feel heavy even uncured, they will only feel heavier once finished.
Styling & Everyday Wear
Oversized clay statement earrings can adapt to a wide range of looks:
- Minimalist wardrobes: allow bold clay designs in a single color to become the visual anchor.
- Playful fashion: embrace color-blocking, neon swirls, or irregular sculptural shapes.
- Evening wear: metallic pigments, layered gloss, or pearlized finishes add refinement.
They are conversation pieces, but also surprisingly durable if stored properly (flat or hung, away from sharp metal surfaces that can scratch).
Final Thoughts
Soft clay statement earrings are a blend of artistic freedom and practical craft. Each pair carries the maker’s hand in its curves and textures, which makes them deeply personal. By mastering a few foundational techniques—clean cuts, balanced proportions, and polished finishes—you can create jewelry that feels sculptural, bold, and utterly unique.
The real magic is that no two pairs will ever look quite the same. And that, more than anything, is the essence of a one-of-a-kind accessory.

