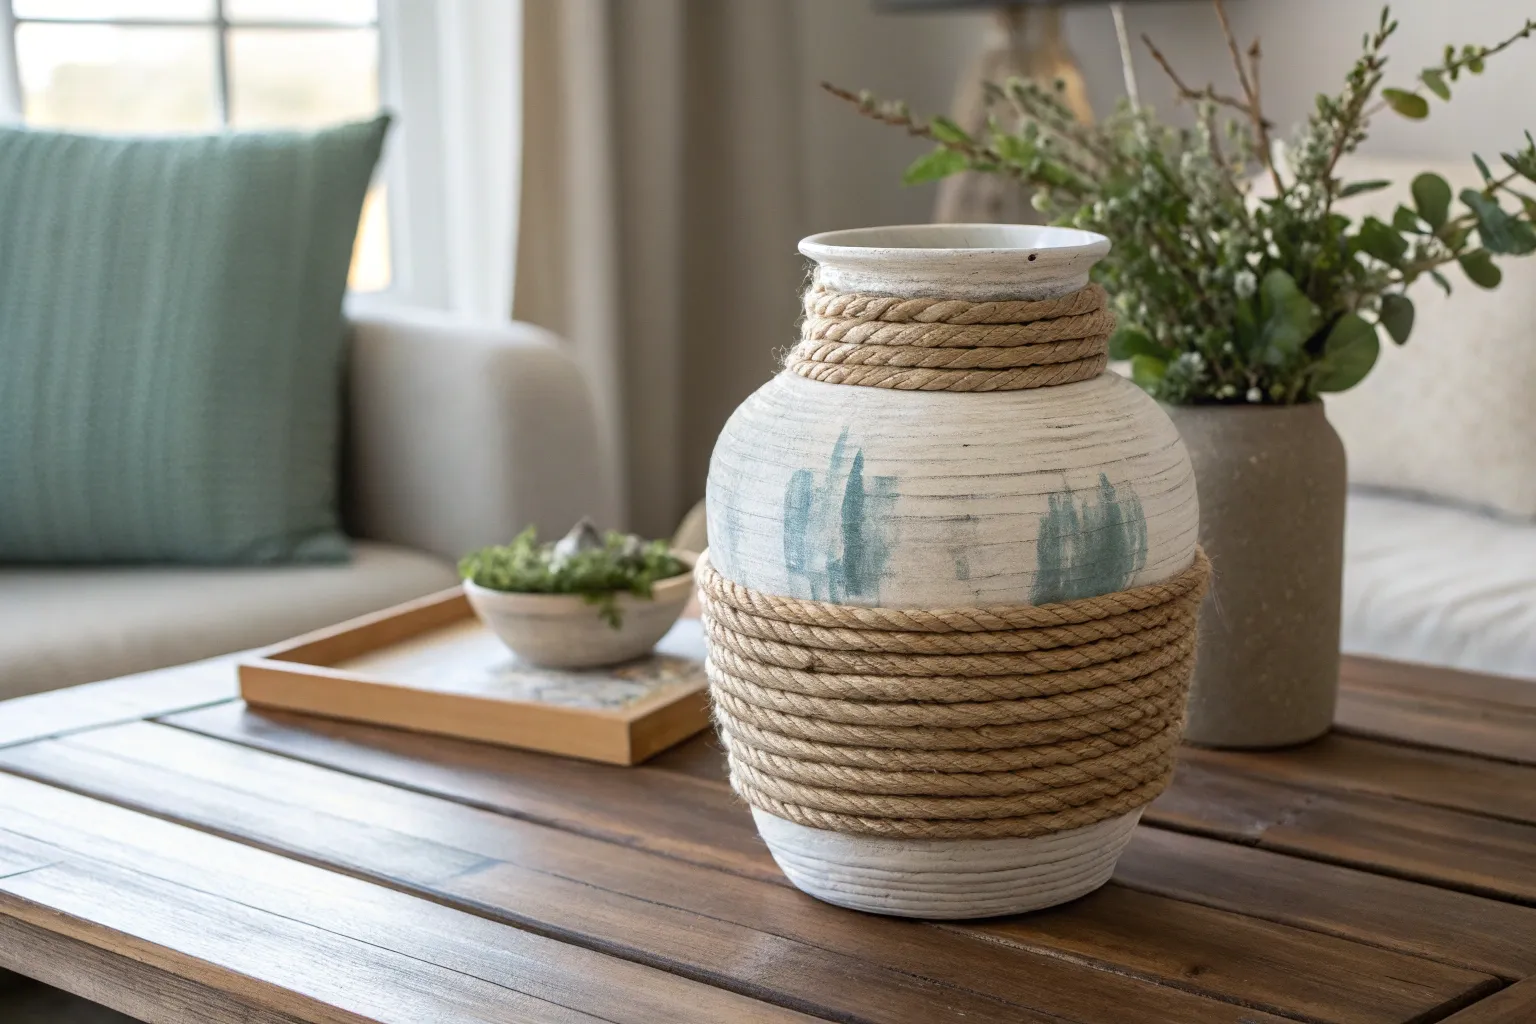
There’s a quiet satisfaction in turning a plain vase into something textured and grounding. With rope, layered paint, and a little mindful patience, simple vessels gain warmth, depth, and a sense of calm presence in a room.
Why Texture Transforms a Vase
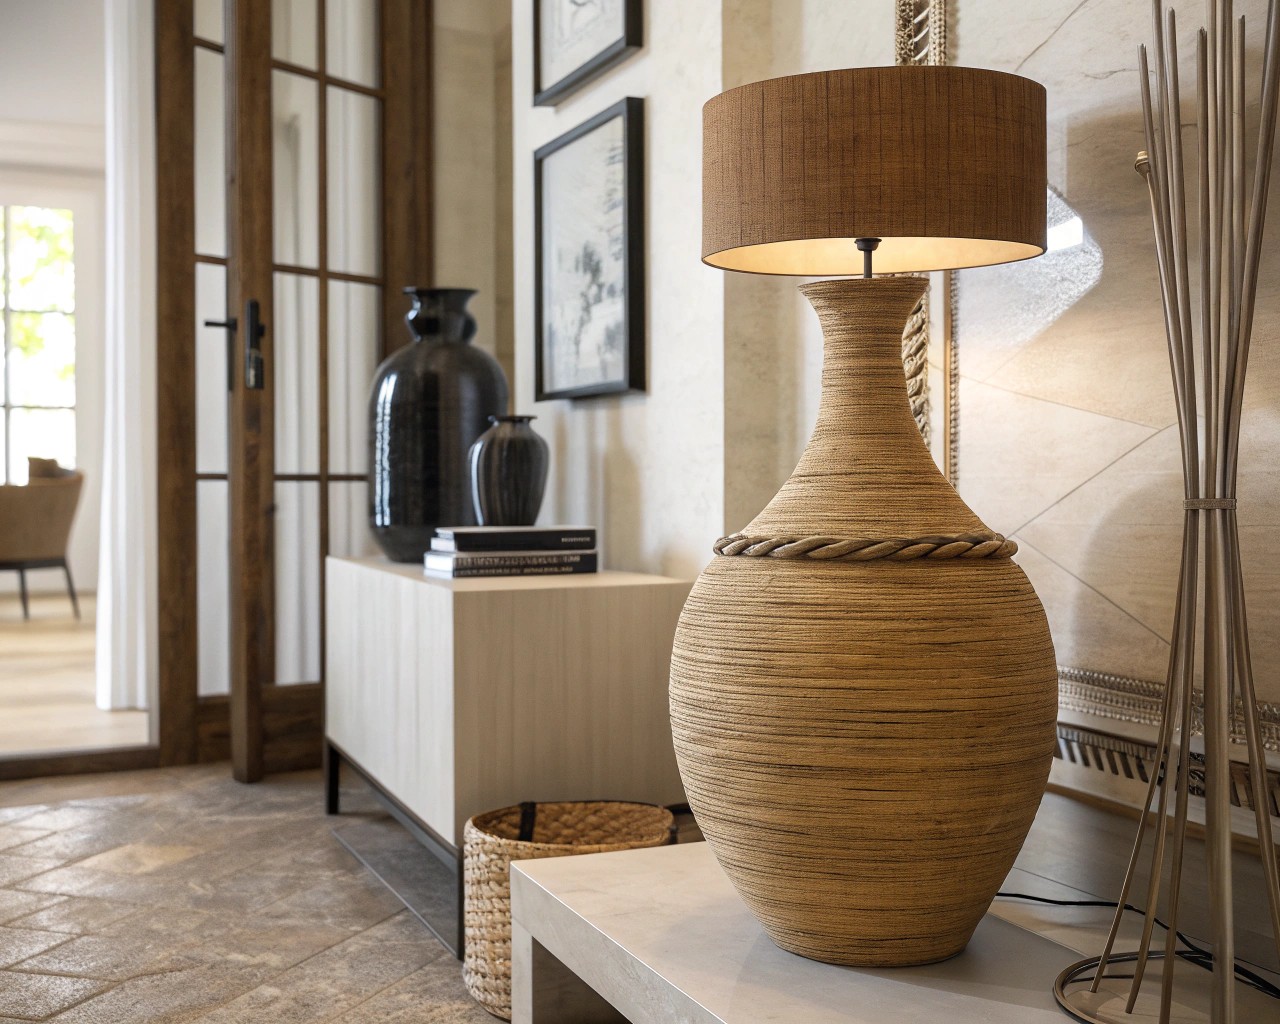
In design, texture is more than a surface detail—it directly influences how we emotionally connect with an object. Smooth, glossy vases often appear cold and formal. By contrast, adding rope or textured paint introduces micro-relief and tactile irregularities that lend comfort and visual stability.
- Tactile psychology: A coarse surface subconsciously signals “handmade” and “natural,” creating a soothing effect.
- Light play: Texture affects reflectivity. A rope-wrapped surface scatters light softly, while painted texture creates micro-shadows.
- Room balance: Rough textures balance sleek or metallic finishes in modern interiors, preventing a space from feeling too sterile.
Think of a textured vase as both sculpture and container—an object that enriches a setting even when empty.
Selecting the Best Base Vase
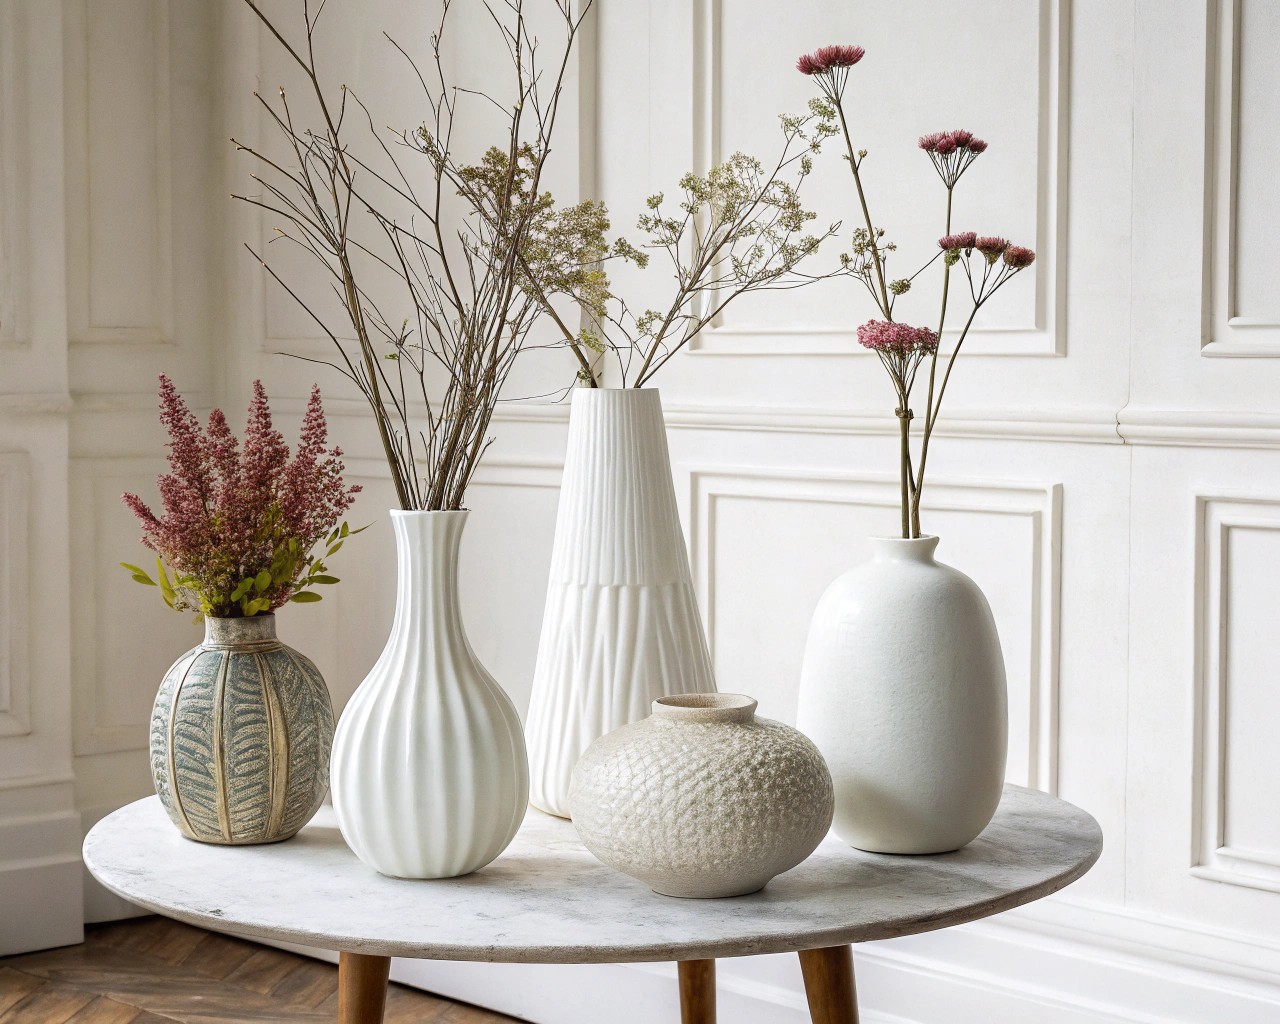
Not all vases respond equally well to texture layering—choosing the right base saves time and frustration.
| Vase Type | Shape Qualities | Why It Works With Texture |
|---|---|---|
| Cylinder (glass or ceramic) | Straight, even surface | Simplifies wrapping rope evenly |
| Rounded belly vase | Curved surface | Emphasizes natural fiber wrapping or enhances stone-like finishes |
| Squat vessels / low bowls | Wide footprint | Offer visual stability when paired with dried arrangements |
| Bud vases | Compact | Allow subtle detail experimentation without large material usage |
Tip: If working with glass, apply a clear primer or light sanding to improve adhesion.
Tools & Materials (Extended)
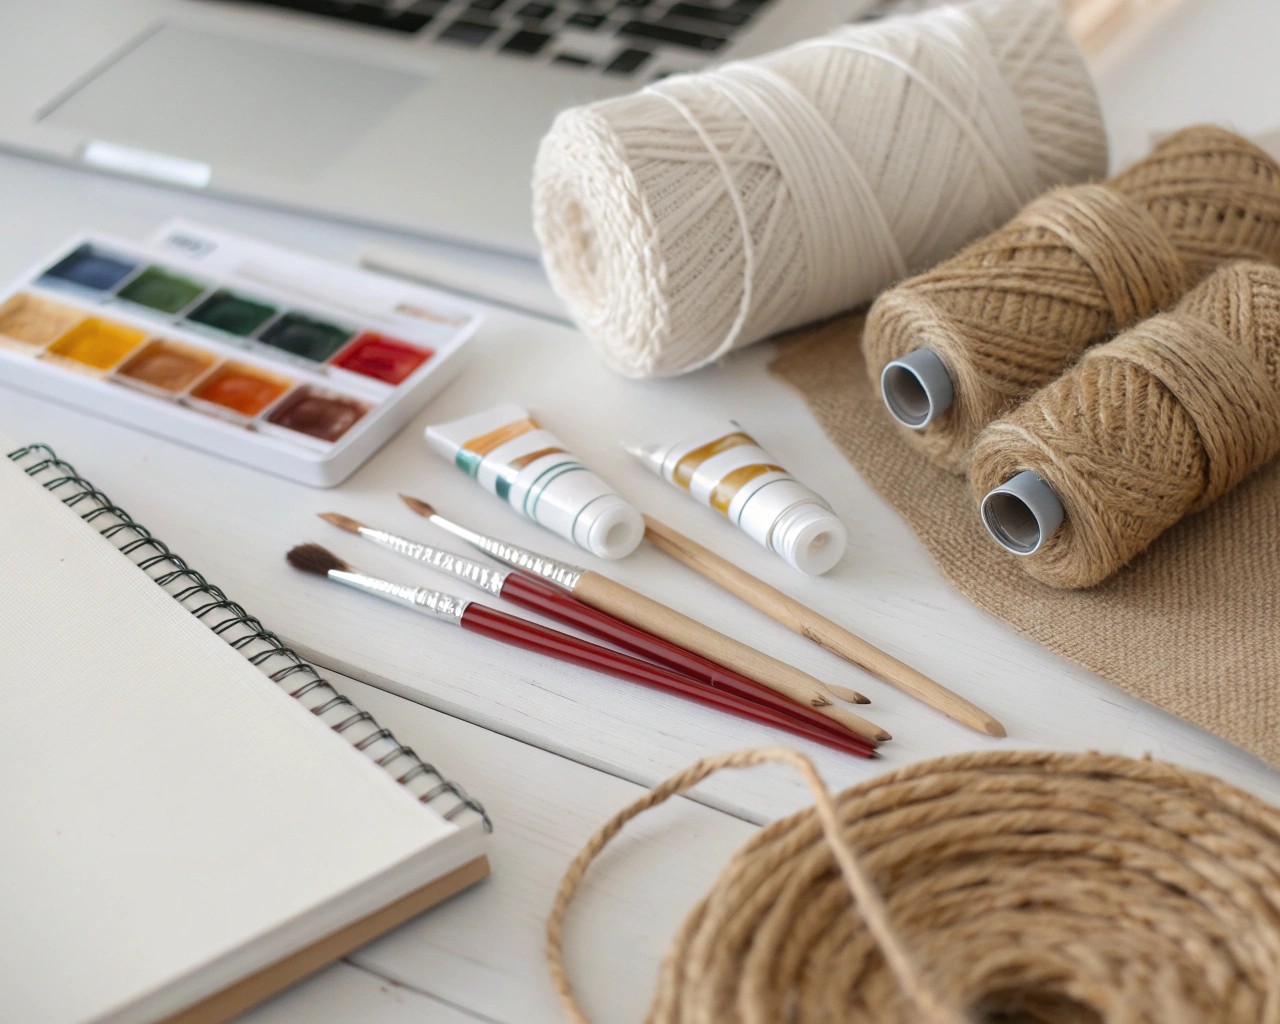
A well-prepared workspace ensures smoother results and less mess. Gather:
- Rope or jute cord – natural fibers bring earthy warmth; cotton is softer for a refined look.
- Paints – acrylic for durability, chalk paint for a velvety matte effect.
- Additives – fine sand, plaster powder, or baking soda to alter paint viscosity for texture.
- Adhesives – strong, clear-drying craft glue or hot glue (for faster grip).
- Finishing coats – optional matte sealant spray to protect against dust or moisture.
- Basic tools – scissors, sponge brushes, flat bristle brushes, painter’s tape, gloves.
Method 1: Rope-Wrapped Texture (Detailed)
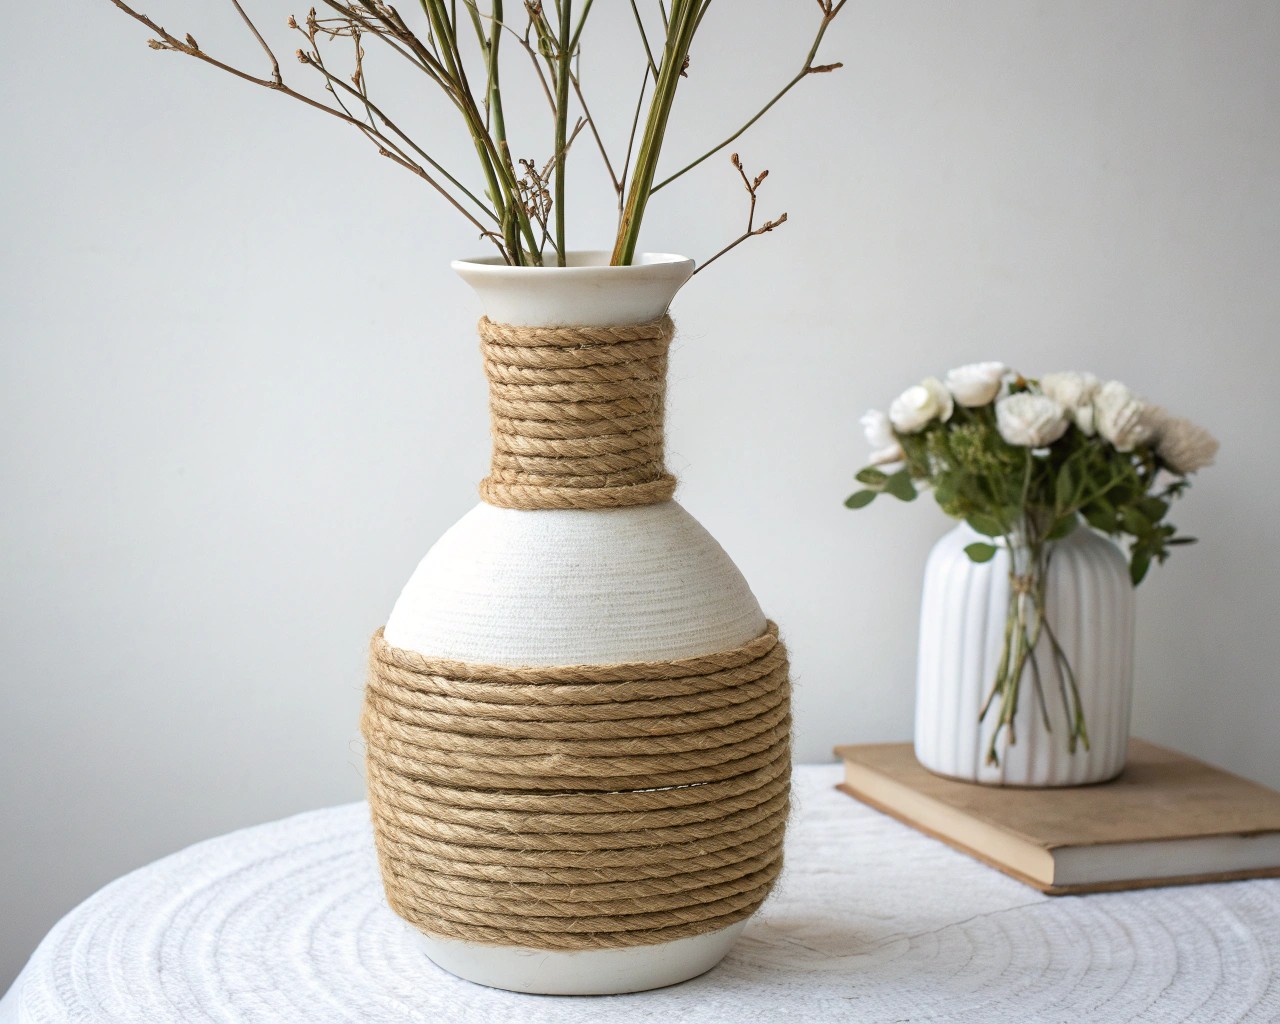
Rope wrapping creates tactile depth and warms up even the most neutral vase.
Steps:
1. Surface Prep – Ensure the vase is clean and dry; oily residue prevents adhesion.
2. Base Anchor – Start at the bottom with a neat glue line. Press down the rope end firmly and hold briefly.
3. Continuous Wrap – Work upward, applying thin glue stripes in sections. Keep even tension on the rope to prevent sagging.
4. Adjust for Shape – On rounded vases, allow the rope to follow the contour naturally; resist pulling it too tightly, which could cause spaced gaps.
5. Finishing Touch – Trim the final coil cleanly. Seal edges with extra adhesive so fibers don’t fray.
Creative Variations:
- Alternate between thick and thin rope bands for rhythm.
- Paint over the rope in light washes for subtle color shifts.
- Leave negative space near the vase rim for contrast.
Method 2: Painted Surface Texture (Detailed)
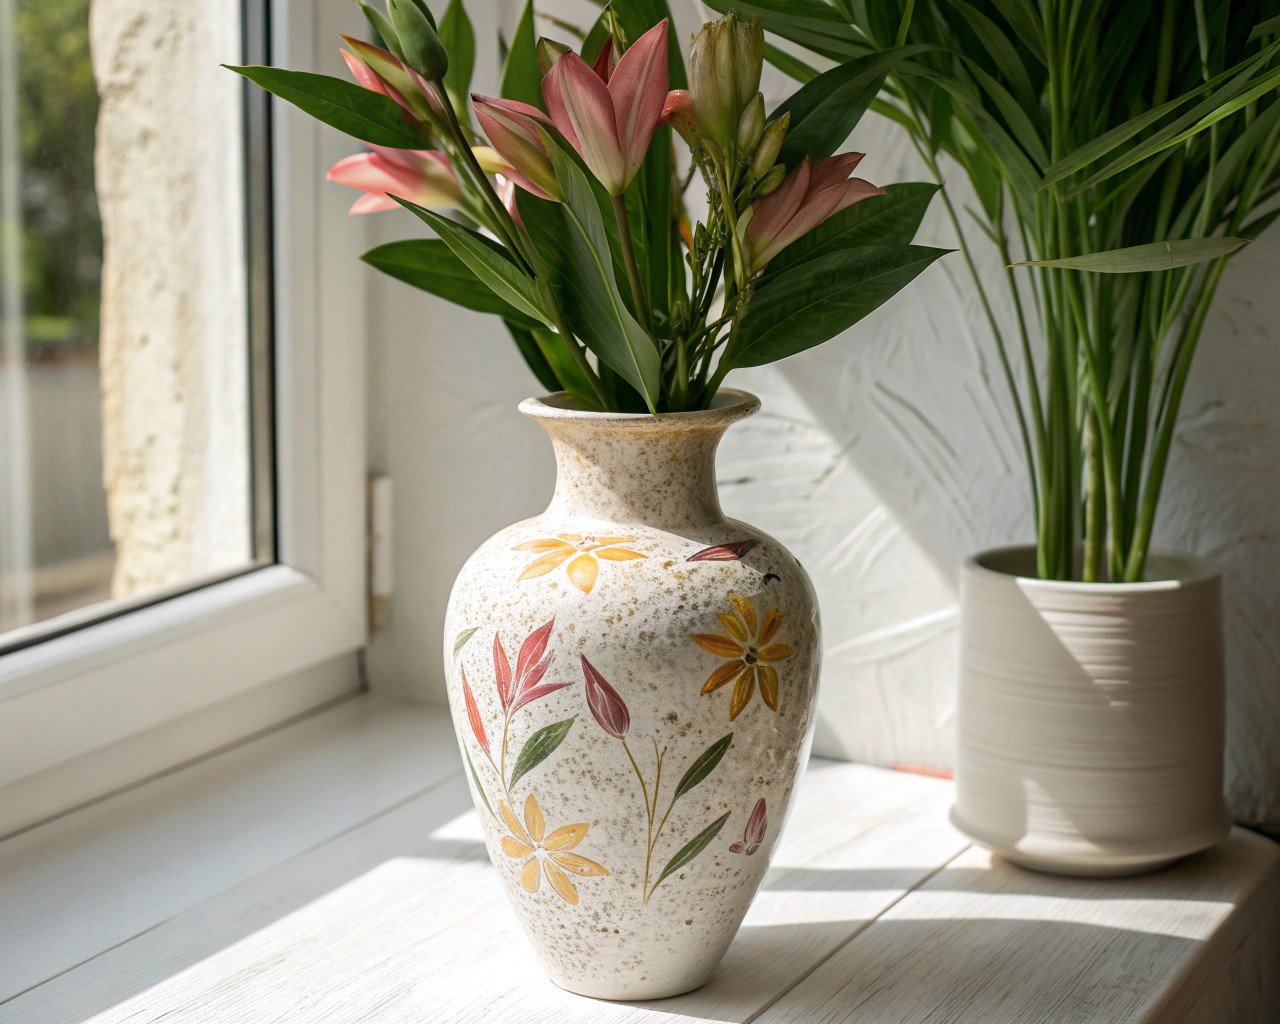
Paint alone can simulate surfaces such as stone, cement, or even clay—perfect if you’re after a minimalist but tactile finish.
Steps:
1. Prime – A thin, gripping primer is ideal on glass or glazed ceramic.
2. Base Coat – Apply a single solid layer; darker bases enhance lighter accents.
3. Second Layer (Texture Added) – Mix about 2 parts paint with 1 part additive (baking soda for subtle grain, plaster for high-relief). Stir until paste-like.
4. Application – Dab irregularly with a sponge or stippling brush. Avoid uniform strokes; natural texture comes from broken patterns.
5. Layer Building – Apply 2–3 thin textured coats, letting each dry completely.
6. Optional Accents – Lightly dry-brush a contrasting tone over raised areas to simulate stone weathering.
Result: A vase with a rugged, mineral-like presence—beautiful with greenery or dried stems.
Method 3: The Hybrid (Rope + Paint Together)
When combined, rope grounds the vase at the base, while paint-texture above adds airiness and sophistication.
Steps:
1. Wrap Lower Half – Use rope around the bottom third of the vase. Secure firmly.
2. Paint Upper Half – After rope is set, apply your textured paint to the open section above.
3. Blend Edge – Where rope meets paint, allow a slight overlap or paint wash over the rope for a seamless transition.
This hybrid approach is especially striking in contemporary or transitional interiors.
Arrangement and Styling Ideas
Once finished, your vases can be styled in multiple ways:
- Solo Highlight: A single tall vase on a mantel or console table communicates quiet strength.
- Cluster Composition: Combine three vases of different heights and finishes (e.g., one rope, one painted stone, one hybrid). Triangular arrangements feel most balanced.
-
Floral Pairings:
-
Rope vases complement dried grasses, lavender, or eucalyptus.
- Painted stone-like finishes suit sculptural branches or orchid stems.
- Hybrids invite seasonal flexibility—fresh tulips in spring, pine cuttings in winter.
Mindful Making: A Personal Reflection
There’s a rhythm to rope wrapping—each coil stacked on the last—that slows the pace of thought. When I brushed textured paint across a smooth vase for the first time, I noticed how calming the matte finish was compared to the reflective surface before. This isn’t just surface design—it’s a way of shaping atmosphere with your own hands.
Care & Maintenance
- Dusting: Use a soft brush to clean rope or textured surfaces; cloths may snag.
- Water Use: If the vase interior holds water, make sure rope stops at least 1 inch below the rim to avoid absorption.
- Sealing: Apply a matte sealing spray if you expect frequent handling or direct sunlight exposure.
Final Thoughts
Textured vases are approachable, versatile, and quietly transformative. Whether fully wrapped in rope, layered with paint for a stone effect, or finished with a hybrid mix, they bring tactile calm and handmade presence into a room. And their making, step by step, is as grounding as their presence when finished.

