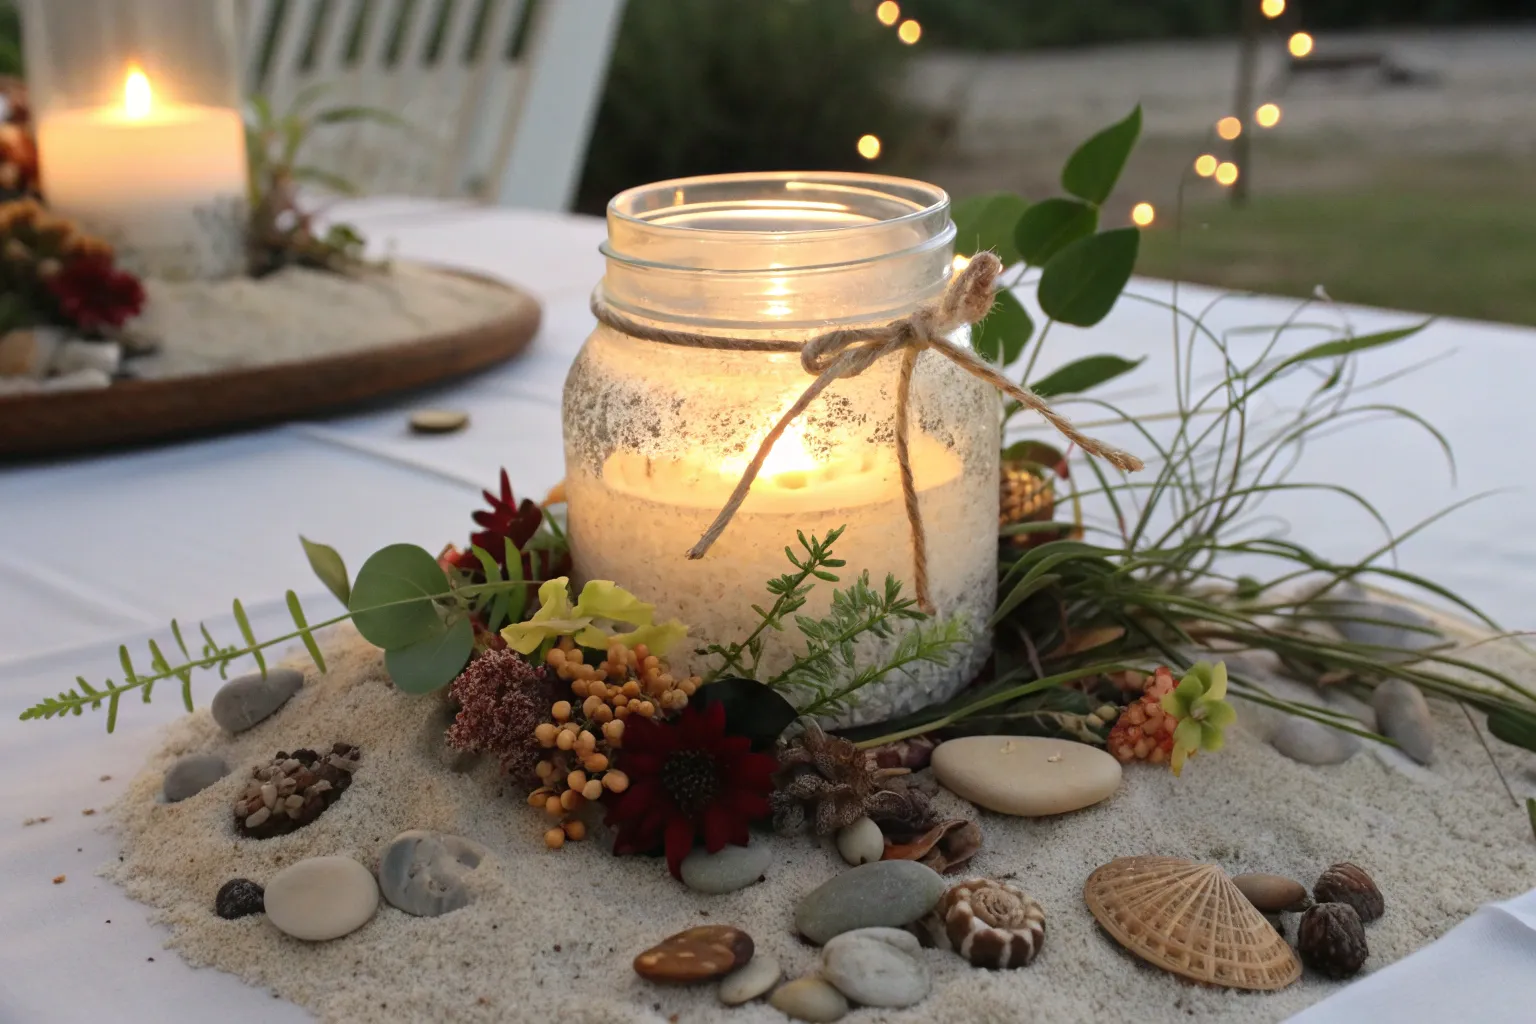
A jar centerpiece is a simple but striking way to balance light, natural materials, and a personal signature. With a few layered elements, you can create something that feels warm, handcrafted, and timeless.
Why Jar Centerpieces Make Sense
Glass jars have long been used to preserve, display, and symbolize treasures. When repurposed as decor, they allow us not only to layer materials but also to control how light travels through them. A jar centerpiece works because of three design principles:
- Transparency – Glass offers unobstructed visibility, turning the jar into a display case.
- Diffusion of Light – Sand and granular materials refract light softly, creating a lingering glow.
- Symbolic Anchor – A chosen keepsake or detail turns a generic object into a meaningful story piece.
I’ve often seen how one well-placed personalized element changes everything: what could be “just a jar” becomes a piece that holds memory and invites conversation.
Materials to Collect
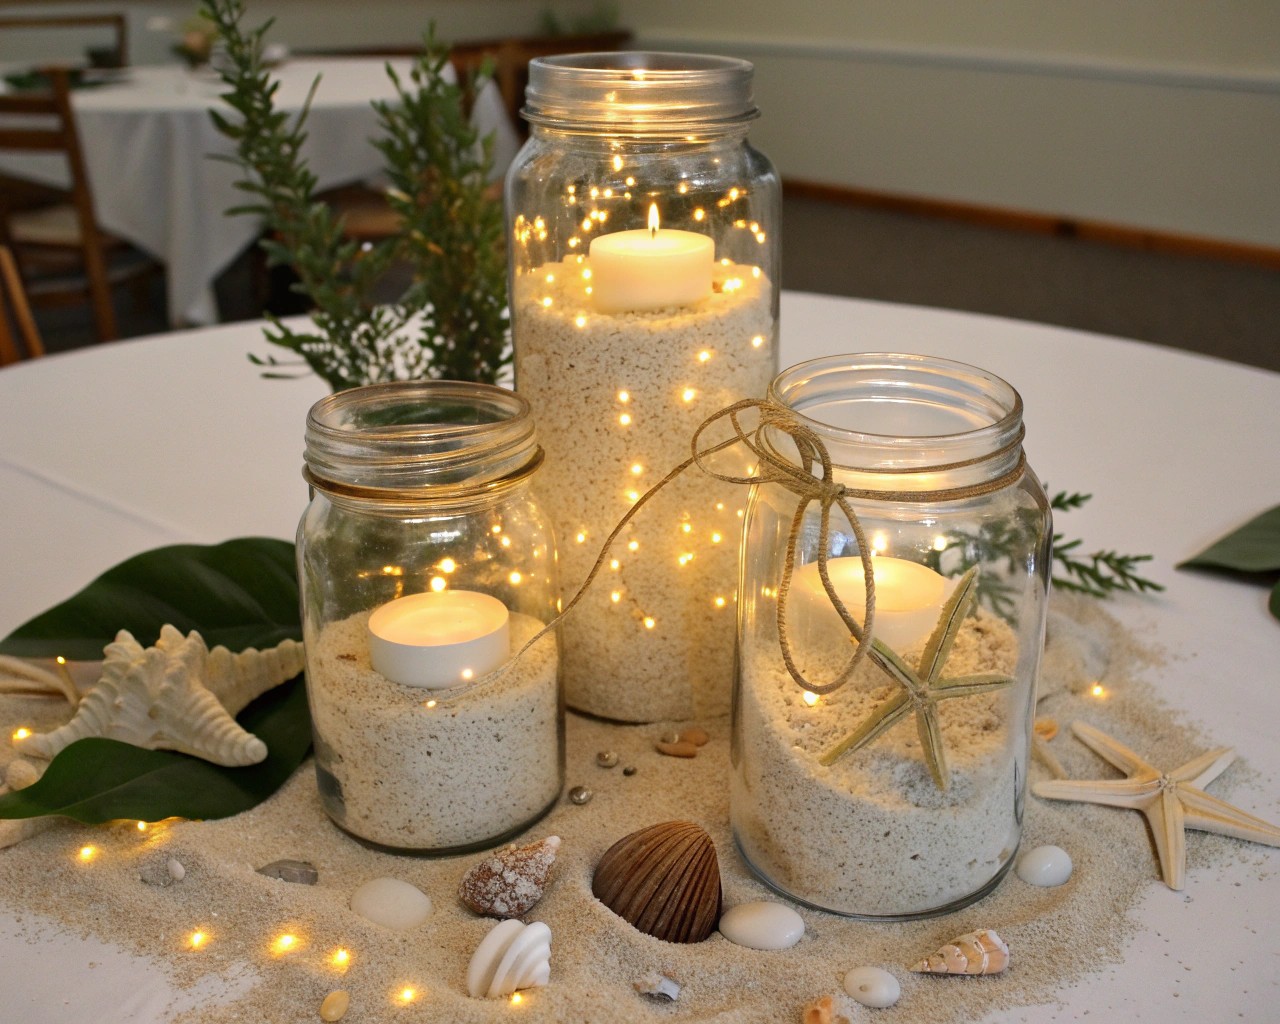
Here is a versatile list, broken down by function. Feel free to experiment across categories:
| Function | Common Options | Creative Variations |
|---|---|---|
| Container | Mason jar, hurricane glass, fishbowl | Vintage apothecary jar, tall yogurt glass, mini milk bottle |
| Light Source | Flameless LED tealight, fairy lights | Submersible LED puck, solar-powered lid lights |
| Base Layer | Fine craft sand, beach sand, salt | Crushed shells, coarse gravel, tiny polished pebbles |
| Accent Element | Shell, stone, driftwood | Small photograph (laminated), feather, origami fold |
| Rim or Exterior | Ribbon, twine, thin leather cord | Wire wrap, raffia, dried vine strands |
Tip: If display is long-term, choose inorganic material like stone or glass shards, which will not degrade or attract moisture.
Step-by-Step Instructions
1. Start with a Clean Foundation
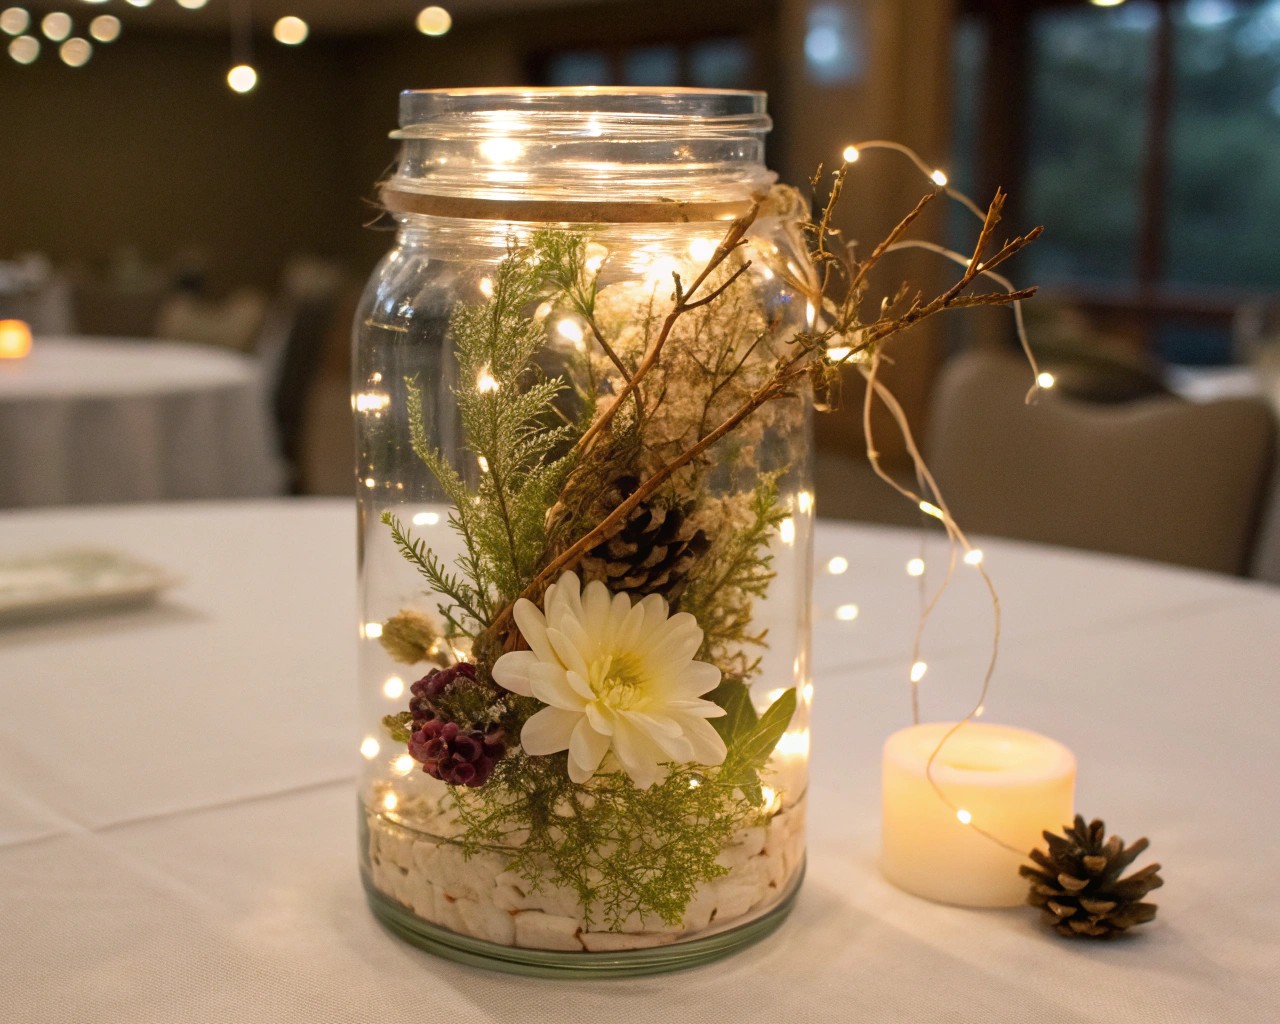
- Rinse and dry the jar thoroughly to prevent residue streaks on the glass.
- For taller jars, a quick polish inside with a soft, lint-free cloth ensures clarity when lit.
2. Create the Base Layer
- Pour 1–3 inches of sand or gravel evenly.
- Lightly shake the jar so the layer settles level—this prevents your light source from leaning later.
- For creative variation, tilt the jar while adding sand to create angled striations, adding visual movement.
3. Position the Light Source
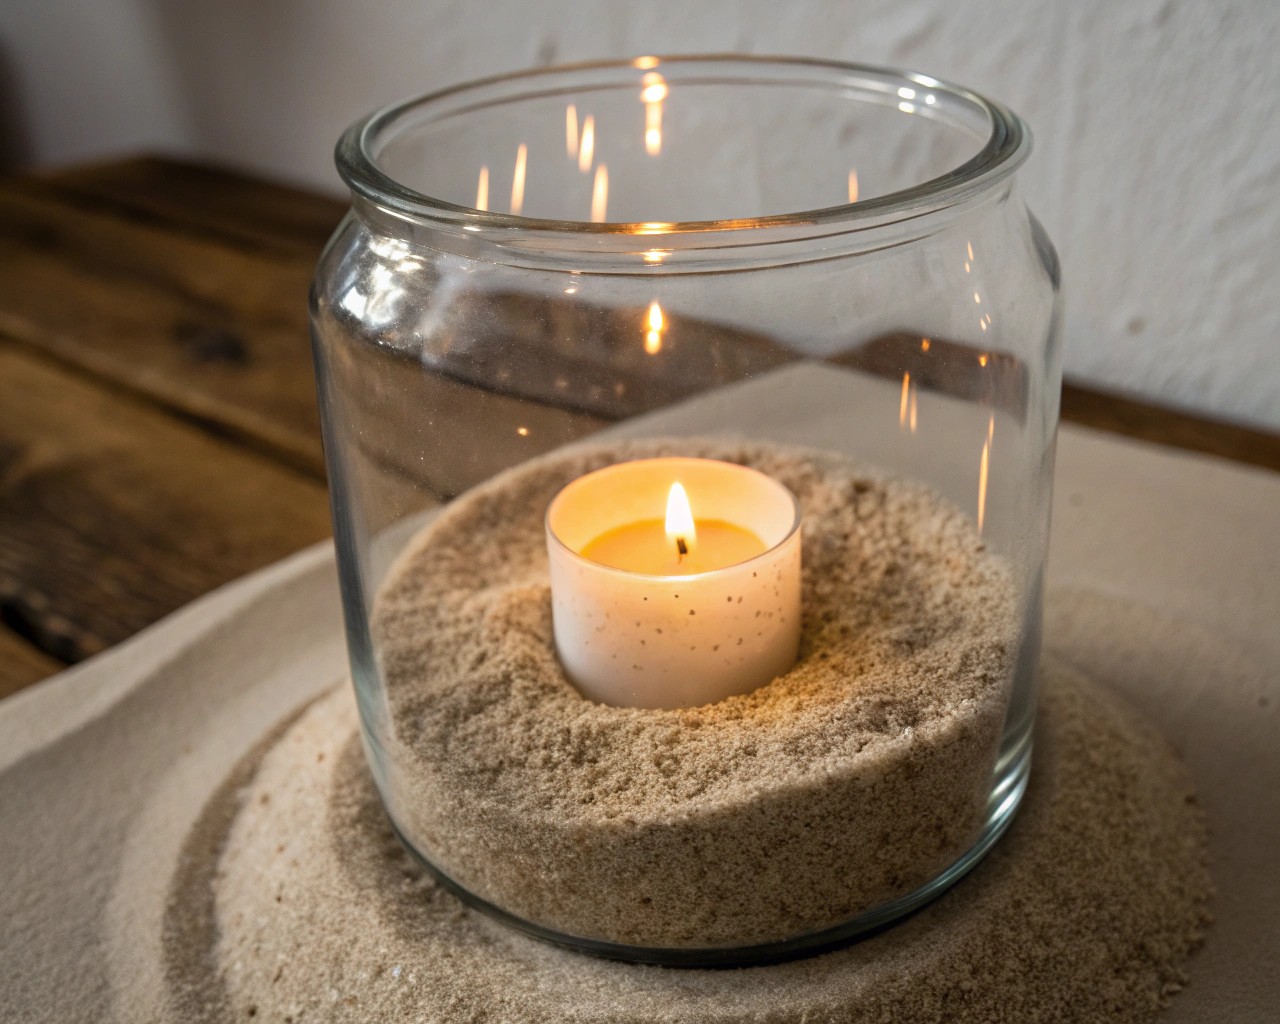
- Place an LED tealight directly on the sand or partially bury it so the glow seeps upward.
- For fairy lights, coil the string loosely to avoid tangling and spread them through the sand grains.
- Submersible LEDs can be tucked beneath translucent glass stones for a smoother diffusion of light.
4. Introduce a Personal Element
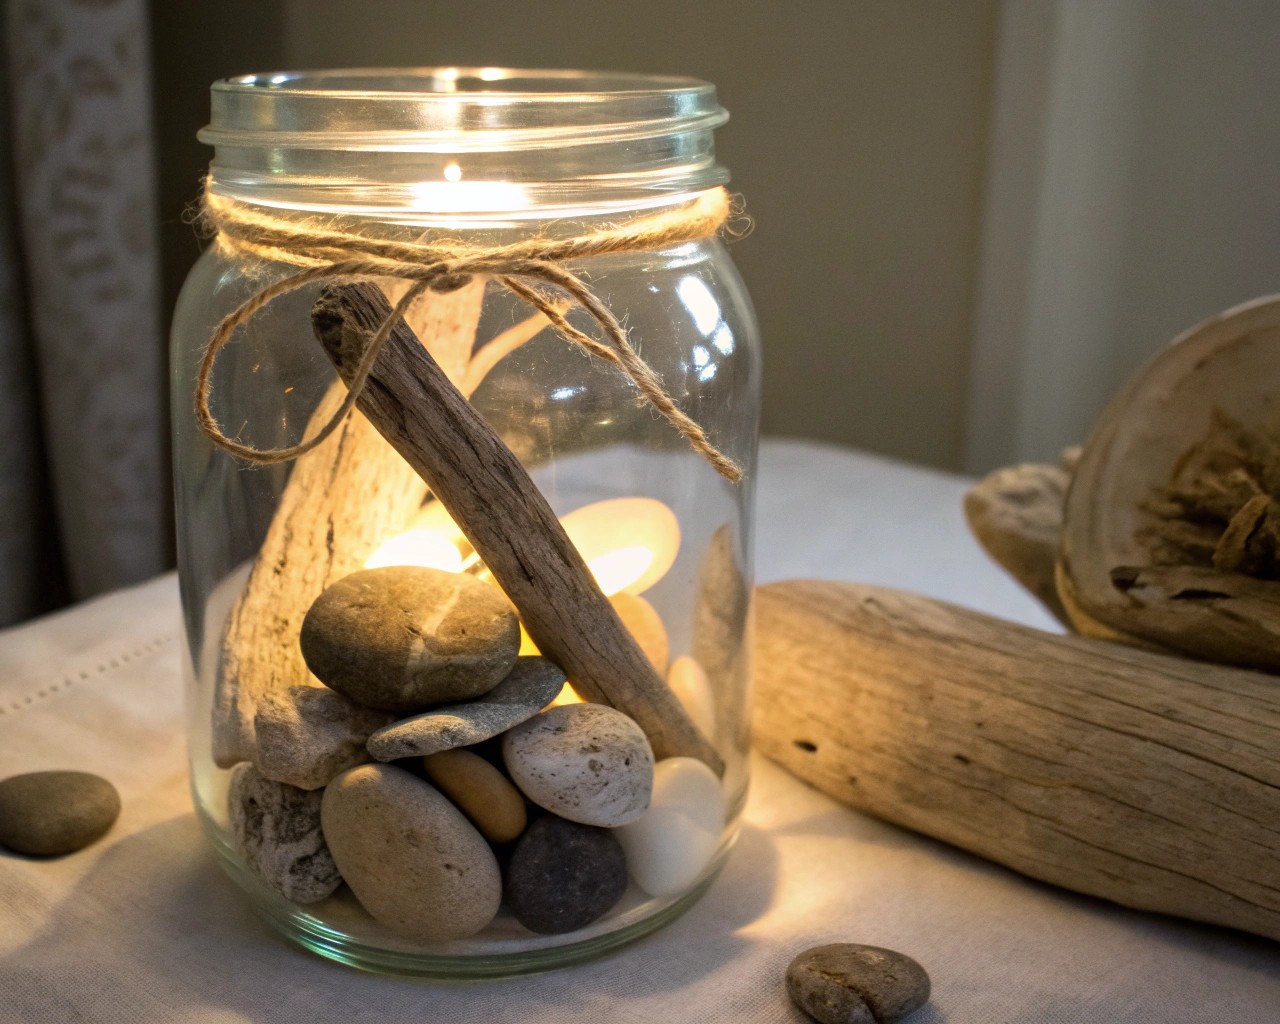
- Choose one or two keepsakes that represent something meaningful—a beach shell, a smooth stone, or a pressed flower.
- Place them slightly off-center rather than directly in the middle—this creates a natural focal point for the eye.
- Ensure items don’t obstruct the main radiance of the light source.
5. Style the Exterior and Rim
- Wrap the jar neck with twine or ribbon, tying a simple knot or bow.
- Dried herbs, seasonal greens, or a small charm can be tucked in beneath the knot for dimension.
- For gatherings, you can paint the jar rim with a thin frost effect or metallic marker for reflective accents.
Design Variations for Mood
| Mood or Season | Suggested Choices |
|---|---|
| Coastal Serenity | White sand, one seashell, pale blue ribbon, soft LED glow |
| Autumn Warmth | Cinnamon-toned sand, dried leaf, amber LEDs, burlap wrap |
| Winter Glow | Salt crystals, pinecone, silver-painted twine, cool LEDs |
| Rustic Outdoors | Coarse gravel, tiny pine sprig, yellow fairy lights |
| Romantic Table | Pink-tinted sand, pressed rose petal, satin ribbon |
| Festive Holiday | Glittered sand, berry sprig, deep red bow, golden LEDs |
Placement Ideas and Practical Advice
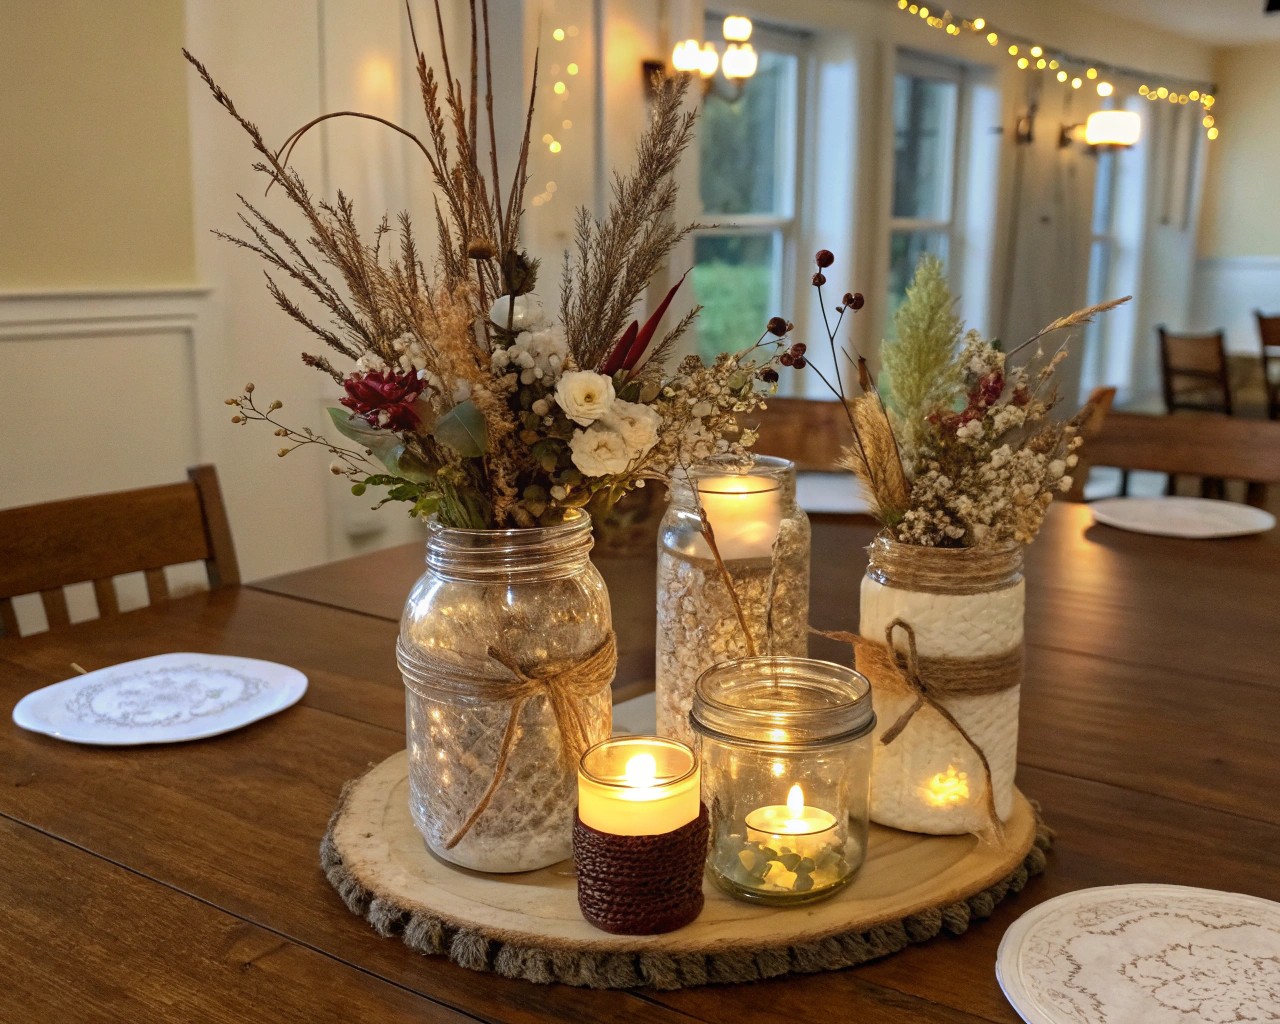
- Dining Table: Place one prominent jar at the center, or a trio of smaller jars staggered along the runner. Use soft warm white LEDs to mimic candlelight without open flame.
- Mantel Display: A symmetrical lineup of jars—filled with different sands but the same light hue—builds cohesion while allowing variety.
- Outdoor Evening: Place jars inside broad trays filled with gravel for stability. This is especially useful in breezy climates where tipping is a concern.
- Event Backdrop: Use multiple jars at different heights (set on books or blocks covered with fabric) for depth and a layered glow.
Practical note: keep batteries fresh if using LED lights. Dimming bulbs will diminish the glow effect, especially if the sand is dense.
Texture, Color, and Light Balance
The success of this project comes from contrast and balance:
- Texture: Mix fine and coarse grains for subtle detailing under light.
- Color: Use a base neutral (white, tan, clear) with only one accent color for highlights. This keeps the centerpiece calm rather than cluttered.
- Light Temperature: Warm white LEDs evoke intimacy; cool white suits modern, clear looks.
From personal experiments, colored LED lights can work but often distract from the simplicity of sand and natural elements. A soft natural light is almost always better for mood and harmony.
Final Thought
A jar filled with light and grains of earth is more than a decorative object—it’s a small story told in layers. By adding one symbol of your own, you transform it into a conversation piece, a mood setter, and a quiet reminder that design becomes most powerful when it reflects you.

