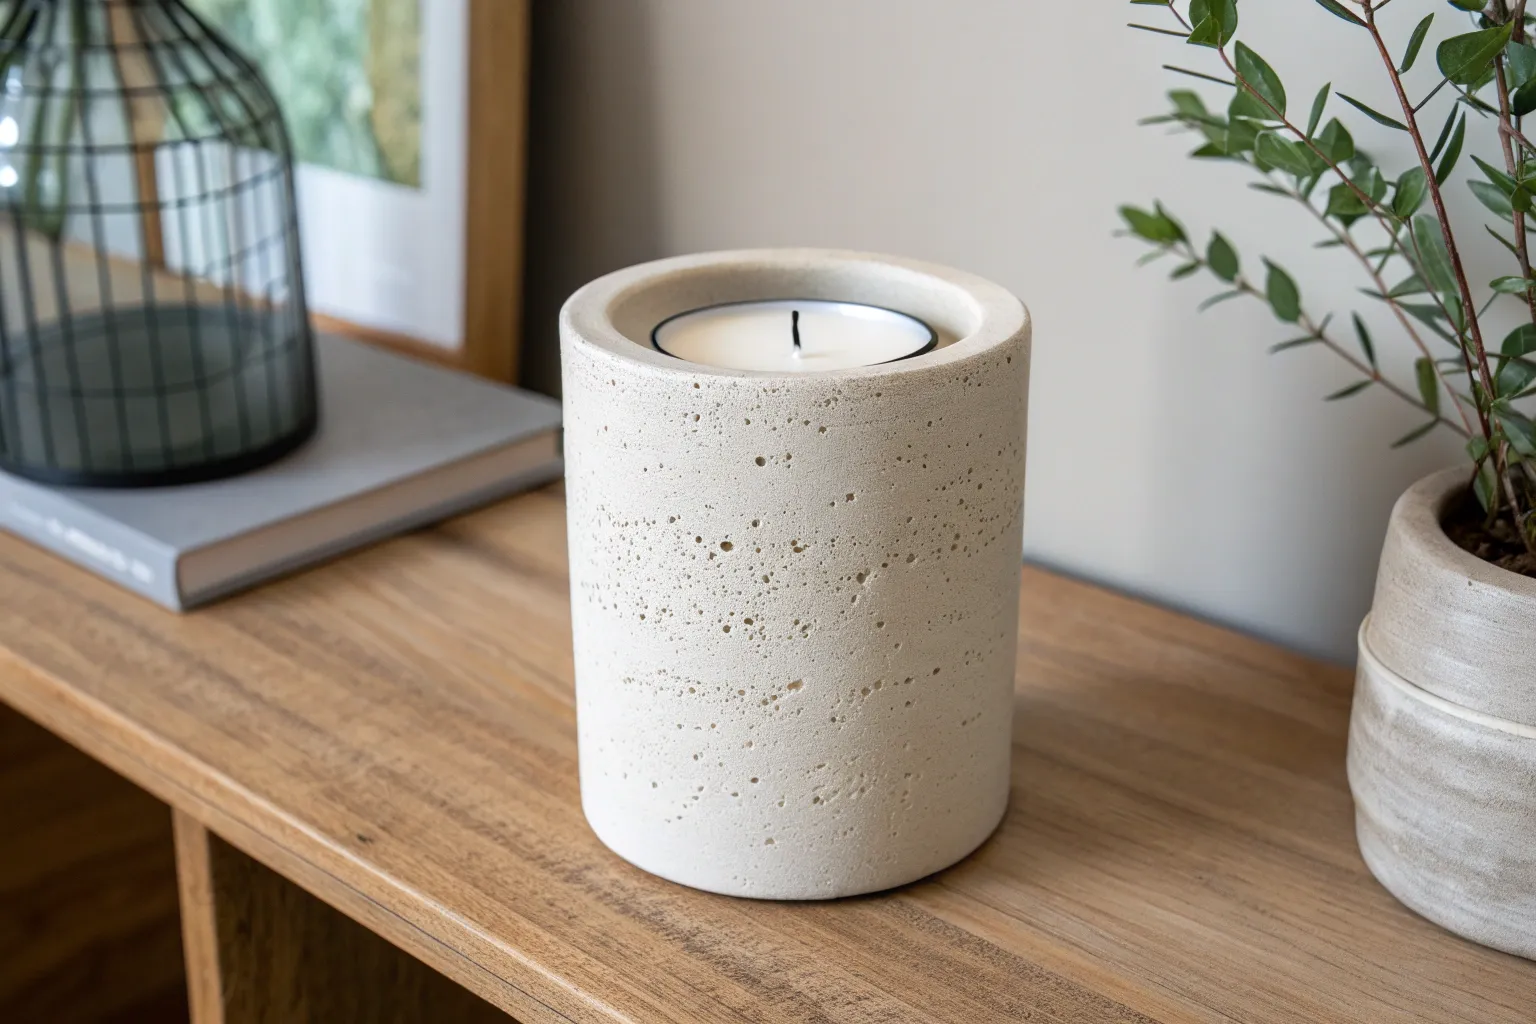
Air-dry clay opens up the world of ceramic-inspired design without the need for specialized equipment. With simple tools and a bit of patience, you can craft candle holders that look as if they came from a contemporary design studio.
Why Air-Dry Clay Is Ideal for Candle Holders
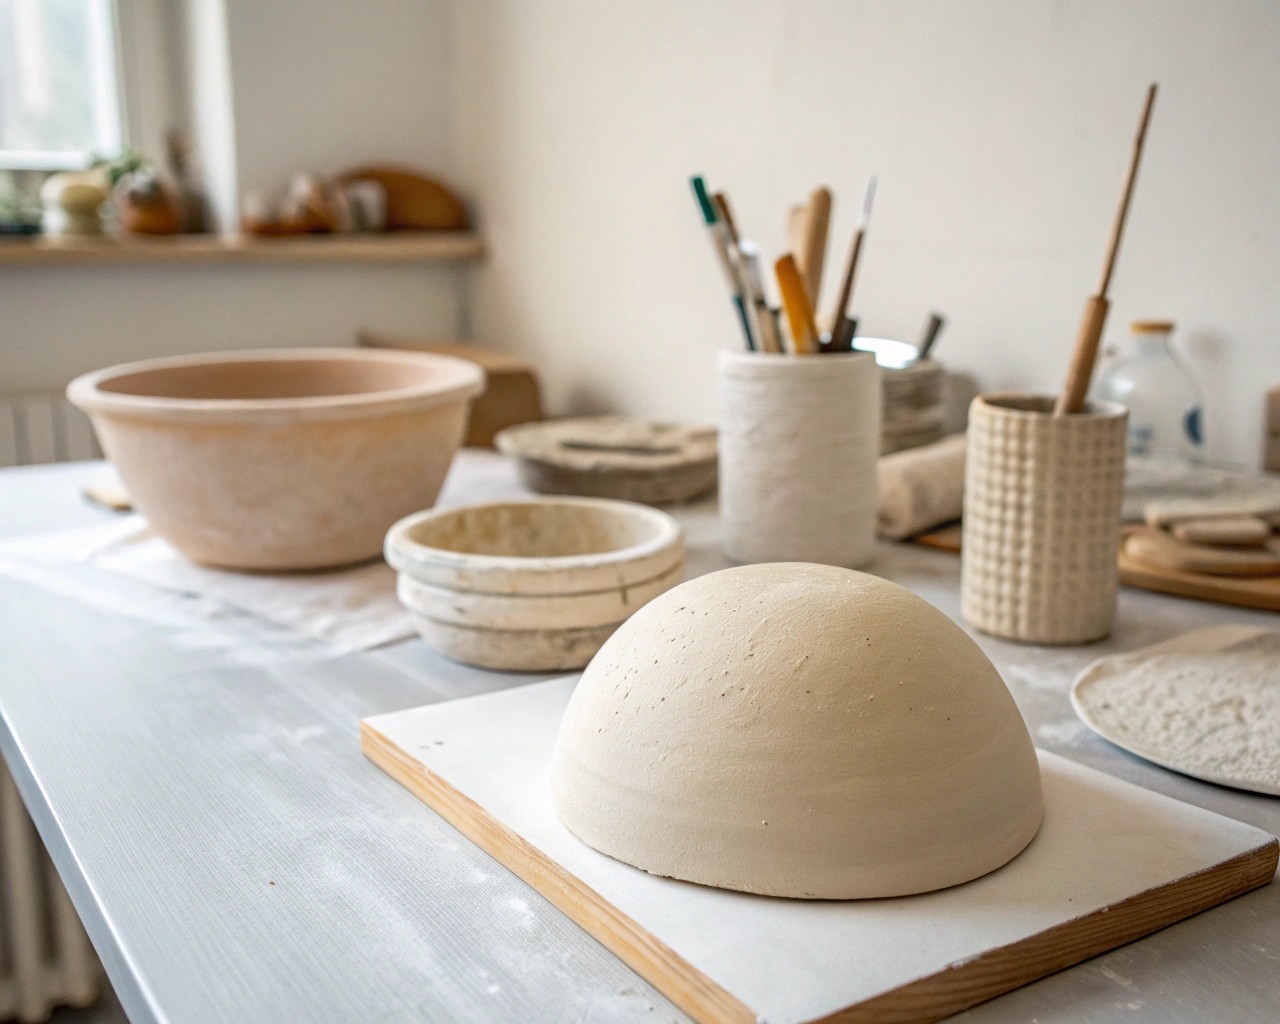
Air-dry clay is a modeling medium that hardens at room temperature through evaporation of water molecules. Unlike kiln-fired ceramics, it doesn’t require glazing or firing, making it approachable for home use while still achieving a natural, clay-based finish.
The reason it works so well for candle holders is twofold:
- Aesthetic Qualities – Its matte, stone-like surface mimics the finish of handcrafted ceramic.
- Workability – Unlike polymer or resin, you can reshape, repair, or smooth the surface at almost any stage before it fully dries.
The result is an object with all the tactile appeal of pottery but without the technical barrier of ceramic production.
Drawing Inspiration: Candle Holder Shapes That Feel Modern
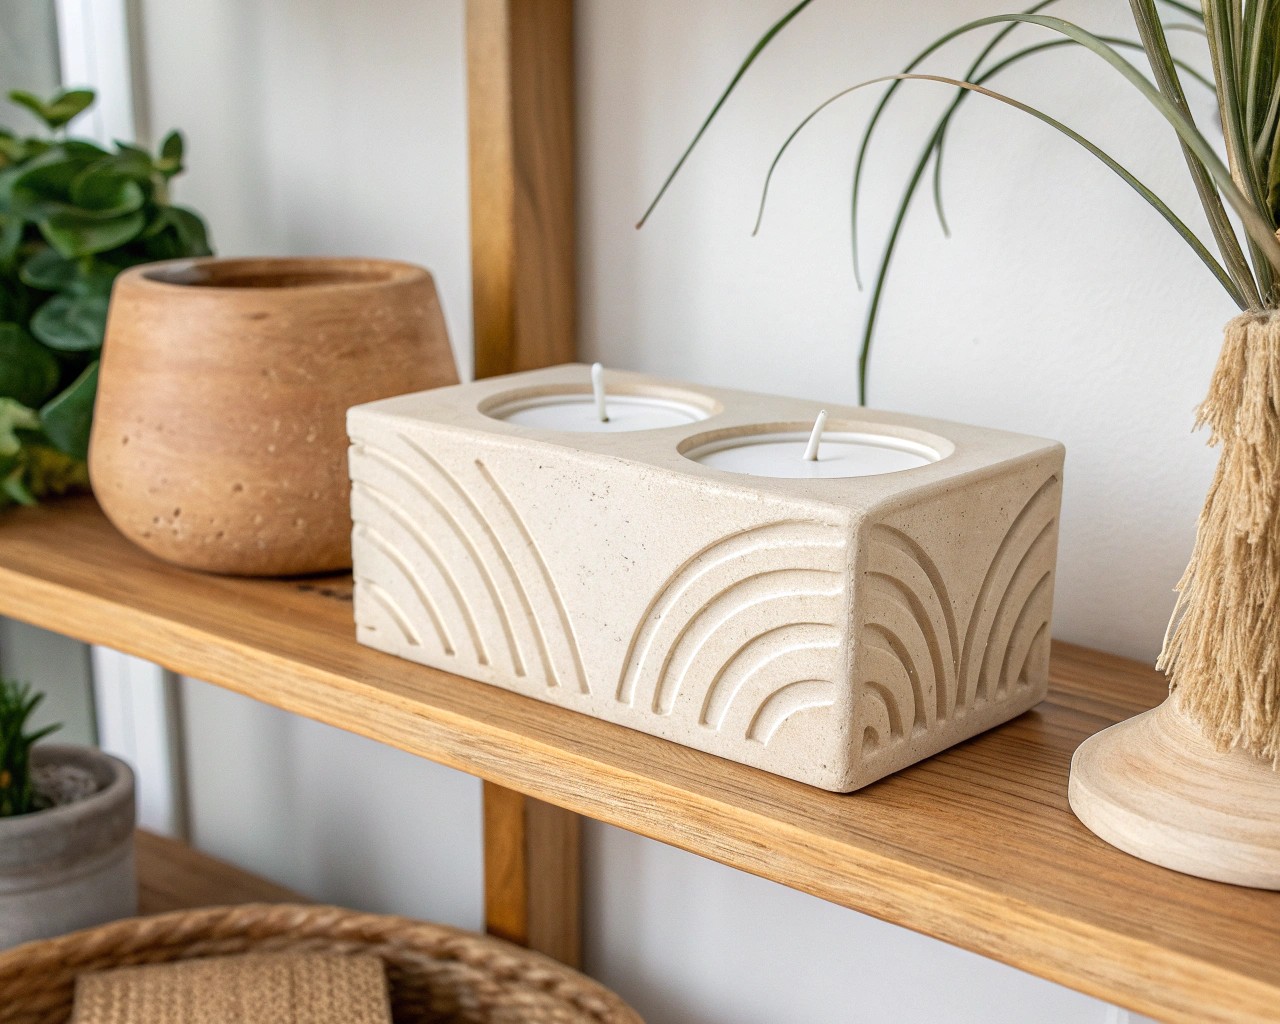
When it comes to modern design, restraint is powerful. You don’t need ornate decoration—form itself can carry the aesthetic.
Some design concepts to explore:
- Minimal Cylinders – Clean vertical forms that emphasize simplicity.
- Geometric Angles – Triangular or hexagonal bases transitioned into round wells.
- Organic Imperfections – Slight asymmetry that feels natural, like a sculpted stone.
- Nested Holders – A broad, shallow base with a smaller cylinder set in the center, suitable for grouping candles.
- Sculptural Silhouettes – Crescent cutouts, negative space arches, or linked shapes that double as tabletop art.
I’ve noticed that even small variations like tapering the top edge or carving a channel along the sides can instantly elevate the design from craft to décor piece.
Tools & Materials You’ll Need
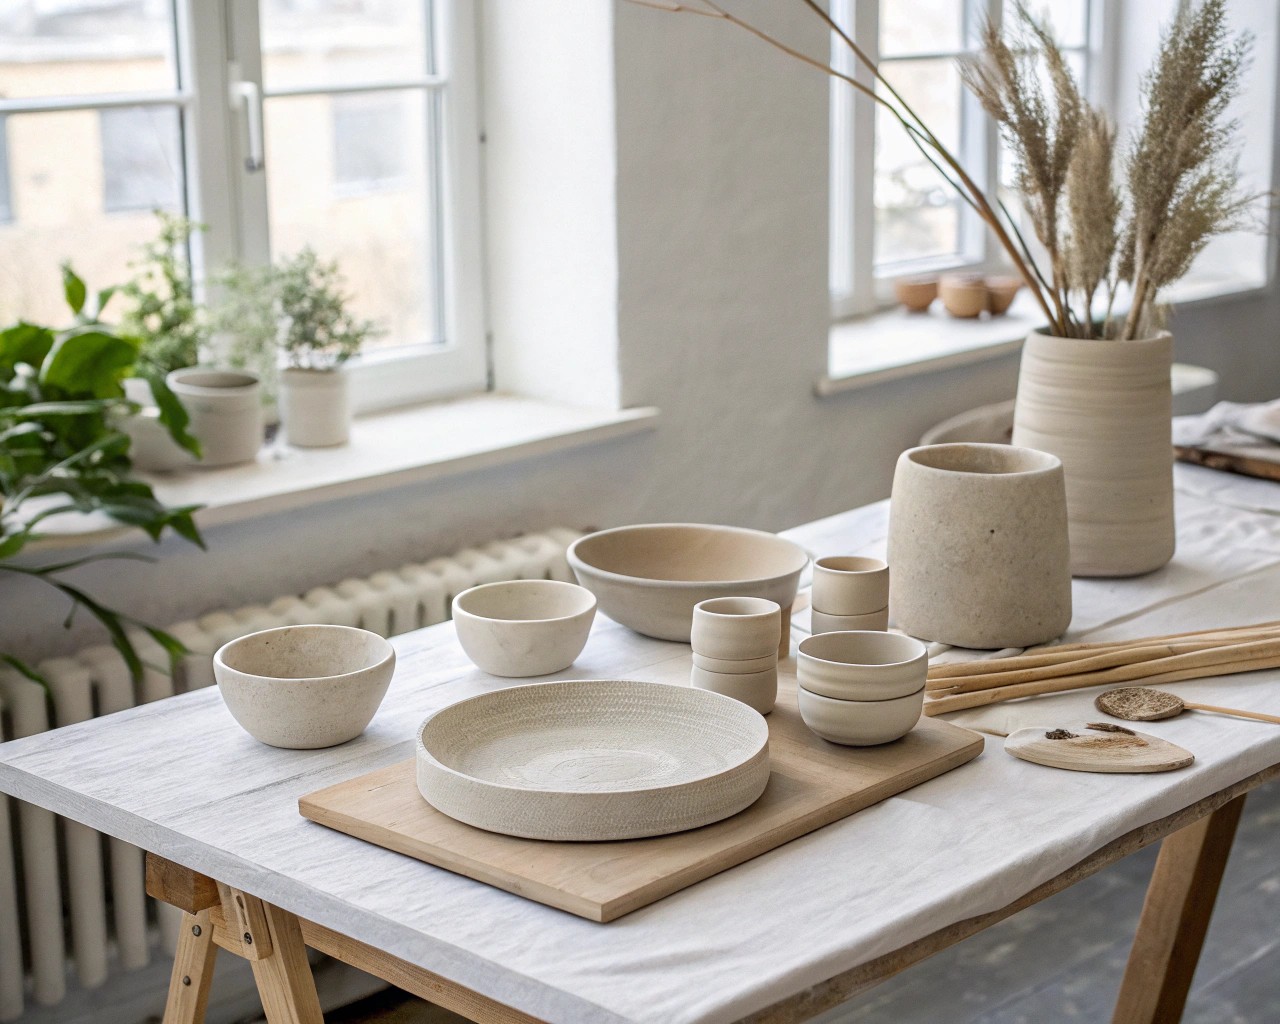
Gather your materials before beginning, as air-dry clay can lose moisture quickly once exposed to air.
- Air-dry clay (white, ivory, or neutral clay works best for ceramic-like finishes)
- Rolling pin or smooth glass bottle
- Cutting tool (craft knife, wire cutter, or clay blade)
- Modeling tools (skewer, spoon, or sculpting tools for detail)
- Water and sponge (for smoothing seams)
- Wax paper or silicone mat (for working surface)
- Cylindrical object (to help shape taper candle wells)
- Fine-grit sandpaper (for refining edges)
-
Optional finishes:
-
Diluted acrylic paint wash for subtle coloring
- Clear matte sealer for protection
- Natural powders or pigments to create mineral-inspired tones
Step-by-Step Instructions
Step 1: Create the Base
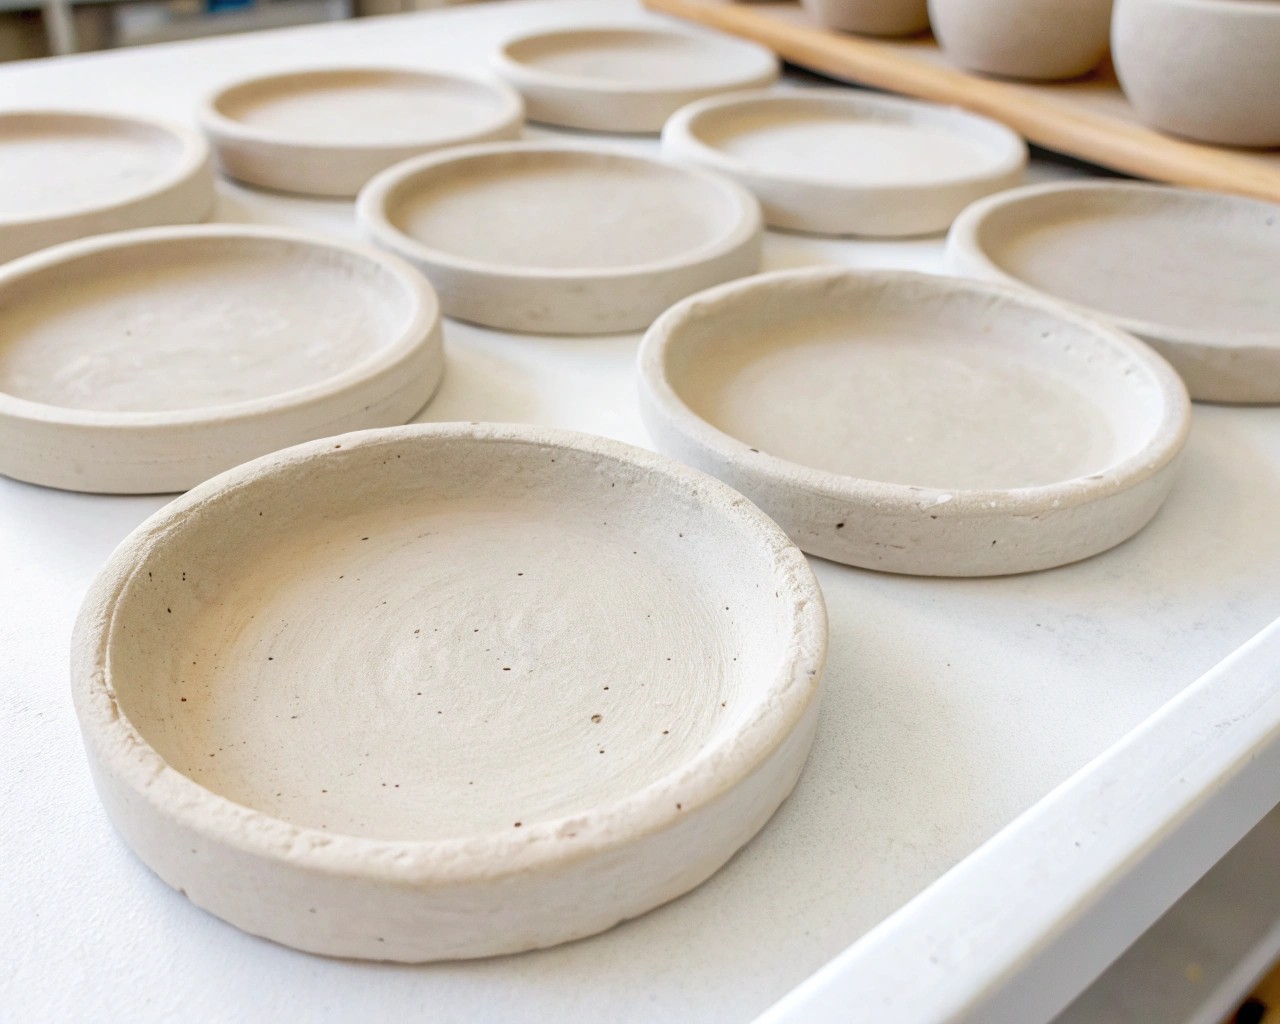
- Roll the clay to about ½ inch thick. This thickness stabilizes the candle holder while preventing cracking from excess mass.
- Cut out a circular or geometric base using a cup, lid, or cutting tool.
Step 2: Build the Walls
- Roll out a strip of clay about the same thickness as the base.
- Wrap it around the base tightly, leaving no gaps. Join the seam by scoring both edges with a tool and smoothing with water.
- This creates a hollow cylinder, the foundation for holding your candle.
Step 3: Shape for the Candle
- For tapered candles, press a real candle (or any similarly sized stick) into the center well, but remove it immediately so the clay can dry properly.
- For tealights, form a shallow depression with your thumb.
- If designing for pillar candles, sculpt a broader, recessed cavity.
Step 4: Smooth & Sculpt Details
- Use a damp sponge or fingertip to soften seams and create clean planes.
- You can carve grooves, ridges, or geometric lines at this stage for a subtle design detail.
Step 5: Long, Slow Drying
- Place your piece on wax paper or a breathable surface.
- Turn occasionally to prevent warping. Full drying may take 48–72 hours, depending on thickness.
- Avoid sunlight and heaters—rapid drying increases cracks.
Step 6: Sand & Refine
- Once fully dry, sand the edges with fine-grit sandpaper until they feel silky.
- Sanding is the secret to transforming air-dry clay from “DIY craft” to something that mimics ceramic refinement.
Step 7: Add Finishes (Optional)
- Keep it natural for a smooth, matte ceramic look.
- Apply a thin acrylic wash (diluted paint) for a stone-like patina.
- Seal with a clear matte varnish to protect from wax drips and moisture.
Advanced Tips for Elevated Results
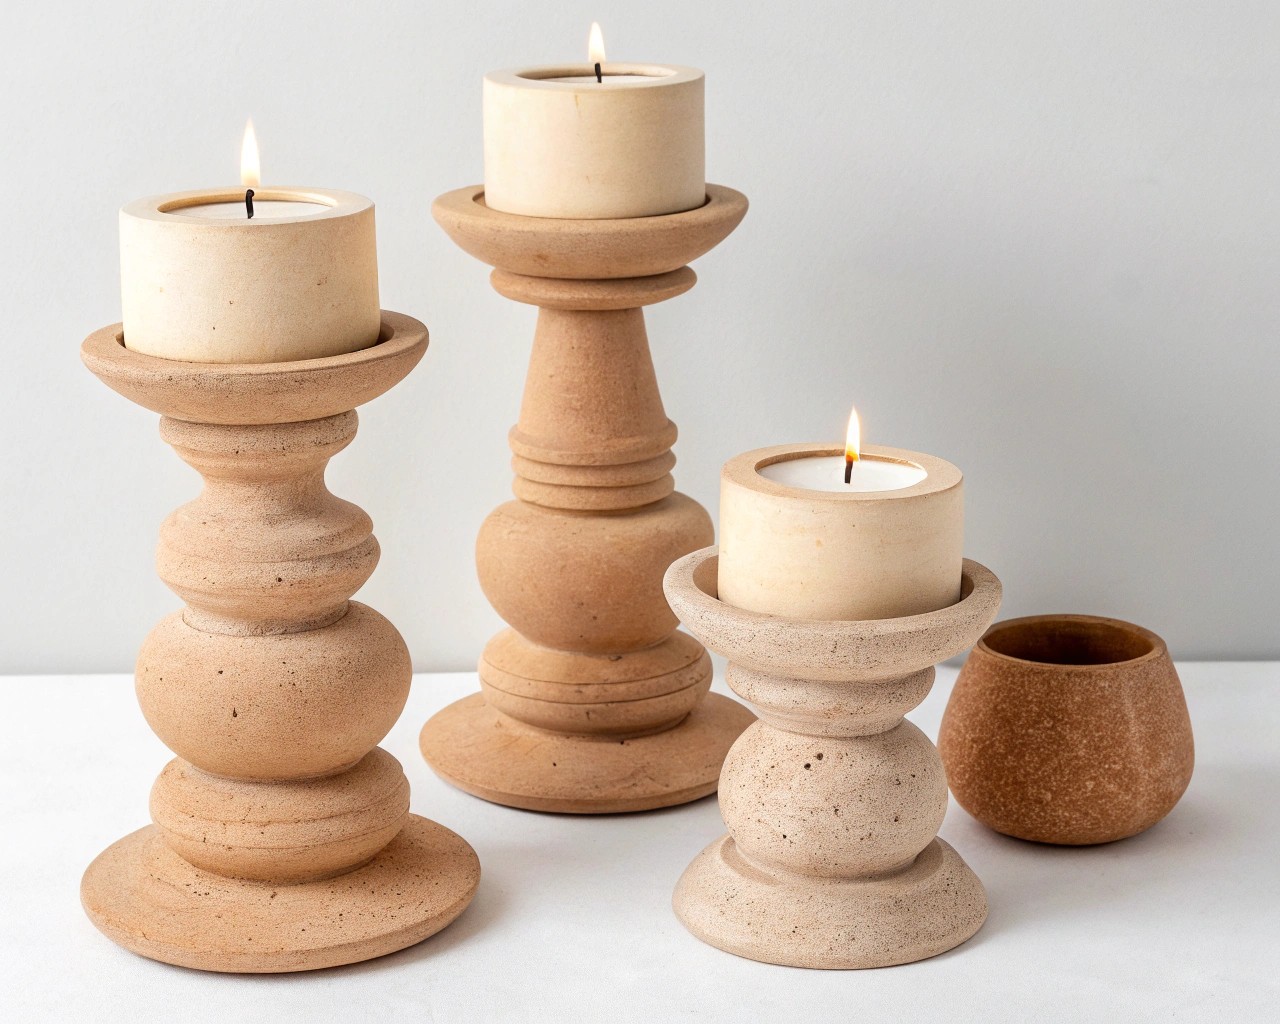
- Play with Proportions – Tall, slender holders pair beautifully with low, wide bases when grouped.
- Mix Textures – A smooth cylinder combined with a rough, hand-pressed dish creates compelling contrast.
- Experiment with Negative Space – Cutting away sections of the clay (e.g., an arch beneath the candle well) adds architectural qualities.
- Stackable Designs – Create modular pieces that can be arranged together or used individually, echoing gallery-style sculptural displays.
For one of my projects, I experimented with a U-shaped arch supporting a small disc at the top. The result looked more like a sculpture than a candle holder—and it became the centerpiece of my dining table.
Styling Suggestions
- Clustered Groupings – Use three or five pieces of varying heights for a dynamic tablescape.
- Monochrome Palette – White or neutral tones emphasize form and shadow, letting the shape stand out.
- Bold Pigments – For a more artistic statement, incorporate terracotta reds, indigo washes, or charcoal blacks.
- Combine with Natural Elements – Place candle holders on a stone slab, wooden tray, or linen runner to enhance their tactile beauty.
Final Thought
Air-dry clay makes it possible to bring ceramic-like candle holders into your home without a pottery studio. Each piece carries the quiet imperfections of the hand that shaped it, which is what makes it feel genuine. Once you’ve created your first modern candle holder, you’ll find that your ideas keep expanding into entire collections—each one sculptural, functional, and uniquely your own.

